What Undercoat Paint Does on South African Projects
Undercoat paint sits between the prepared surface and the finish coat. Its job is practical: it gives topcoat paint something to bite onto, helps cover patchiness and reduces the risk of the final colour looking blotchy. On new plaster, bare timber and repaired wall sections, a proper undercoat can make the difference between a job that looks even and one that keeps showing repairs after the first sunlight hits it.
For Gqeberha homes, the product needs to cope with coastal humidity, changing temperatures and surfaces that have already taken a fair amount of wear. In older houses around Korsten and Walmer, as well as trade jobs in Sandton or Bellville, undercoat also helps when different substrates have been patched together. It is useful where plaster, filler and old paint all meet and the finish coat needs one uniform base.
Good undercoat is not a decorative coat. It is there to do a specific job, so coverage, adhesion and drying time matter more than sheen. If the surface is dusty or uneven, undercoat will not hide poor prep, but it will improve the odds of a neat final result. That is why it is often chosen by painters who want fewer callbacks and less touch-up work later.
Where This Undercoat Suits Best
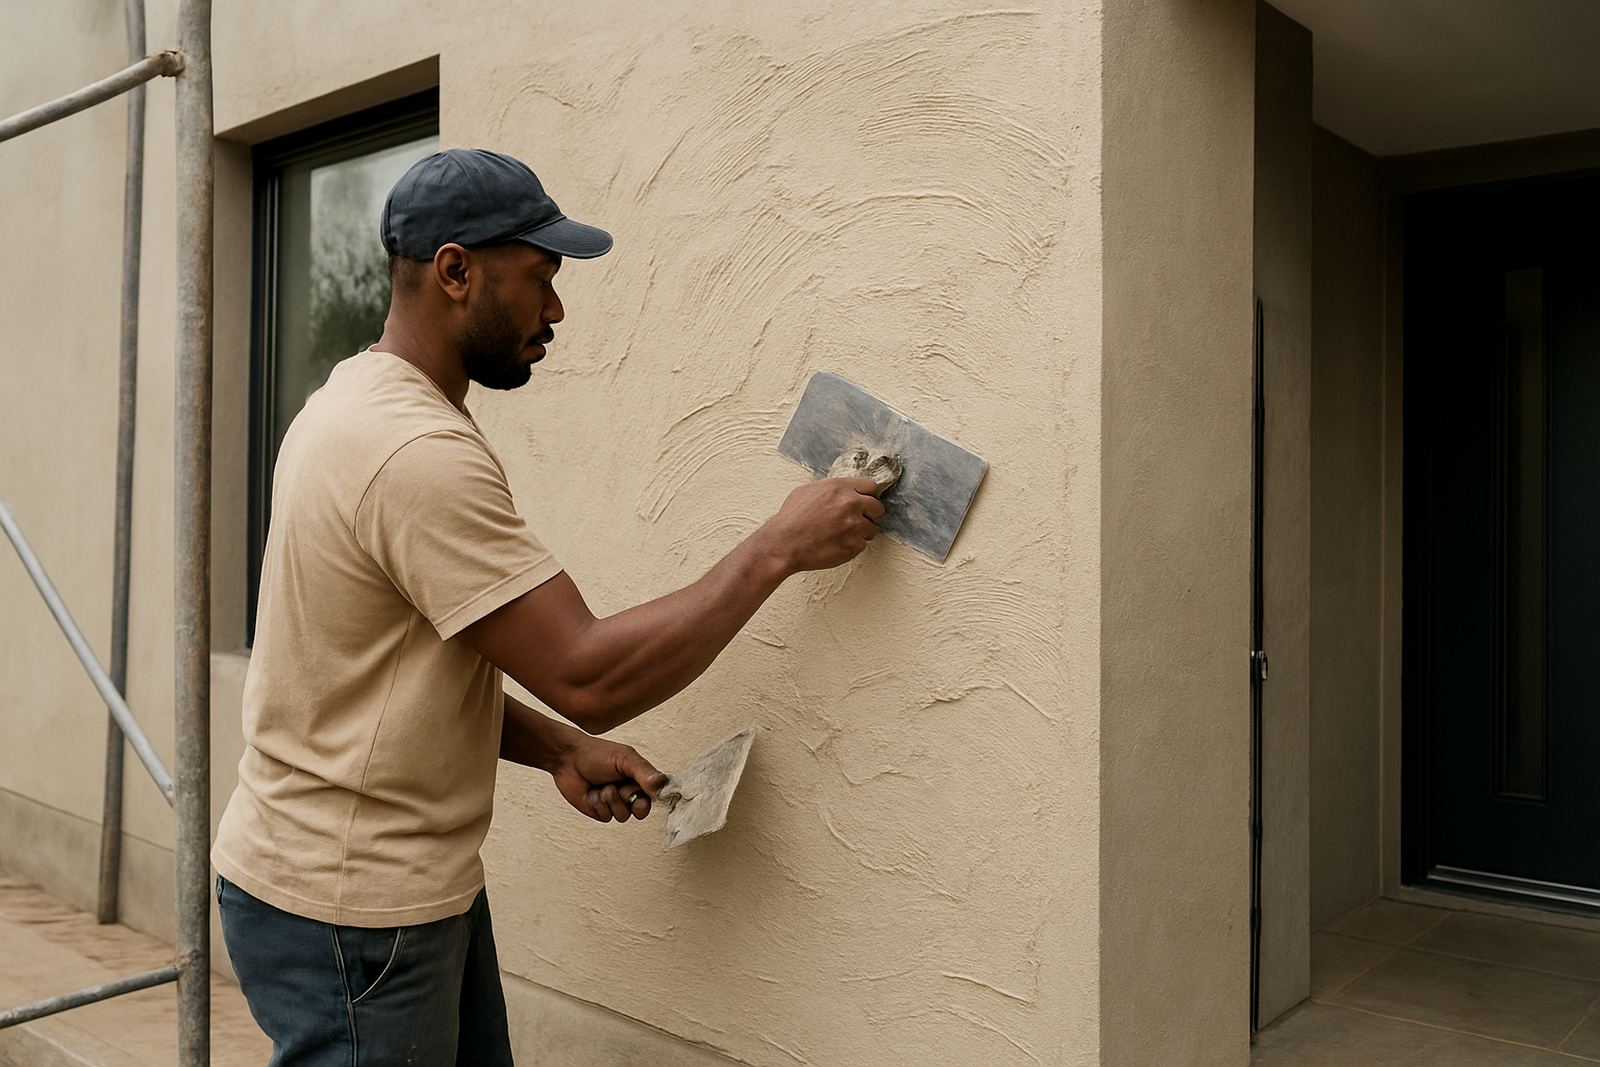
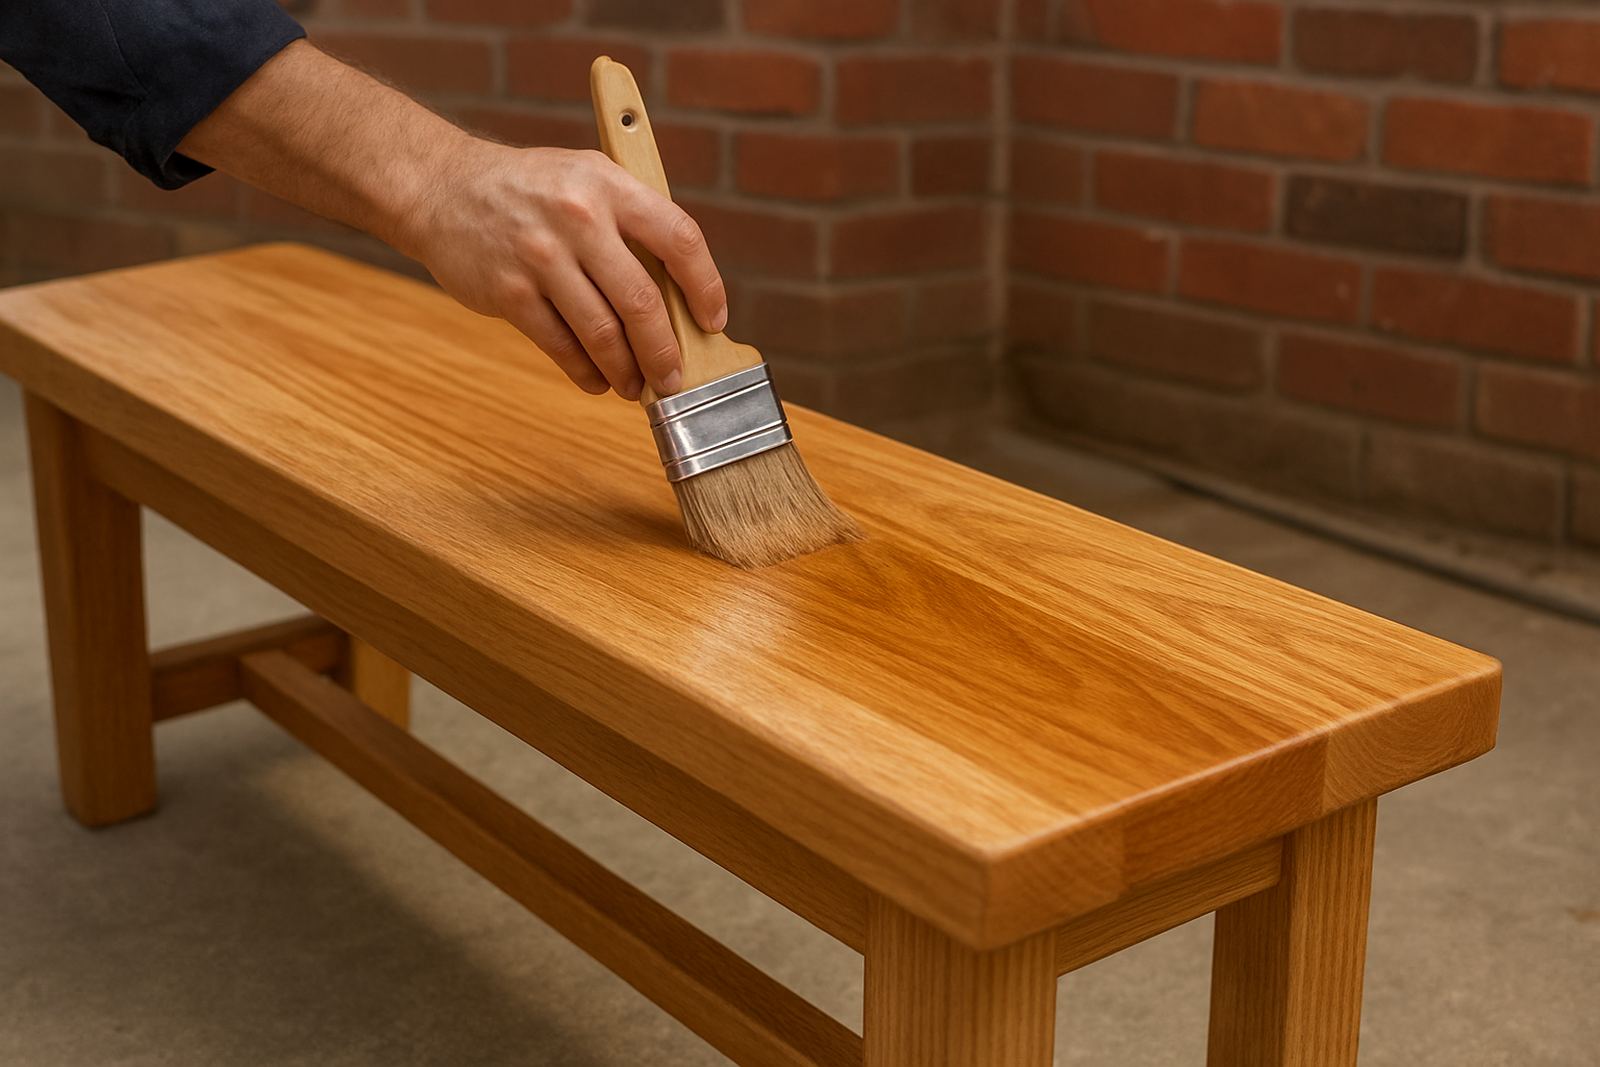
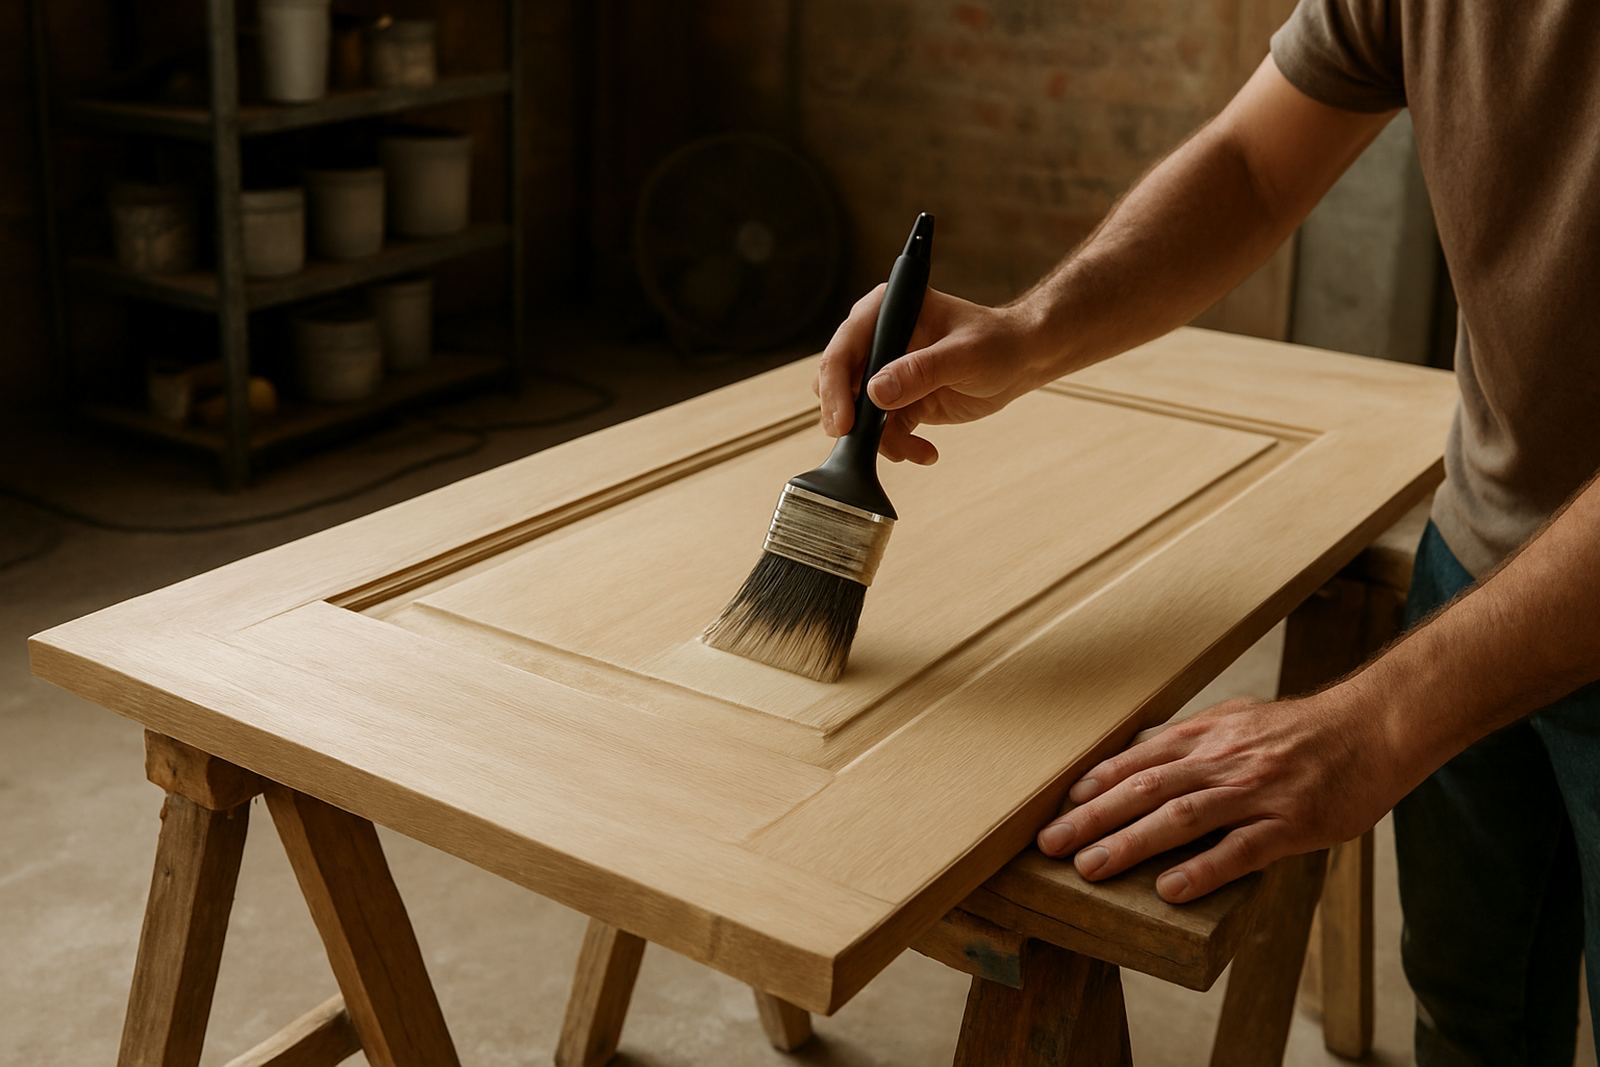
This product suits a wide range of interior and exterior prep work. It is commonly used on timber skirtings, doors, window frames, plaster walls, ceilings and areas that have been repaired with filler or patch plaster. It also works on previously painted surfaces where the old finish has been sanded back and cleaned properly.
For contractor work, it is handy when one property has mixed surfaces. A small office in Newton Park may have plaster walls, pine trim and touched-up corners, while a house in Randburg might need attention on both old paint and fresh repairs. Undercoat helps bring all those areas to a similar base before the colour coat goes on.
- Timber that has been sanded and sealed according to the product system
- New plaster that has cured and been dusted down
- Previously painted surfaces that are sound, dry and keyed
- Patch repairs around cracks, nail holes and damaged edges
- Interior and exterior areas where the finish coat must look even
It is not the right choice for wet, chalky or flaking surfaces that have not been dealt with first. If the prep is poor, the undercoat will only sit on top of the problem, and that usually means the finish starts giving trouble sooner than it should. A bit of honest prep saves time and money.
Sizes, Tinting Options and Coverage
Undercoat is usually bought in sizes that suit both small repairs and full repaint work. For a few doors or a single feature wall, smaller tins are easier to manage. For a full interior, trade quantities make more sense and help keep the batch consistent. ColouRight Paints can assist with product recommendations, bulk quantity planning and sample pot mixing when a job needs testing before the full order.
Depending on the project, undercoat may be supplied in standard white or in a tinted option to support a darker finish coat. Tinting the undercoat can help improve hiding power and reduce the number of topcoats needed on certain colours. That is useful where you are moving from a very dark base to a lighter finish, or when repainting over a marked wall that needs better coverage.
- Small packs for touch-up work and sample areas
- Mid-size tins for domestic repainting and repairs
- Trade pails for contractors and multi-room projects
- White base for general use
- Tinting support for selected colour systems
Coverage depends on surface condition, porosity and the type of substrate. New plaster and bare timber will usually take more product than a previously painted wall. A rough rule is to allow extra where sanding dust, patching or absorbent areas are involved, because one coat on a thirsty surface can disappear quicker than expected. Better to order a little extra than run short halfway through a job.
How to Apply It Properly
Undercoat application is straightforward, but the surface still needs proper preparation. Clean off dust, grease and loose paint first. Fill cracks and holes, then sand down rough edges until the surface feels even to the hand. On plaster, make sure the wall has cured and is dry before painting. If the surface is damp, no undercoat will behave well for long.
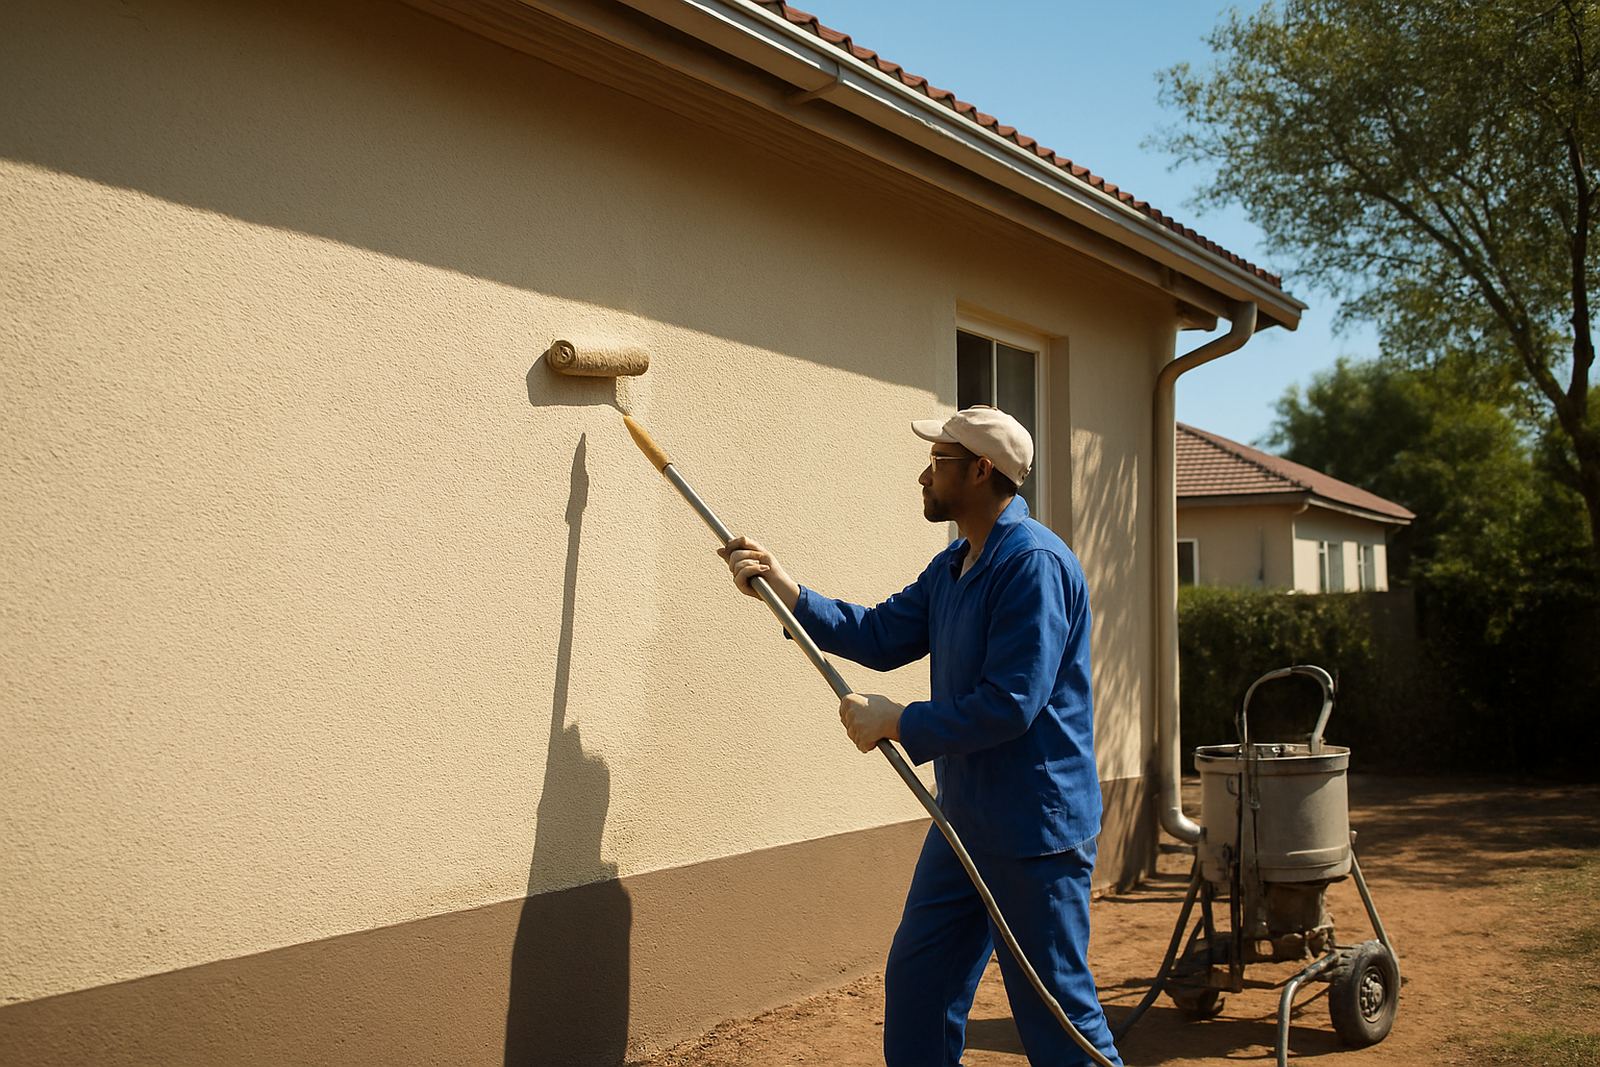
The product can normally be applied by brush, roller or spray depending on the job and the finish required. A brush works well on trims and edges. A short-nap roller is useful on walls and larger flat areas. Spray application can speed up larger contractor work, although it needs better masking and a bit more control.
- Stir well before use and again during the job
- Use a clean brush or roller suited to the surface
- Work in manageable sections so lap marks are reduced
- Allow proper drying before sanding or topcoating
- Keep the area ventilated, especially indoors
No special power or gas setup is needed for the product itself. The main thing is a tidy work area, good light and enough ventilation for the drying time. In summer humidity around the coast can slow drying a bit, so contractors often allow extra time before the final coat. Rushing this stage can trap moisture and lead to a finish that looks uneven.
Care, Storage and Recoat Timing
Unused undercoat should be kept sealed tightly and stored in a cool, dry place out of direct sun. A garage or storeroom works better than a hot patio. If the lid is left loose, the product can skin over and become harder to use later. Keep the rim clean after every pour, because dried paint around the lid makes future opening difficult.
For ongoing care on site, wipe drips off tools before they harden and wash brushes and rollers soon after use. Once the product dries on equipment, cleanup takes longer and the tools wear out faster. Contractors doing repeat work in Gqeberha or Cape Town often keep a simple wash bucket and spare rags on hand so that moving between rooms does not become a mess.
Recoat timing depends on temperature, air movement and the surface itself. Dry inland conditions can move faster than a humid day near the coast. If in doubt, let the undercoat dry properly and check that it feels firm before applying the finish coat. A quick finger test is not enough on its own, so give it time if the wall feels cool or tacky.
What to Check Before You Order
Before ordering undercoat, check the surface type, the area size and the finish coat colour. If you are working on timber, plaster or a previously painted wall, the product choice may shift slightly depending on how porous or worn the surface is. This matters on contractor jobs where one building can have three different prep conditions in the same passage.
It is also worth checking how much filler, sanding and spot priming the job needs. A wall that looks simple may still need more undercoat if repairs are spreading or if the old colour is showing through. For trade orders, make sure the quantities match the actual square metreage and not just the number of rooms. That avoids last minute shortages, which always seem to happen on a Friday afternoon.
- Surface type and condition
- Interior or exterior use
- Required quantity in litres
- Whether tinting is needed before the finish coat
- Drying time available between coats
- Compatibility with the final paint system
If you are unsure, ColouRight Paints can help with product recommendations, trade order support, repaint troubleshooting and contractor account help. That makes it easier to match the undercoat to the job instead of guessing, which is usually where the problems start.
Key facts
| Product type | Undercoat paint for prep before finish coats |
|---|---|
| Suitable surfaces | Timber, plaster, patch repairs and previously painted areas |
| Application | Brush, roller or spray |
| Finish use | Interior and exterior undercoat system support |
| Sizes | Small packs, mid-size tins and trade quantities |
| Support | Colour matching, tinting, sample pot mixing and bulk planning |