Start by checking where the damp came from
Before you open a paint tin, work out whether the stain is from a past leak, rising damp, condensation, or a one-off event like a burst pipe. In older homes around Korsten, Newton Park and Walmer, the wall may look dry today but still carry salts or hidden moisture below the paint film. If you paint over that too soon, the new finish can bubble, crack or show brown patches again.
Do a simple check first. Touch the wall, look for powdery deposits, and note whether the marks are higher near ceilings or lower near skirtings. If the issue is active, fix the source first. Painting over live damp is wasteful and usually short-lived, especially in coastal air where humidity keeps walls from drying properly.
- Look for peeling paint, blistering, salt lines and mould spots
- Check nearby gutters, roof junctions, window seals and plumbing
- Allow the wall to dry fully before any sealing or painting
Clean, dry and stabilise the surface
Once the cause has been dealt with, remove all loose paint, soft plaster and surface salts. A wire brush or scraper helps on flaky spots, but be careful not to gouge the plaster. Wash mouldy areas with a suitable cleaner and rinse lightly. If the wall has efflorescence, brush it off dry first, then wipe down what remains. Do not trap dust and salts under the new coating.
Drying time matters. In Gqeberha and Cape Town coastal zones, a wall can feel dry on the outside but still hold moisture inside the plaster. Give it time, use ventilation where possible, and avoid painting on cold, damp mornings. If you are working in a rental or business premises, allow extra drying time so the finish does not fail after the first rainy spell.
- Scrape loose paint back to a firm edge
- Remove dust, salts and any greasy marks
- Let repaired areas dry properly before priming
Repair cracks and weak plaster before priming
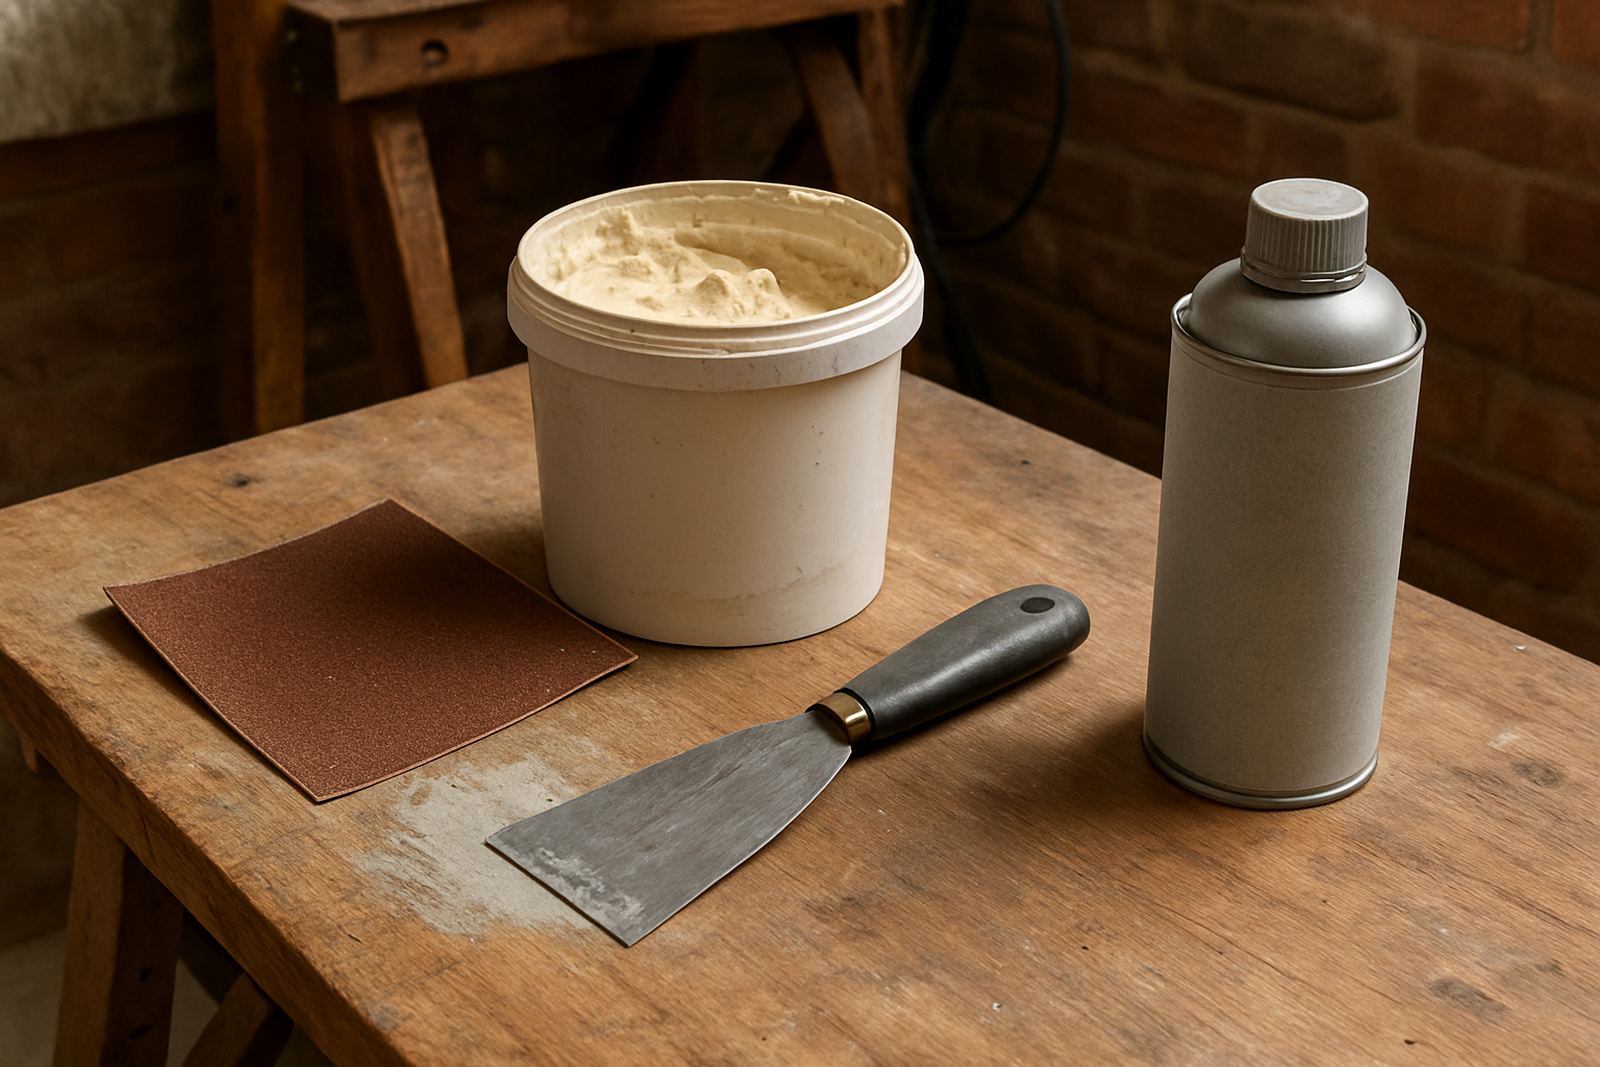
Historic damp often leaves hairline cracks, softened corners and patchy plaster. Fill small cracks with a quality filler and repair any hollow sounding areas before you prime. If plaster is crumbling, remove the weak section and patch it properly. A thin coat over a failing surface will not last, no matter how good the topcoat is.
For larger areas, feather the repair edges so they blend into the surrounding wall. Once dry, sand lightly and dust off. Around busy areas like shopfronts, passages and stairwells, this step is worth doing properly because scuffed repairs show through fast. If you need to repaint after a previous bad job, check for old sealers that may be causing adhesion problems too.
- Fill hairline cracks and shrinkage gaps
- Patch soft plaster and let it cure fully
- Sand repaired spots smooth before sealing
Choose the right sealer and undercoat
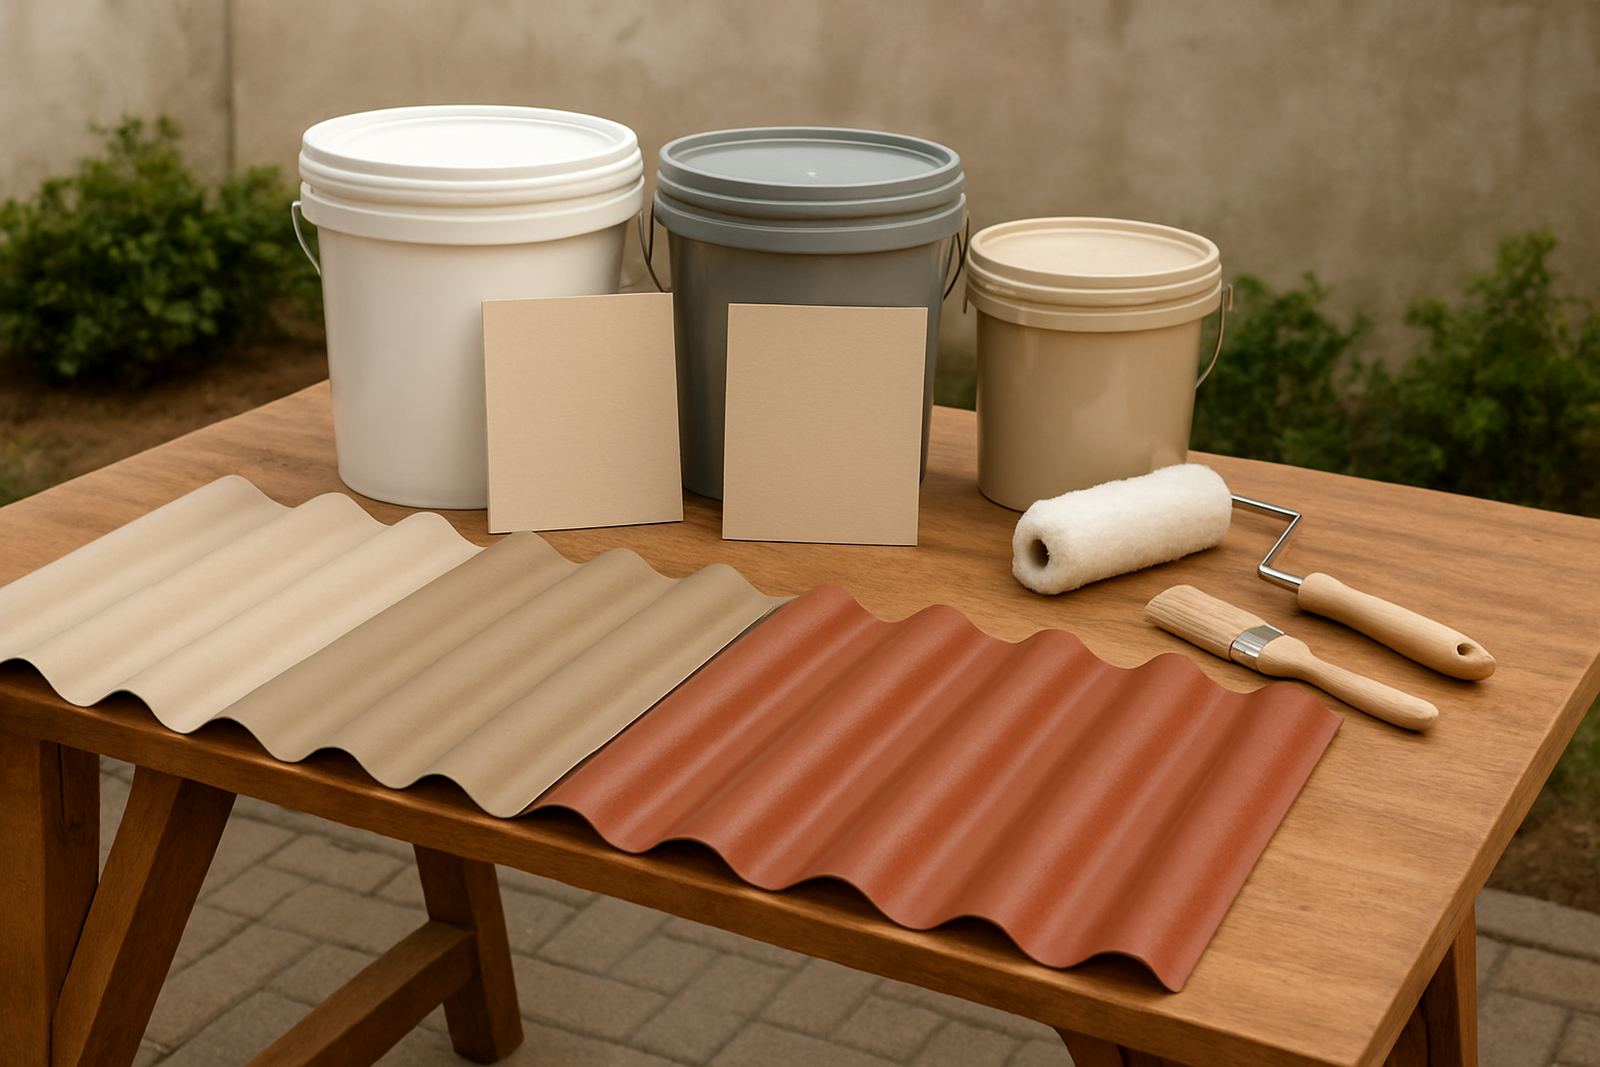
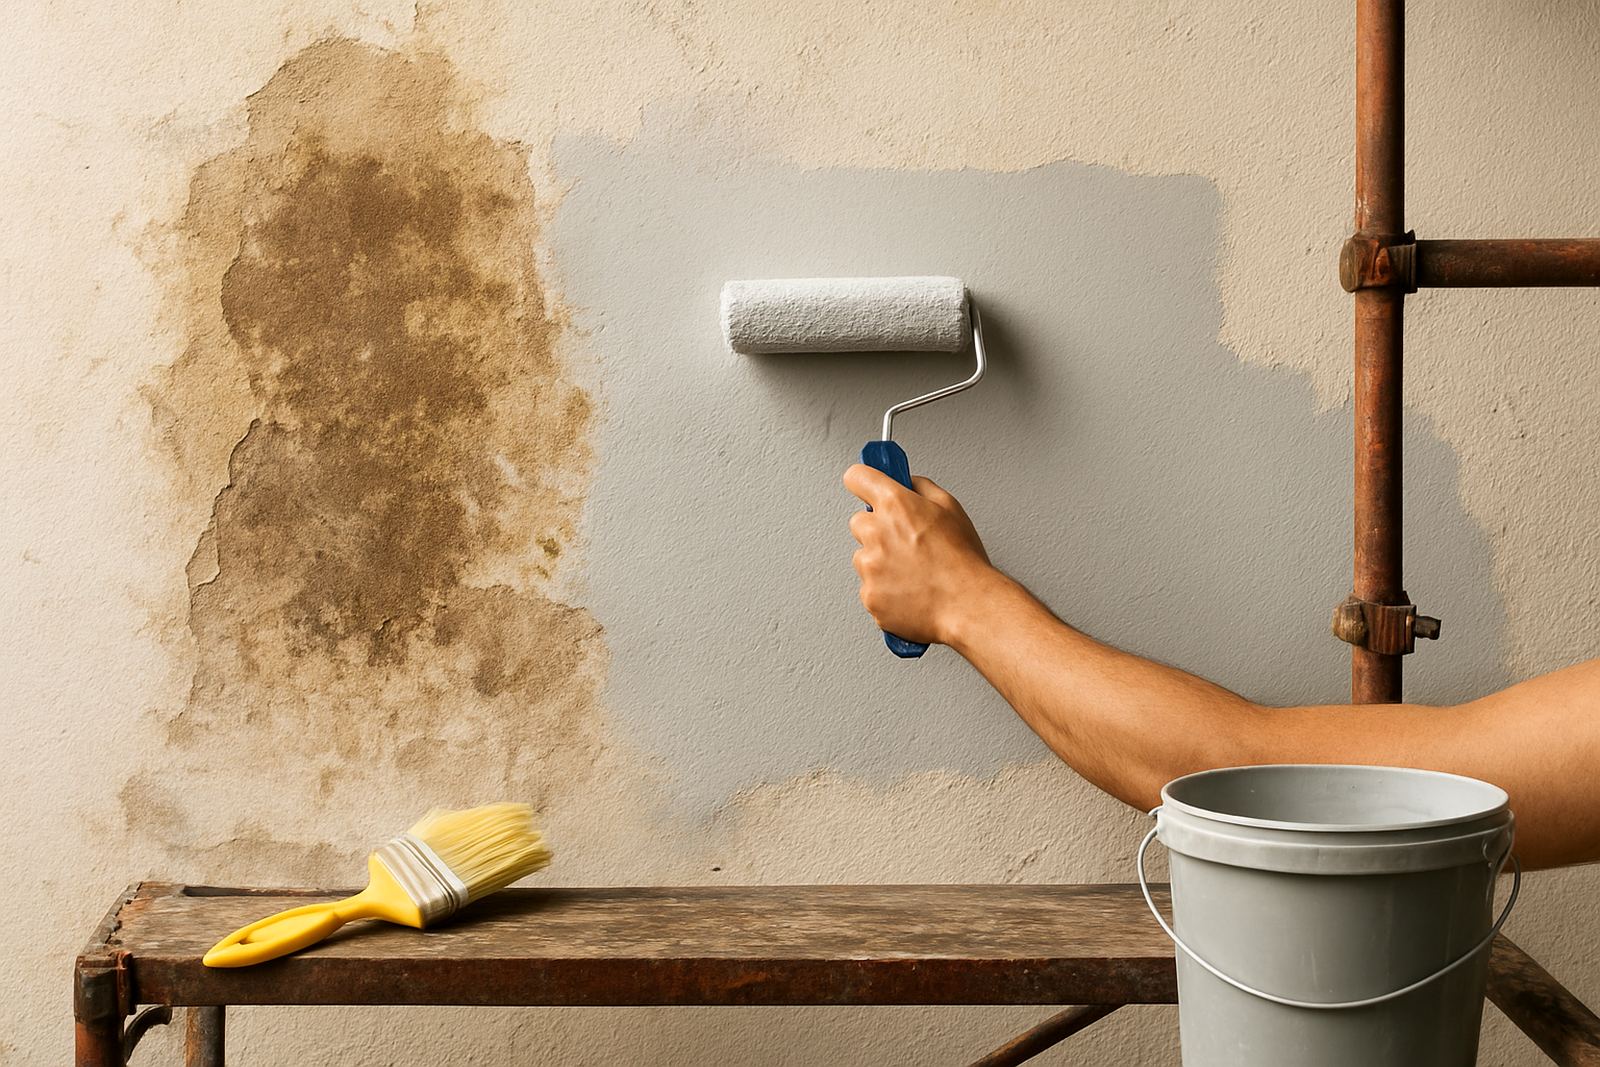
A damp-stained wall usually needs more than standard wall paint. You want a suitable sealer or stain-blocking primer on clean, dry plaster so old marks do not bleed through. For walls with light staining, a good quality primer can be enough. For darker water marks, nicotine stains or tannin bleed, you may need a stronger stain blocker before the topcoat goes on.
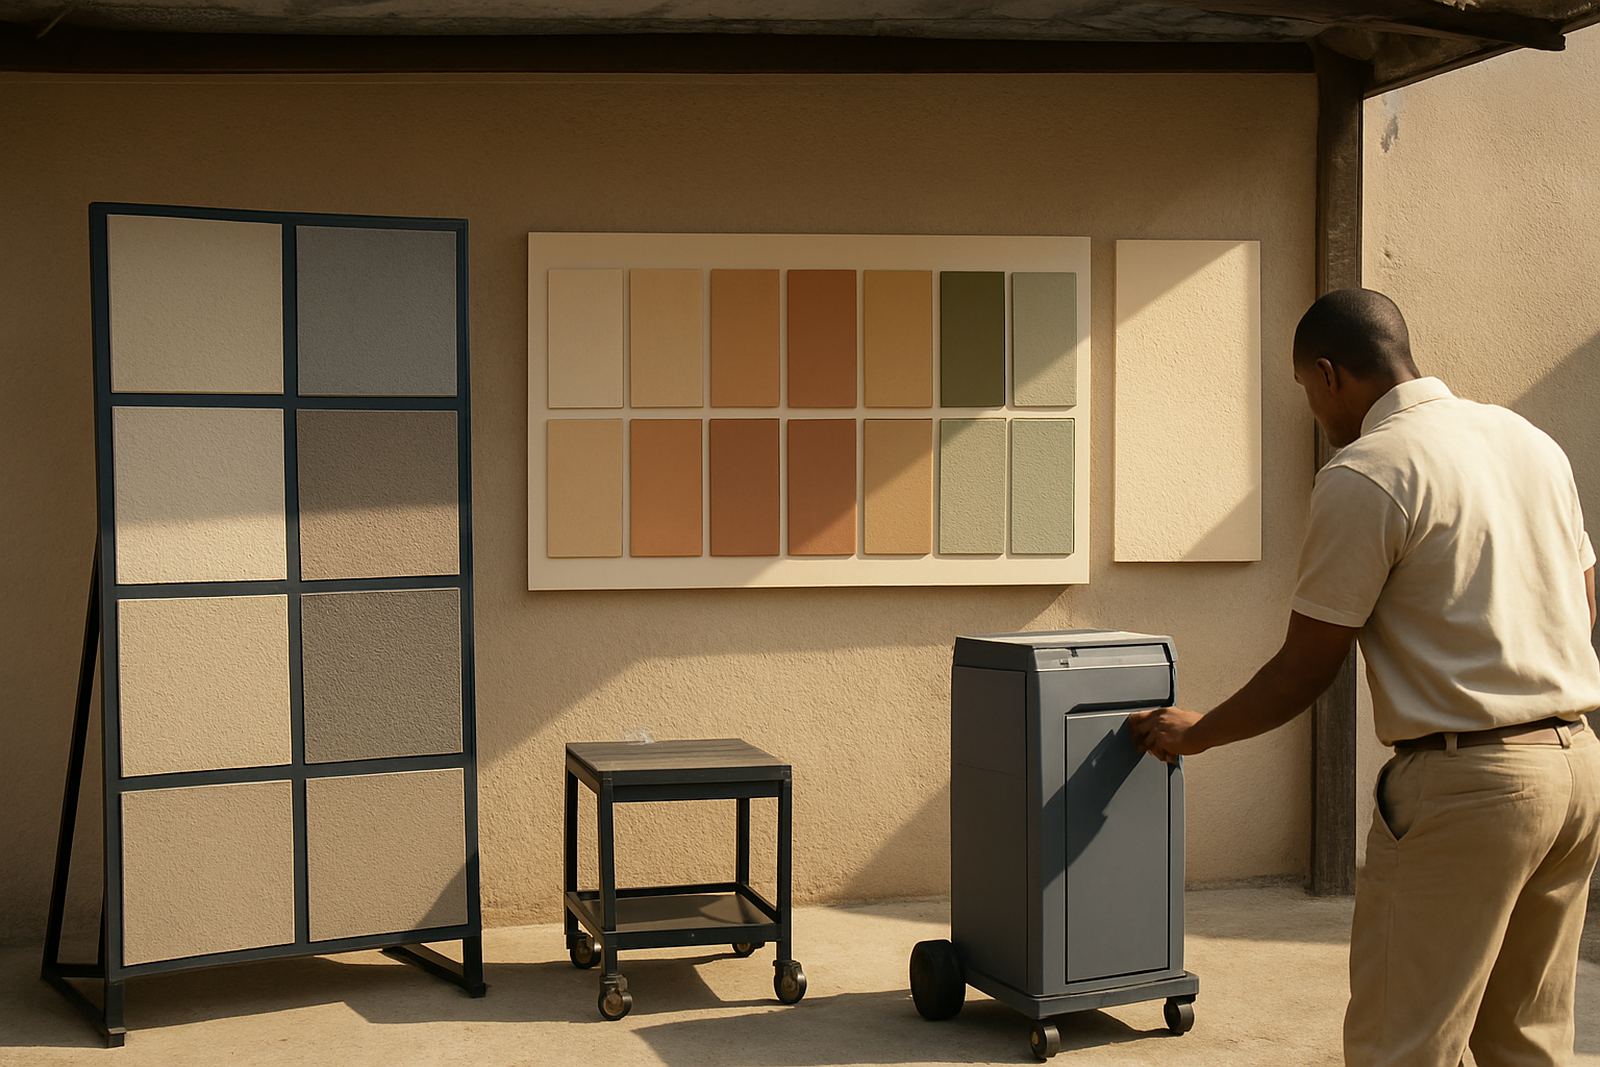
If the wall is in a kitchen, bathroom, laundry or a north-facing room that gets a lot of condensation, ask for product recommendations that suit moisture-prone spaces. Trade customers in Sandton, Randburg and Bellville often plan for the extra labour of sealing, because skipping that step leads to callbacks. Colour matching matters too, especially if you are patching a single wall and need the new colour to sit with the rest of the room.
- Use a sealer suited to dry mineral surfaces
- Choose stain-blocking products for heavy brown marks
- Confirm topcoat compatibility before you start
Apply the topcoat in light, even coats
When the prep is right, apply the topcoat in two even coats rather than trying to cover everything in one heavy pass. Heavy coats can bridge over small damp patches and hold moisture in the wall. Use the right roller nap for the surface texture and cut in neatly around corners, switches and trims. Keep your strokes even so the finish dries at the same sheen across the wall.
If you are repainting a whole room, work from the top down and keep a wet edge. In warmer inland areas, paint can flash dry quickly, while cooler coastal days may slow curing. Plan your timing so you are not rushing the second coat. A little patience here saves a lot of touch-ups later, and the wall will look cleaner for longer.
For businesses, schools and rental units, section off the area and plan around drying time so people do not brush against the fresh paint. A wall that has had historic damp needs proper cure time, not just a quick recoat.
Use this checklist before you call the job done
Once the paint has dried, walk the wall in good light and check for shadowing, bubbling or colour differences. If old staining still shows through, the issue is usually in the prep stage rather than the colour itself. Spot repair early rather than waiting for the whole wall to fail.
- No active leaks or rising damp signs
- All loose paint removed and repairs firm
- Stains sealed and no bleed-through visible
- Topcoat even, with no bubbling or soft spots
- Room ventilated until the coating is fully cured
If the wall still feels cool and damp a day or two after painting, stop and investigate. In Gqeberha homes close to the coast, that extra check can prevent repeated repainting and save a fair bit of Rand over time.