Start With A Proper Inspection
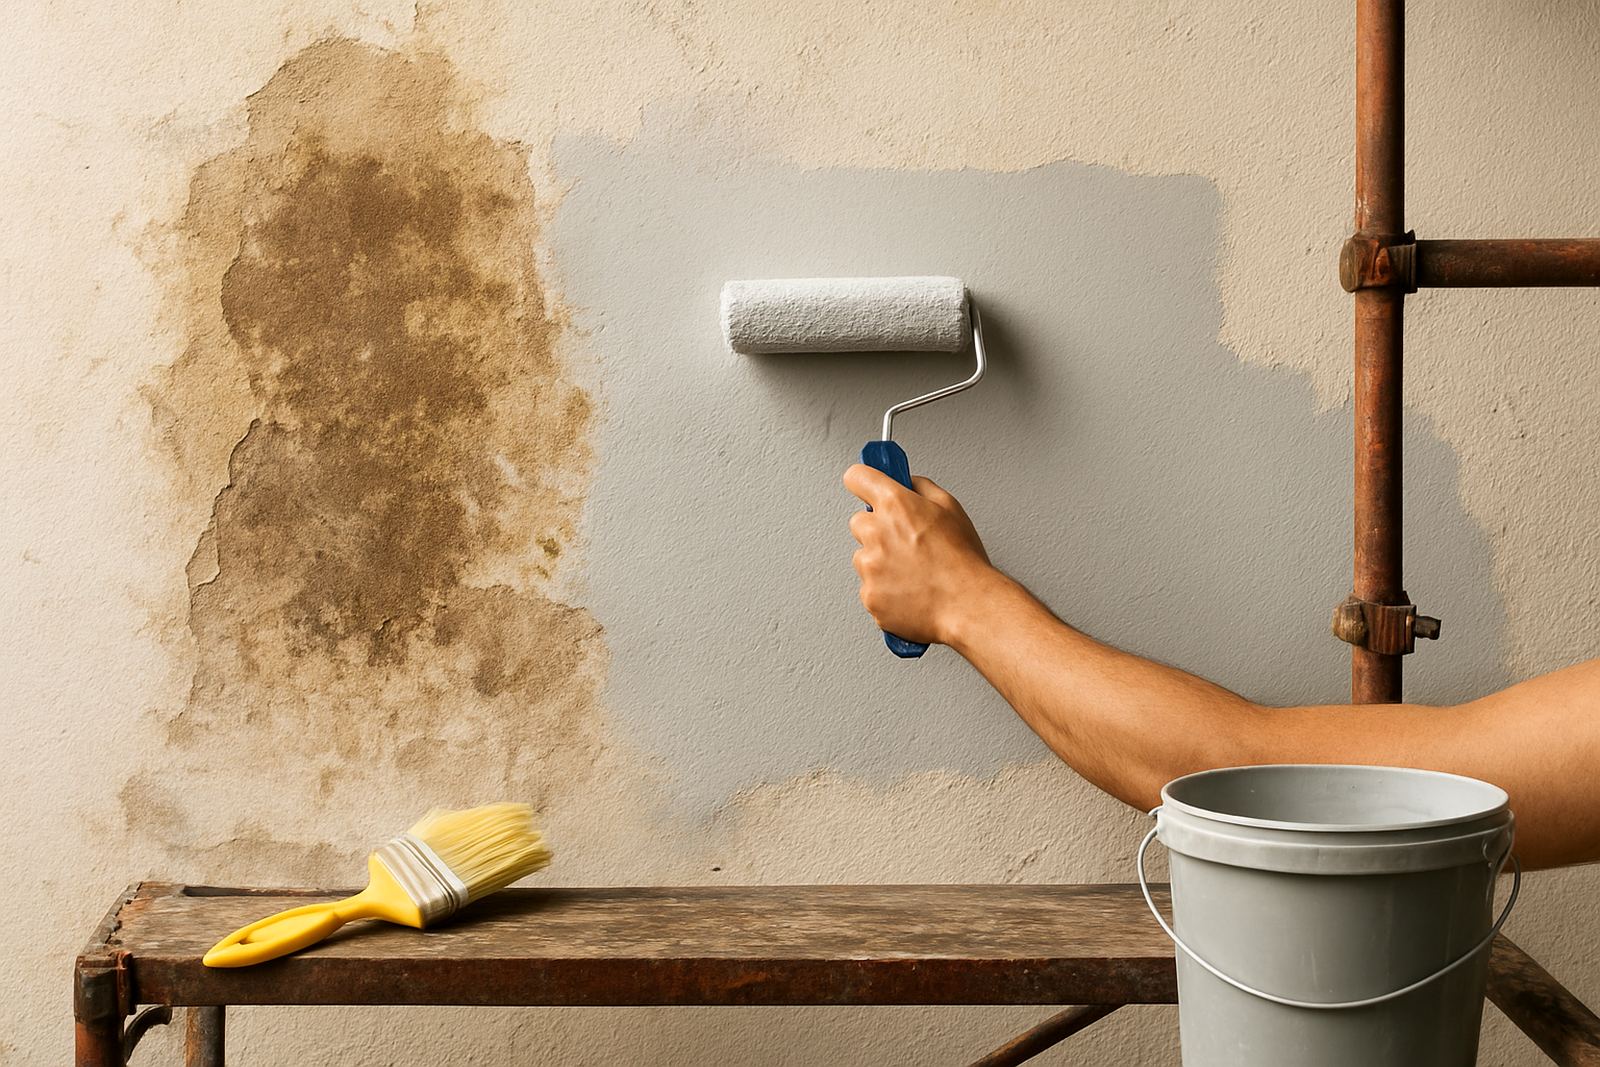
Before you open a tin, walk the full area and check what you are painting. Look for dust, grease, chalking, old flaking paint, water stains, hairline cracks and mould. On coastal walls in Gqeberha or Bellville, salt and damp can sit on the surface and stop paint from bonding properly. In older homes around Korsten and Walmer, powdery plaster and patch repairs need extra attention.
Use your hand to feel the wall. If dust comes off on your fingers, the surface needs cleaning. If the old paint lifts with light scraping, it must be removed before you repaint. Do not rush this part, it saves time later and gives a cleaner finish.
- Check walls, ceilings, doors and trims in good light
- Mark cracks, dents, damp spots and loose paint with masking tape
- Test for dust by rubbing the surface with a clean dry cloth
- Look for leaking gutters, rising damp or plumbing stains before painting
Clean Off Dirt, Grease And Loose Material
A clean surface is the base for strong adhesion. In kitchens, pass-throughs and shopfronts, grease and hand marks build up quickly. Wash these areas with a mild sugar soap solution or a suitable cleaner, then rinse well and let the surface dry fully. On exterior walls, a stiff brush and clean water can remove loose dust and grime. If there is mould, treat it with the correct mould remover and allow enough drying time.
For sound painted surfaces, dulling the sheen helps paint grip better. Light sanding is often enough. If the old coating is flaking, scrape back to a firm edge and feather the area so the repair blends in. Always remove dust after sanding, because fine powder will affect coverage and can cause a rough finish.
- Wash greasy areas and rinse clean
- Scrape off any loose paint or plaster
- Sand glossy surfaces until they lose their shine
- Let all surfaces dry properly before moving on
Repair Cracks, Holes And Problem Areas
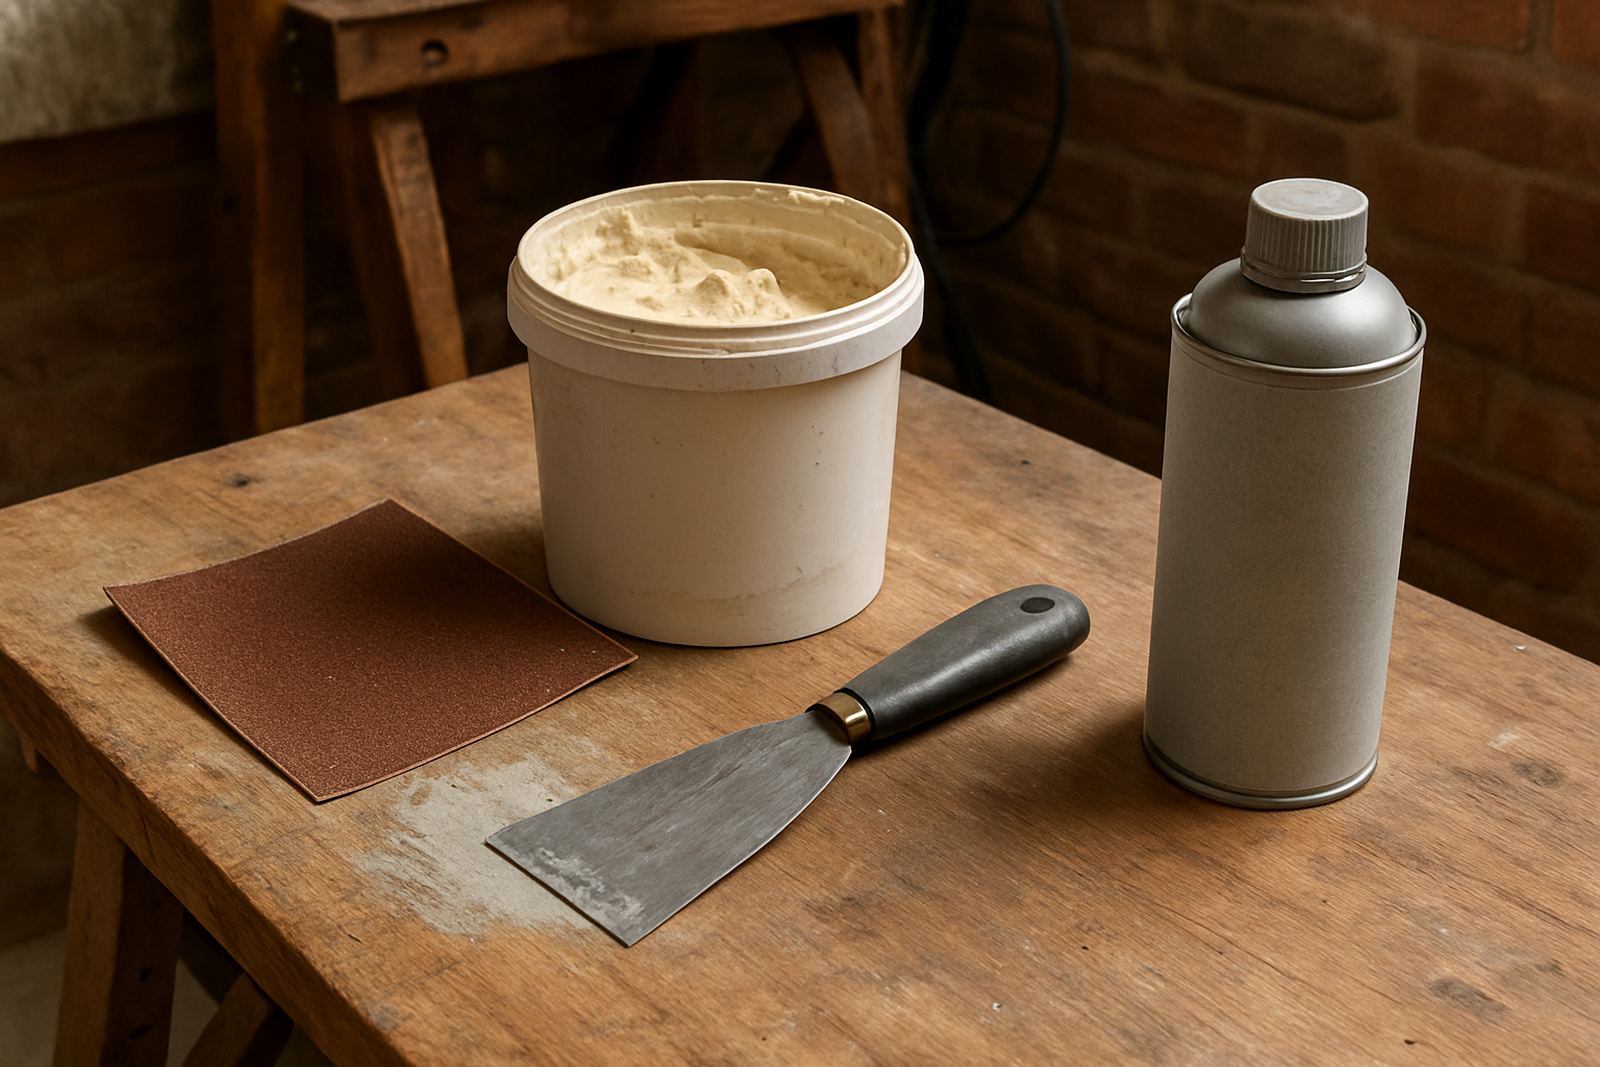
Minor surface damage should be fixed before the topcoat goes on. Fill nail holes, dents and small cracks with a suitable filler and smooth it off once dry. Wider cracks may need to be opened slightly and filled in stages. On exterior walls, watch for movement cracks and recurring damp, because these can reappear if the source is not sorted first.
If you are painting a rental unit, office, or contractor project with a quick turnaround, plan repairs early. Fillers need drying time and sometimes a second pass. Sand the repaired spots flush with the surrounding area, then remove all dust. The better the repair, the less the patch will show under light colour finishes.
- Use the right filler for plaster, wood or masonry
- Do not overfill, build up in thin layers where needed
- Sand repairs smooth and check with your hand for ridges
- Fix leaks and damp sources before painting over the damage
Prime Bare And Uneven Surfaces
Primer is not optional on many jobs. Bare plaster, repaired areas, raw wood and chalky walls usually need a primer or sealer so the finish coat can perform properly. Without it, paint can soak in unevenly, flash through patches or need extra coats. In humid coastal conditions and on porous surfaces, a suitable primer helps control absorption and improves consistency.
If you are repainting a dark colour to a much lighter one, a primer can reduce the number of coats and help the final colour look truer. For stained areas, use the right stain-blocking product before the topcoat. Always match the prep product to the surface and the problem, not just to the colour you want.
- Prime bare plaster, raw wood and repairs
- Use stain blocker on water marks or tannin bleed
- Seal dusty or chalky walls before finishing
- Allow the primer to dry fully before the next coat
Set Up The Site Before You Open Paint
Good preparation also means making the job easier to finish neatly. Move furniture, cover floors and protect fitted items, switches and tiles. In busy homes and trade sites, a little setup avoids splashes, dust and delay. Keep your tools clean, because dirty rollers and brushes can drag old debris back onto the wall.
Plan around weather and power interruptions too. In warmer months paint may dry fast in Gqeberha and Cape Town, which can leave lap marks if you work too slowly. On very hot or windy days, paint smaller sections and keep the lid on when not in use. For exterior work, avoid painting when rain is likely or when surfaces are still damp from morning moisture.
- Cover floors, counters and nearby fittings
- Mask neat edges before cutting in
- Check ventilation, lighting and drying time
- Keep rollers, brushes and trays clean throughout the job
Final Check Before The First Coat
Before you start painting, step back and inspect the whole surface again. It should be clean, dry, firm and smooth, with repairs filled and sanded. Run your hand over the wall to feel for bumps, dust or missed edges. If you can see a problem now, it will usually show even more after paint goes on.
A quick final check can save a repaint. Make sure the room is ready, the weather is suitable, and the correct primer or sealer has been used where needed. If you are unsure about the surface condition, get advice before you start so you do not waste material or time.
- Surface dry, firm and free of dust
- Repairs completed and sanded smooth
- Primer used where required
- Tools ready, area protected and paint mixed properly
When To Ask For Trade Advice
Some surfaces need more than a standard wash and paint. If you are dealing with peeling paint, damp walls, powdery plaster, smoke staining or a large commercial area, the prep stage can change a lot depending on the substrate. That is where proper product advice helps. The right cleaner, filler, primer and finish can reduce call-backs and save on labour.
For DIY jobs and contractor work in Korsten, Newton Park, Sandton, Randburg or Bellville, it helps to talk through the surface condition before buying material. Bring details like the room type, old coating, light exposure and whether the area is coastal or exposed to moisture. The more accurate the prep advice, the better the finish will look and last.