1. Choose the Right Sample Before You Come In
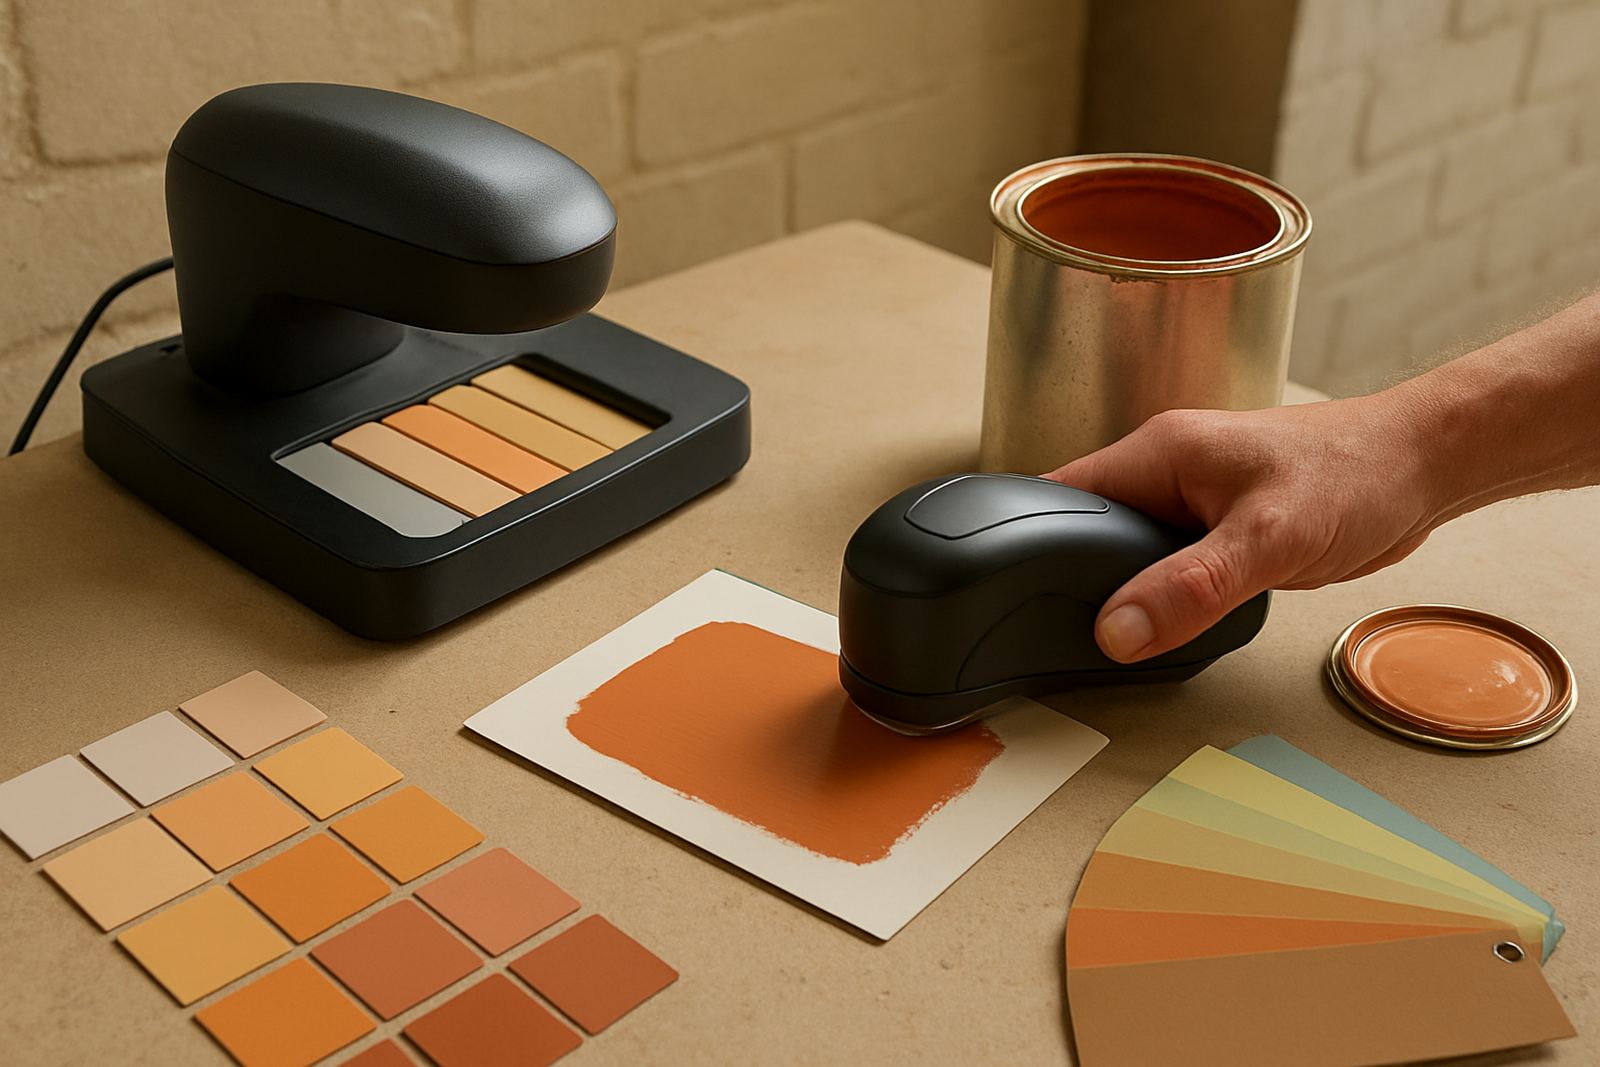
The best match starts with the best sample. If you can remove a loose piece from the wall, skirting, door or fascia, bring that with you rather than a photo on your phone. Photos can shift in bright sunlight, under LED light or next to a green lawn outside the window, and that makes colour judgement harder.
For the cleanest result, choose an area that has not faded badly, has not been patched, and is not covered in soot, damp marks or cooking residue. In homes around Korsten, Walmer and Newton Park we often see paint that looks different because of coastal humidity, smoke from nearby traffic or simple age. If the surface has been washed, note that too. A cleaned patch can read lighter than the surrounding wall.
- Bring a physical sample if possible.
- Choose an unpatched area with the least damage.
- Tell us if the paint is for interior or exterior use.
- Let us know if the area faces sun, sea air or heavy wear.
2. Give the Right Details About the Original Paint
Exact matching is easier when you can tell us what the existing paint was used on and how long it has been there. Walls, ceilings, wood trim, metal gates and plaster all age differently. A colour on a north-facing wall in Sandton will not look the same as a sheltered wall in Bellville or a coastal wall in Gqeberha.
It helps to note the finish too. Matte, low sheen, satin and gloss all change how colour appears. A pale grey in a matt finish can look softer than the same tint in gloss. If you know the previous product type or the last time the area was painted, share that as well. Even small details help us avoid a near miss.
- Where was the paint used?
- Is it interior or exterior?
- What finish do you want now?
- How old is the existing paint roughly?
3. Check the Surface Condition Before Any Tinting
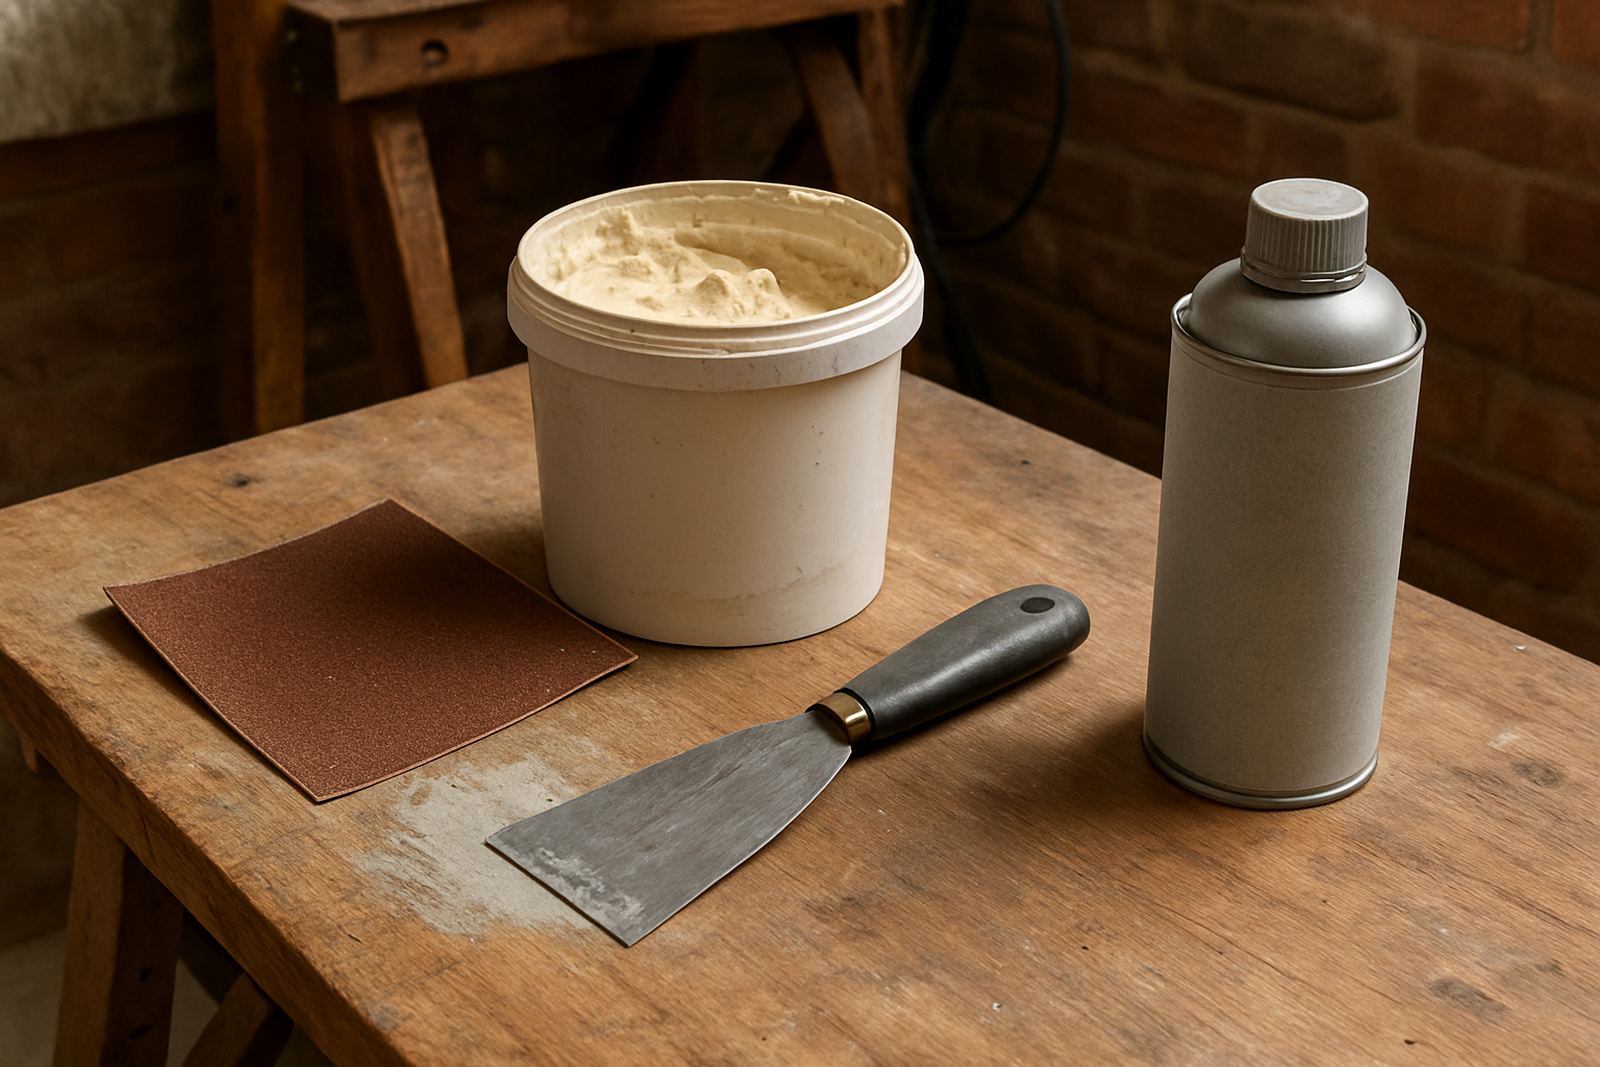
A close colour match will still look wrong if the surface below it is not sound. Loose dust, chalking paint, water staining and hairline cracks all affect the final result. If the wall has damp from a roof leak or a bathroom issue, that must be dealt with first or the new coat may dry unevenly and shift in colour.
For older homes and business premises, surface prep is often the step people rush. A quick sand, proper filler and the correct primer can make a repaint look much better than trying to cover a poor base with extra coats. If you are repainting in load-shedding affected areas, plan your prep work and application so you are not caught half way through a tin with no power for mixing or lighting.
- Check for chalking, cracks and damp stains.
- Remove loose paint and dust before sampling.
- Prime repaired areas properly.
- Do not match over active damp or mould.
4. Ask for a Sample Pot and Test It the Right Way
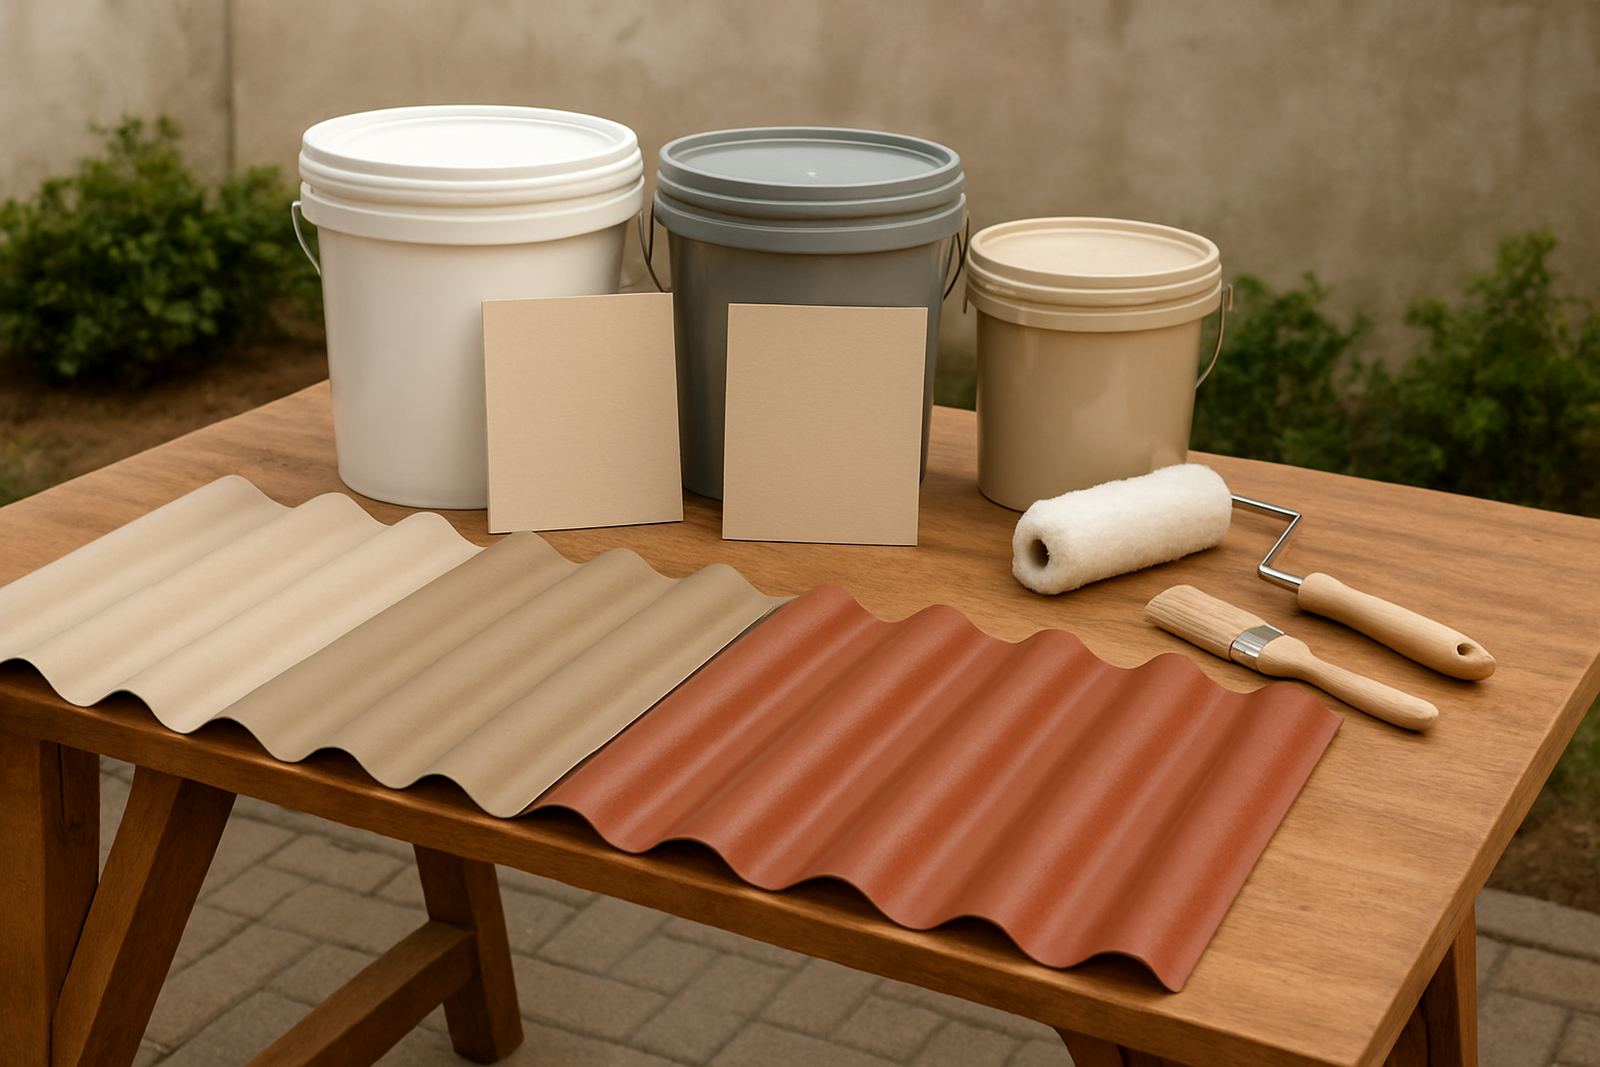
A small sample pot is the safest way to confirm a match before you buy in bulk. Apply it to a test board or a discreet section of wall and let it dry fully. Wet paint often looks darker or cooler than the dry finish, so do not judge it too soon. If the room is bright in the morning and shaded in the afternoon, check it at both times.
We usually recommend testing beside the original colour, not over the whole wall at once. That way you can compare tone, warmth and finish side by side. If you need to match a trim colour on gates, doors or shopfront metal work, test in a sheltered spot first. Coastal moisture in areas like Gqeberha can also change how a coating cures, so give it proper drying time.
- Use a test board or a small wall section.
- Wait until the paint is fully dry before comparing.
- Check the sample in natural and artificial light.
- Compare next to the existing colour, not on its own.
5. Tell Us How the Space Is Used
Paint colour is only part of the job. A busy hallway, a tenant unit, a shop counter area and a family bedroom all need different advice. Trade spaces may need tougher finishes and easier cleaning, while living areas often need softer sheen and better colour warmth. If you are repainting a rental, a school room or a contractor job, tell us the turnaround time and the level of wear expected.
We also help with repaint troubleshooting when a previous job has gone patchy, flashed, or changed shade after drying. That can happen when the wrong undercoat was used, the wall was not sealed properly, or the old surface has absorbed the new coat unevenly. The more you tell us, the better we can guide the next step and avoid extra cost.
- State the room or area clearly.
- Share cleaning and wear expectations.
- Let us know if it is for trade, rental or home use.
- Ask about contractor account help if you manage repeat jobs.
6. Use a Simple Final Checklist Before You Place the Order
Before you commit to the full quantity, go through one last check. Make sure the sample has dried, the sheen is right, and the colour still works in your lighting. If you are matching for multiple rooms or phases of work, confirm the same tint code is suitable across all areas. A paint that looks right in a north-facing lounge may feel too cool in a shaded passage.
It is also worth planning quantity carefully. Bigger jobs in Walmer, Randburg or Bellville often need bulk quantity planning so you do not run short mid-job. We can help with product recommendations, trade order support and advice on how much paint to keep aside for future touch-ups. That spare litre can save a lot of time later.
- Confirm the dry colour and finish.
- Check your wall area and coverage before buying.
- Keep a labelled touch-up tin aside.
- Write down the room, date and tint details.