Choose a ceiling paint that hides marks well
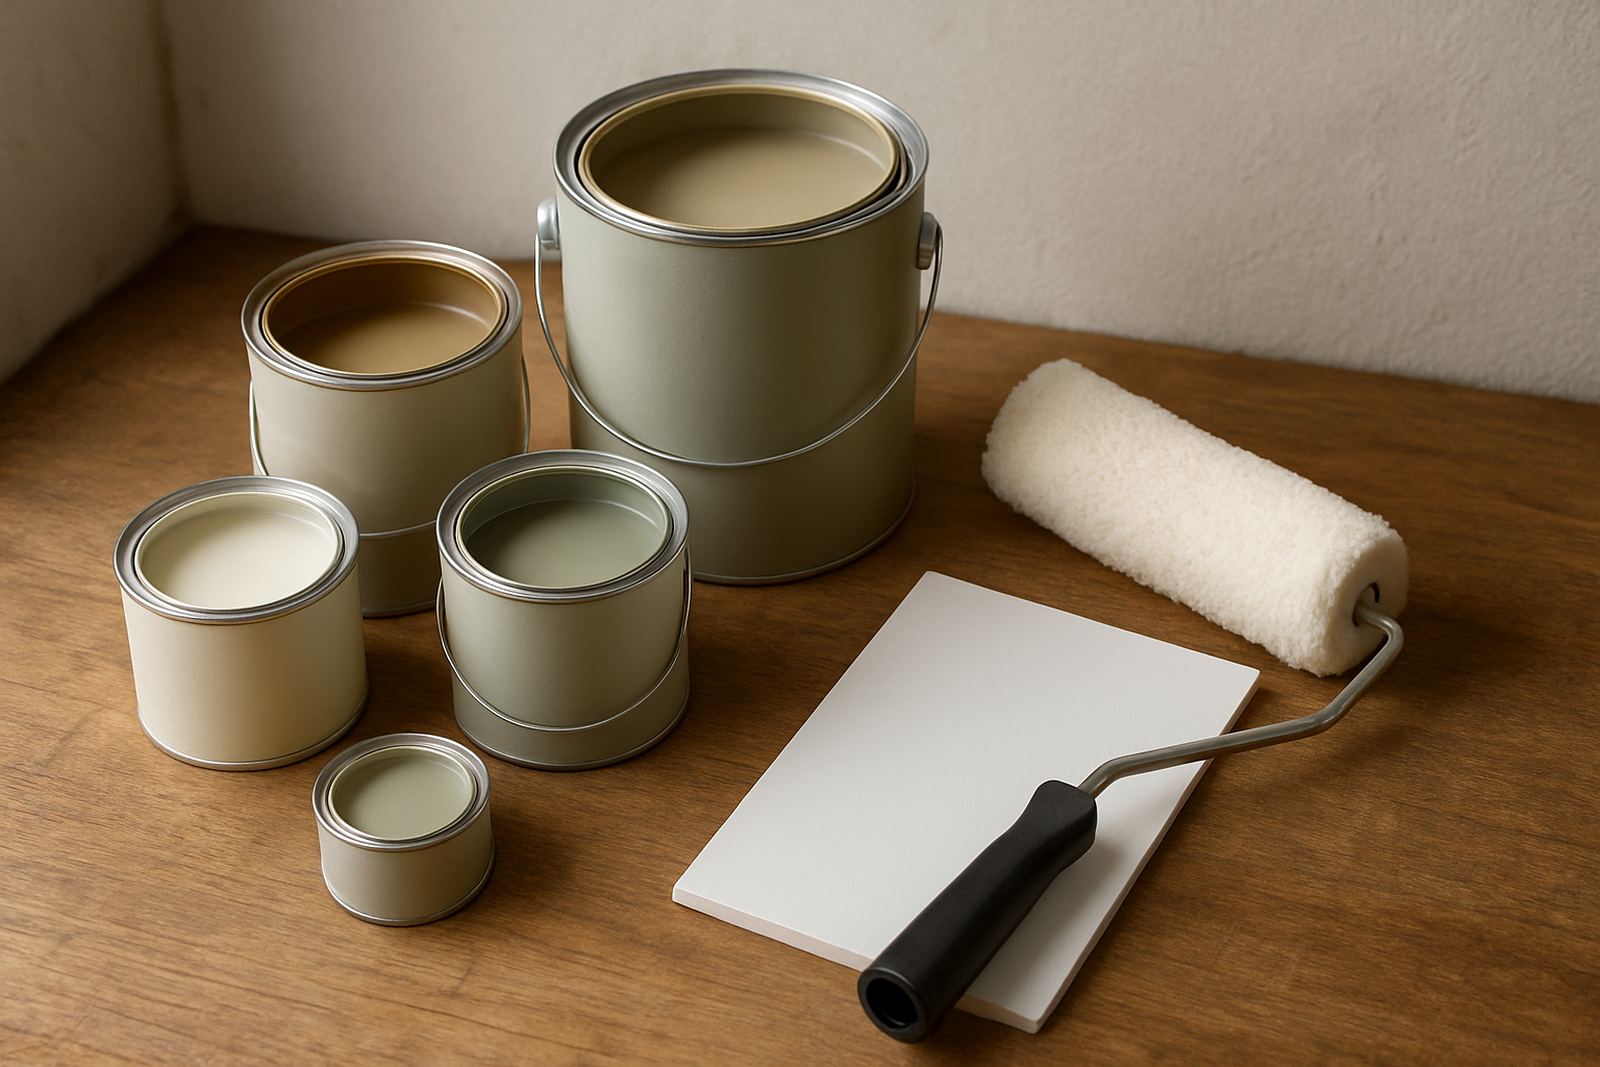
For most homes, a flat or low-sheen ceiling paint is the safest choice because it helps hide small roller marks and surface flaws. In sunny rooms in Gqeberha or hot upper-storey rooms in Joburg, a flatter finish also cuts down on the glare that can show every join and patch. If the ceiling is in a kitchen, bathroom or laundry, ask for a product that can handle a bit more moisture and regular cleaning.
Match the product to the room, not only the colour. White is still the most common ceiling choice, but soft off-white and very pale grey can work well in modern interiors. If you are repainting after years of smoke, water stains or old repairs, a stain-blocking primer may be needed before the finish coat goes on.
Check the ceiling before you buy paint
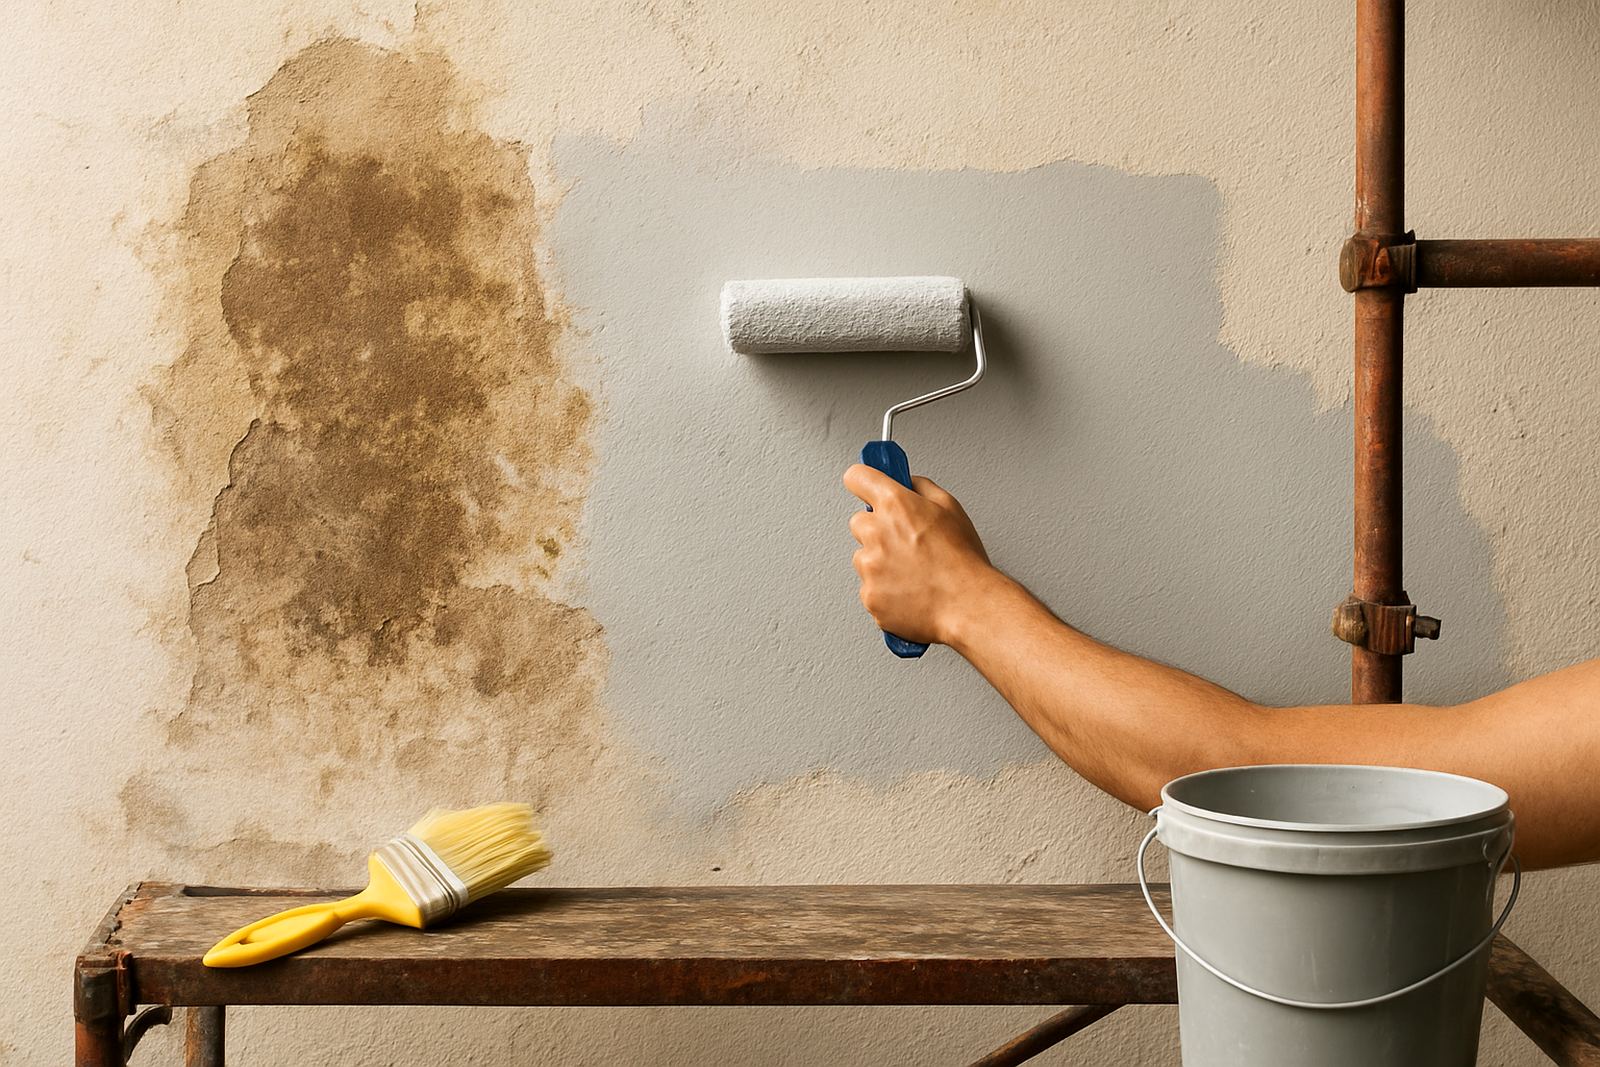
Ceilings often look fine from the floor but show problems as soon as a light hits them. Stand back and check for cracks, old nail pops, mould, peeling paint and any brown stains from roof leaks or upstairs plumbing. Fixing those issues first will save you from painting over trouble and seeing it again later.
- Look for hairline cracks around cornices and corners
- Check for damp marks, mould or powdery patches
- Tap loose areas to find paint that has lost adhesion
- Confirm whether the ceiling is plaster, board or previously painted cement
- Note how much natural light enters the room during the day
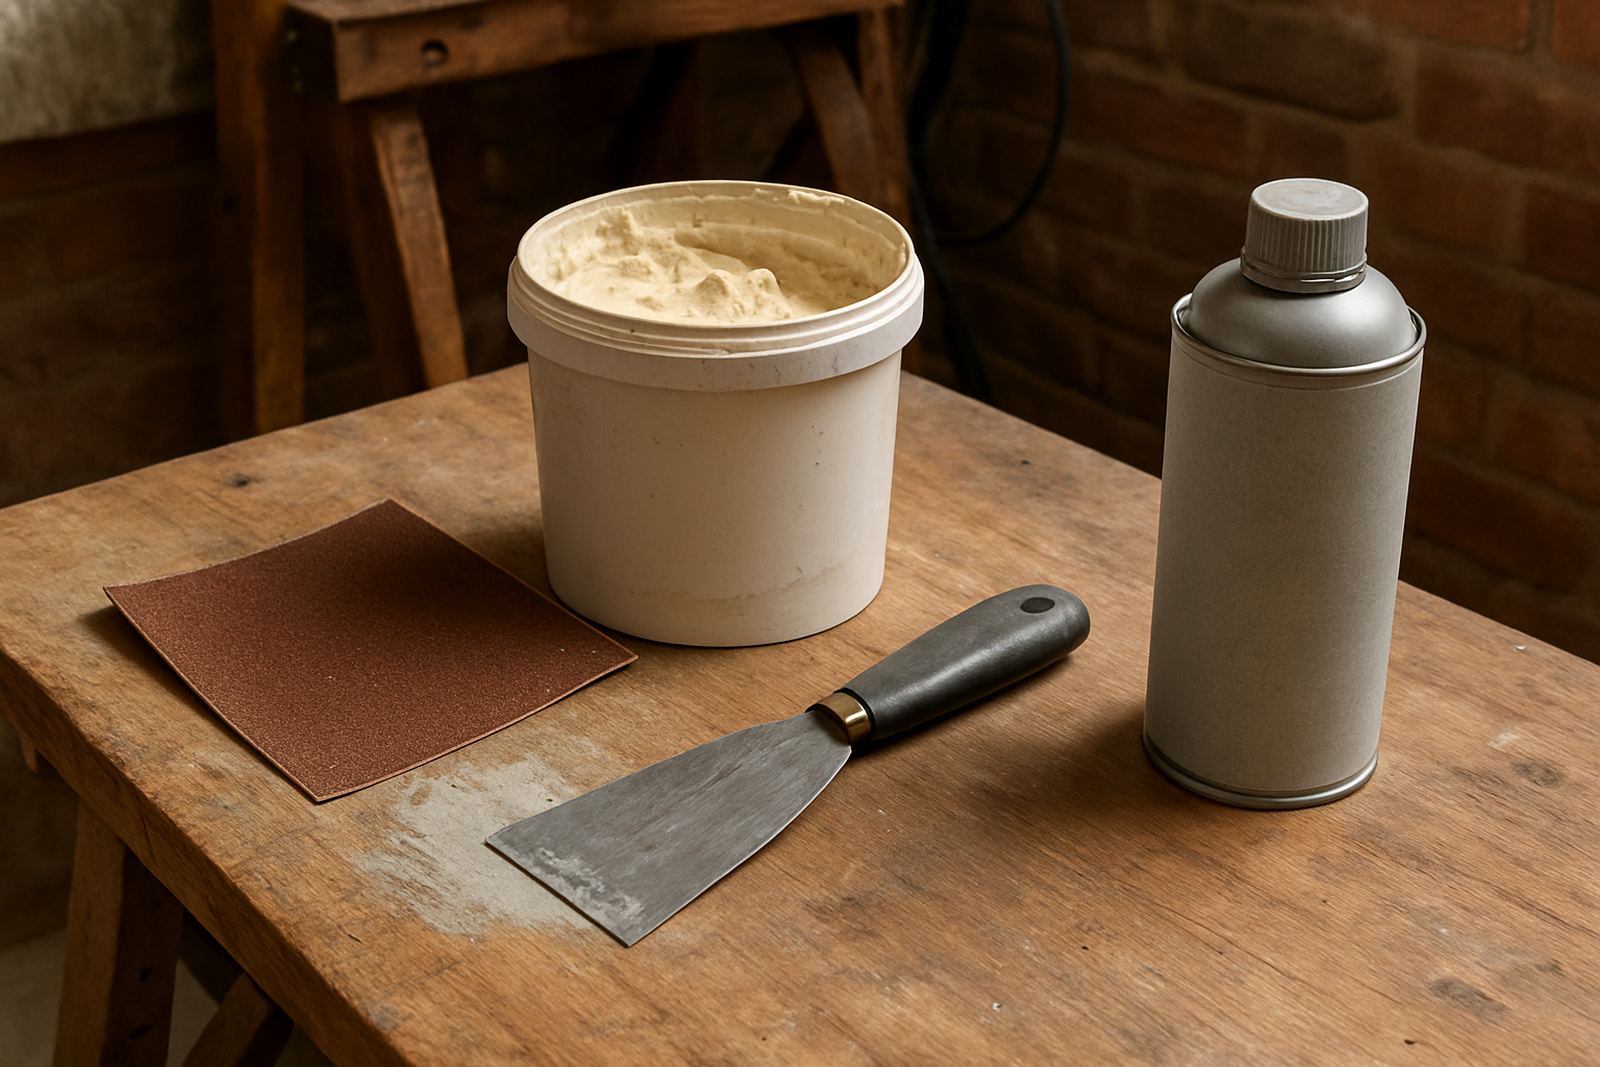
If the ceiling has old repairs, sand them smooth and feather the edges so the patch does not show through the final coat. A quick skim and sand can make a big difference, especialy under LED downlights.
Prep properly so the finish stays even
Good prep is what keeps the final coat looking clean. Start by covering floors and furniture, then remove dust from corners, cornices and light fittings. If the ceiling has cobwebs or chalky dust, the paint can drag and leave marks that are hard to fix later. In coastal areas like Walmer and parts of Bellville close to the sea air, wipe away any salt build-up and make sure the surface is dry before painting.
- Wash greasy or smoky ceilings with a mild cleaning solution
- Scrape loose paint and sand rough edges
- Fill cracks and holes with the right filler
- Use a primer on bare plaster, repaired spots or stained areas
- Allow enough drying time between each step
If you are painting over a dark ceiling or a badly stained one, a primer may prevent the old colour from bleeding through. Do not rush this stage, because a ceiling gives away every shortcut.
Use the right tools for fewer roller marks
A ceiling is easier to paint when the roller nap matches the surface. A medium to long nap works well on slightly textured ceilings, while a shorter nap suits smoother boards. Use a quality extension pole so you can keep the roller at a steady angle without stretching your shoulders the whole morning.
Keep the room well lit while you work. Side lighting helps you see missed spots and wet edges before the paint starts to dry. If power cuts are a worry, plan the job for daylight hours and have a torch or work light ready so you can finish a section properly rather than stop halfway.
- Roller and extension pole
- Angled brush for corners and edges
- Paint tray or bucket grid
- Masking tape and drop sheets
- Step ladder or platform with good footing
Apply ceiling paint in manageable sections
Work across the ceiling in small sections and keep a wet edge so the paint blends before it sets. Start by cutting in around the perimeter, then roll the main field in overlapping passes. Do not overload the roller, because excess paint can drip and create lap marks. Two thin coats are usually better than one heavy coat.
Paint in one direction for the first coat, then cross-roll lightly on the second coat if needed. This helps reduce visible lines and gives a more even finish. If the room is large, like an office or open-plan lounge, plan the work so one person cuts in while another rolls. That keeps the pace steady and avoids dry patches in the middle.
Fix common ceiling paint problems before they spread
Most ceiling faults come from moisture, poor prep or painting too slowly in warm conditions. If you see flashing, it usually means parts of the surface absorbed paint differently. A patchy result can also happen where filler, old paint and bare plaster were not sealed the same way. Recoat those areas only after the first layer has dried fully.
- Water stain showing through: stop the leak and prime the stain first
- Visible roller lines: use less pressure and keep a wet edge
- Patchy sheen: check that the entire ceiling used the same prep and primer
- Mould returning: clean the area properly and improve ventilation
- Peeling paint: remove loose material before repainting
For recurring damp issues in bathrooms or near roof leaks, painting alone is not enough. Sort out the source first, otherwise the same mark will return and waste your time and money.
Quick checklist before you start the job
A simple checklist helps you avoid missed steps and second trips to the shop. Whether you are handling a small spare room in Newton Park or a bulk repaint in Sandton, the same basics apply. It is worth checking the products, tools and drying time before the first tin is opened.
- Ceiling cleaned, repaired and fully dry
- Primer chosen where needed
- Correct finish selected for the room
- Roller nap and brush size matched to the surface
- Drop sheets, tape and ladder ready
- Ventilation sorted and painting time planned
If you are unsure about colour choice, coverage or repaint trouble spots, speak to a paint specialist before you start. The right advice upfront often saves a second coat and a lot of frustration later on.