A Colour on the Wall Never Looks Like It Does in the Tin
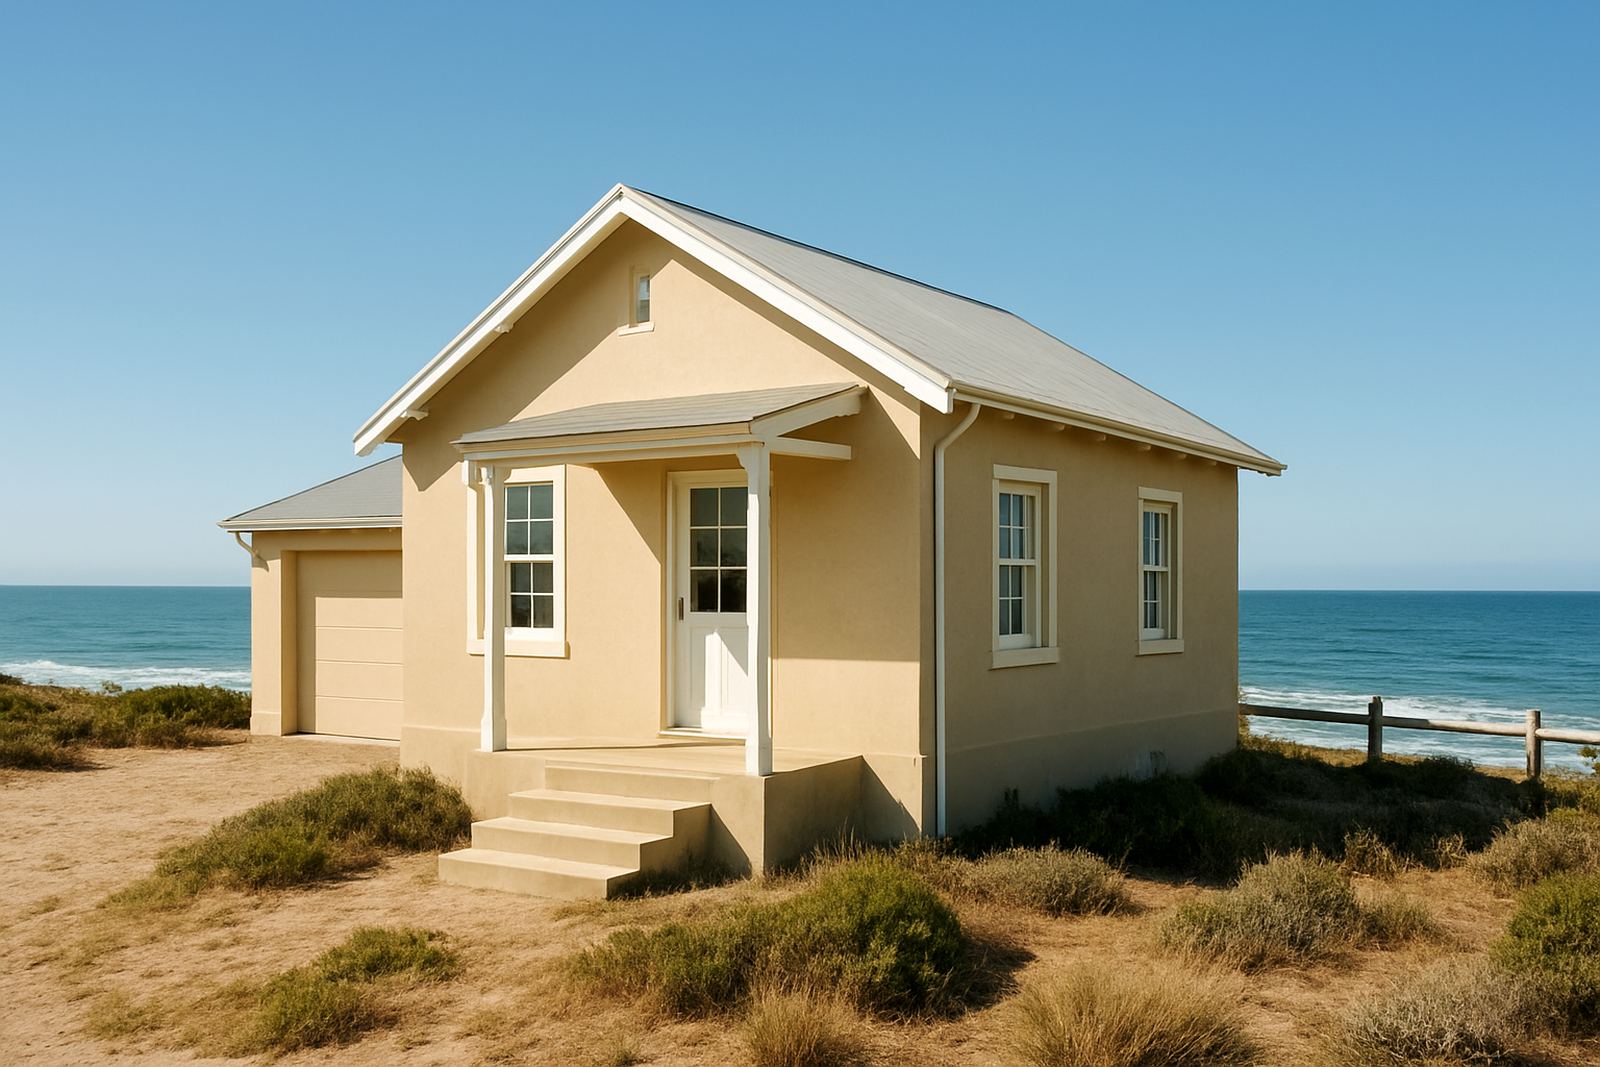
Most paint mistakes start with a simple assumption, that the colour you saw on a card or screen will look the same on your wall. It rarely does. South African homes deal with strong sunlight, shaded stoops, coastal humidity and different wall textures, all of which change the way paint reads once it dries.
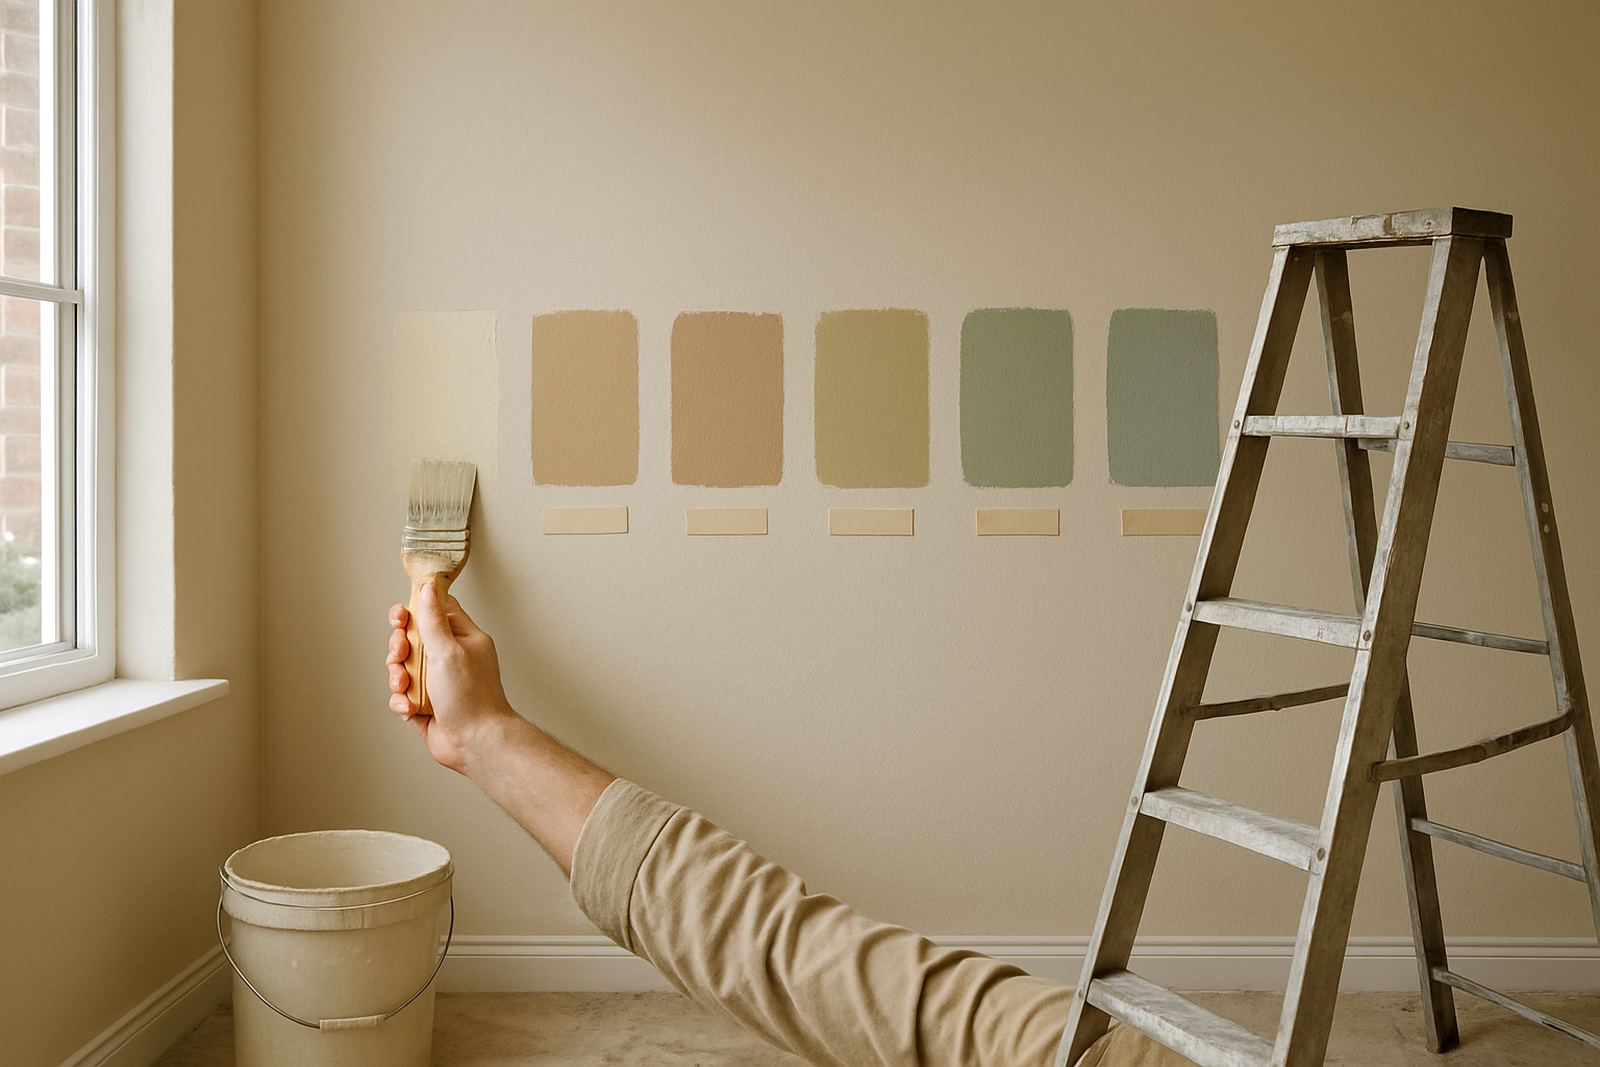
A sample lets you see the colour in your own light, in your own room, and against your own floors, tiles and roof shade. A soft grey in a north-facing Sandton lounge can look cooler at midday, while the same colour in a Korsten flat with warmer light may pick up a beige cast. That is not a fault in the paint, it is how colour works.
Small Test Pots Reduce Waste and Repaint Costs
Buying five litres because the colour seems close enough can become an expensive mistake if you later need to change the tone. A sample is far cheaper than repainting a whole room, buying extra labour time, or trying to cover a shade that looks wrong once it is up on the wall.
If you are repainting a rental, a shop front, or a contractor job with a tight margin, sample testing is one of the easiest ways to protect your budget. It also helps you avoid ordering the wrong quantity when a colour needs adjustment before the final mix.
- Test before you buy the full quantity.
- Check the colour on at least two walls.
- Look at it in morning and late afternoon light.
- Wait for the sample to dry fully before deciding.
Finish Matters as Much as Colour
People often focus on shade first, but sheen can change the result just as much. Matt, low sheen, eggshell and higher gloss finishes all reflect light differently. On a textured wall, a higher sheen can show patching or roller marks. In a kitchen or passage, a softer finish may hide small surface faults better.
Sampling helps you test the finish as well as the colour. That matters if you are working with older plaster, newly skimmed walls, or a ceiling where one coat may not hide repair work properly. A small patch can reveal if the chosen product is suited to the surface before you commit to the full job.
- Use the same primer or undercoat you plan to use on the project.
- Apply the sample with the same roller or brush you will use later.
- Test on a prepared section, not only on scrap board.
It Helps You Spot Problems Before the Full Paint Job
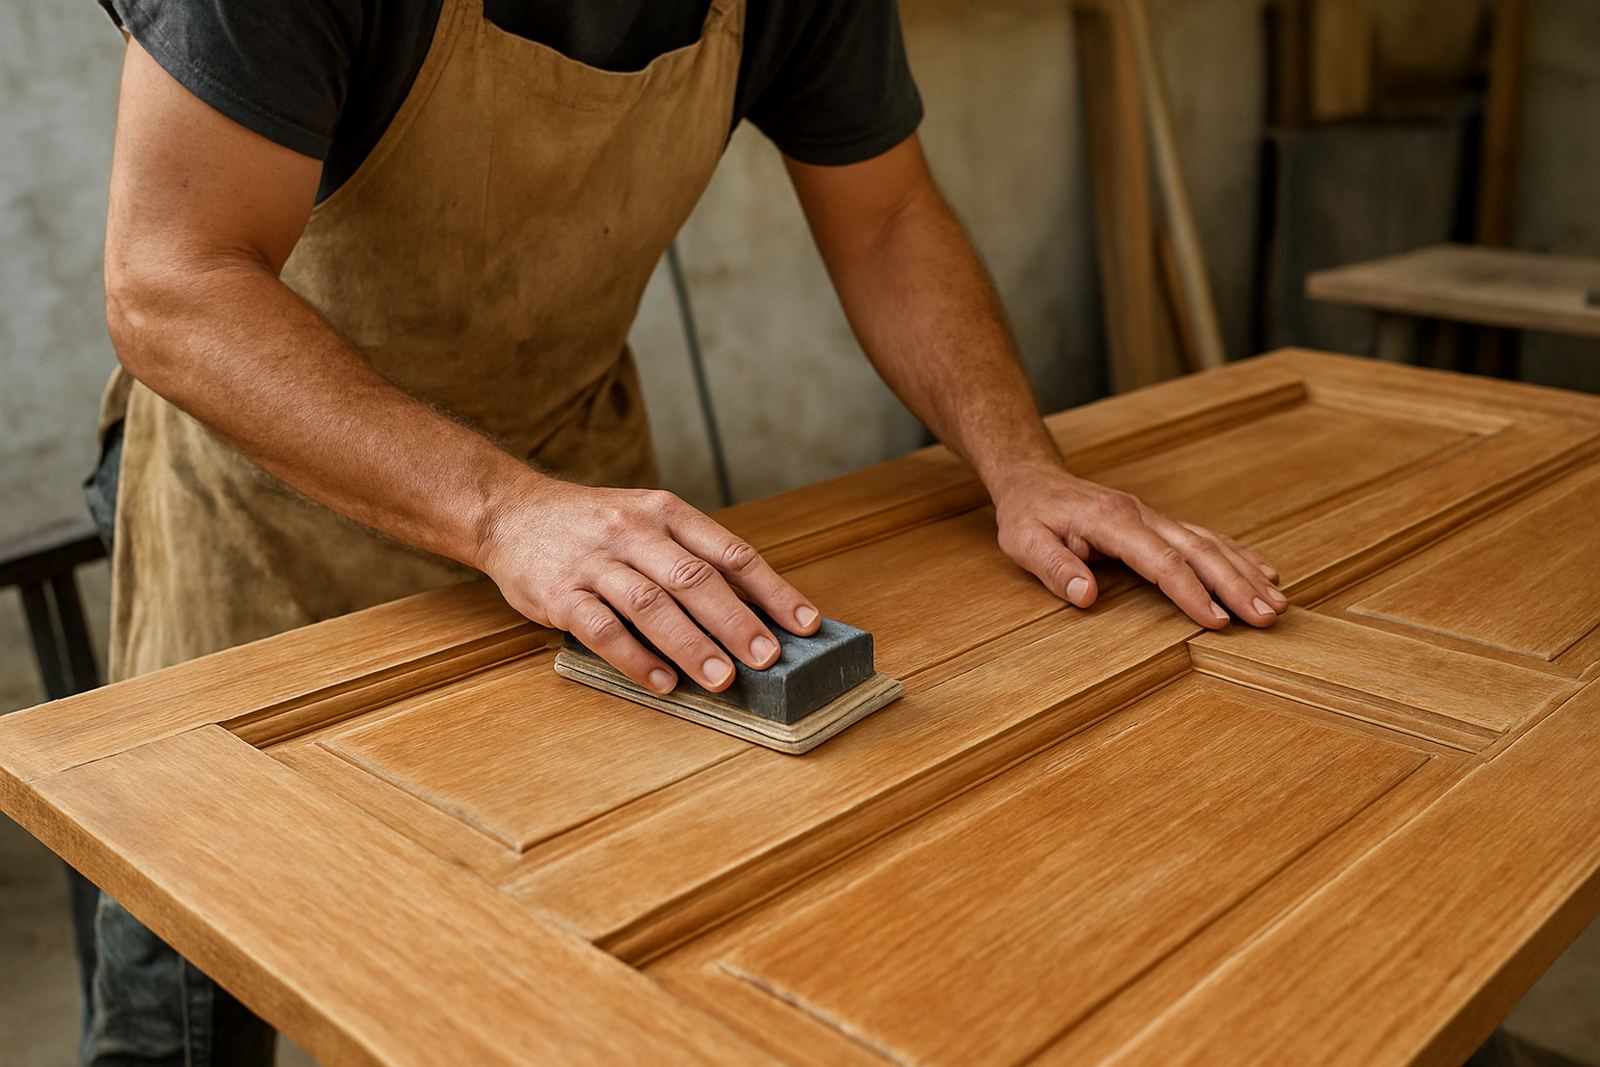
Sample testing is also a practical troubleshooting step. It can show if a wall needs more filling, sanding or sealing before the main coat goes on. If the sample flashes, sinks in unevenly, or changes after drying, you know there may be a surface issue, not just a colour problem.
This saves time for DIY users and makes life easier for tradespeople too. A contractor on a repaint in Bellville might discover that one room has patchy absorption from old repairs. That is better found with a sample than after 20 litres have already gone on. A little test now can stop a lot of explaining later.
A Local Example from Gqeberha Shows the Value
Take a homeowner in Walmer repainting a sunny living room and a hallway that stays dim most of the day. The first chosen colour looked good in the sample pot, but once painted onto the wall it appeared too cold in the living room and too flat in the hallway. After testing two warmer samples, the final choice worked in both spaces and avoided a second full repaint.
That kind of adjustment is common in Gqeberha, especially where sea air, bright light and older wall surfaces all play a part. The same applies in Joburg and Cape Town, where light, dust and building age can change the end result more than people expect.
How to Test Properly Before You Place the Full Order
Good sampling is not just painting a tiny square in one corner. You need enough coverage to judge the colour from a few steps back, and you need to leave it long enough to dry. If possible, sample two or three likely shades side by side so you can compare them in the same light.
It also helps to note the room purpose. A family room, exterior wall, boundary wall or office reception each has different wear and cleaning needs. That is where sound advice can save you from picking a product that looks right but works badly on the surface. If you are unsure, ask for guidance before you start the full tin.
- Mark each sample with the colour name and time applied.
- Check it near windows, corners and artificial light.
- Keep the sample area big enough to judge coverage properly.
- Ask about tint adjustment if the first sample is close but not exact.
Sample First, Then Buy with Confidence
When colour, finish and surface are all tested properly, you are more likely to get the result you wanted the first time. That means less wastage, fewer delays and fewer returns to the store for extra paint, which is better for both homeowners and contractors.
If you are choosing a new shade for a home, shop or rental unit, start small and make the final decision from the wall itself. It is a simple habit, but it can save real money and a lot of frustration.