Start cleaning before the paint dries
The best time to clean paint tools is straight after the job is done. Once paint starts setting in the bristles or roller fibres, it takes more water, more soap and a lot more elbow grease to get them usable again. If you are using water-based paint, rinse the brush or roller sleeve as soon as you finish cutting in or covering a wall. For solvent-based products, follow the product instructions and use the correct cleaning liquid first, then wash through with soap and water if needed.
In Gqeberha, where coastal humidity can slow drying times, some people leave tools for "just a few minutes" and then come back to hard paint on the ferrule. That usually means wasted bristles and a rough finish next time. Keep a bucket, old container or utility tub ready before you start. It helps if everything is within reach so you do not leave a brush sitting on a windowsill while you answer the phone or chase a ladder.
How to clean brushes without ruining the bristles
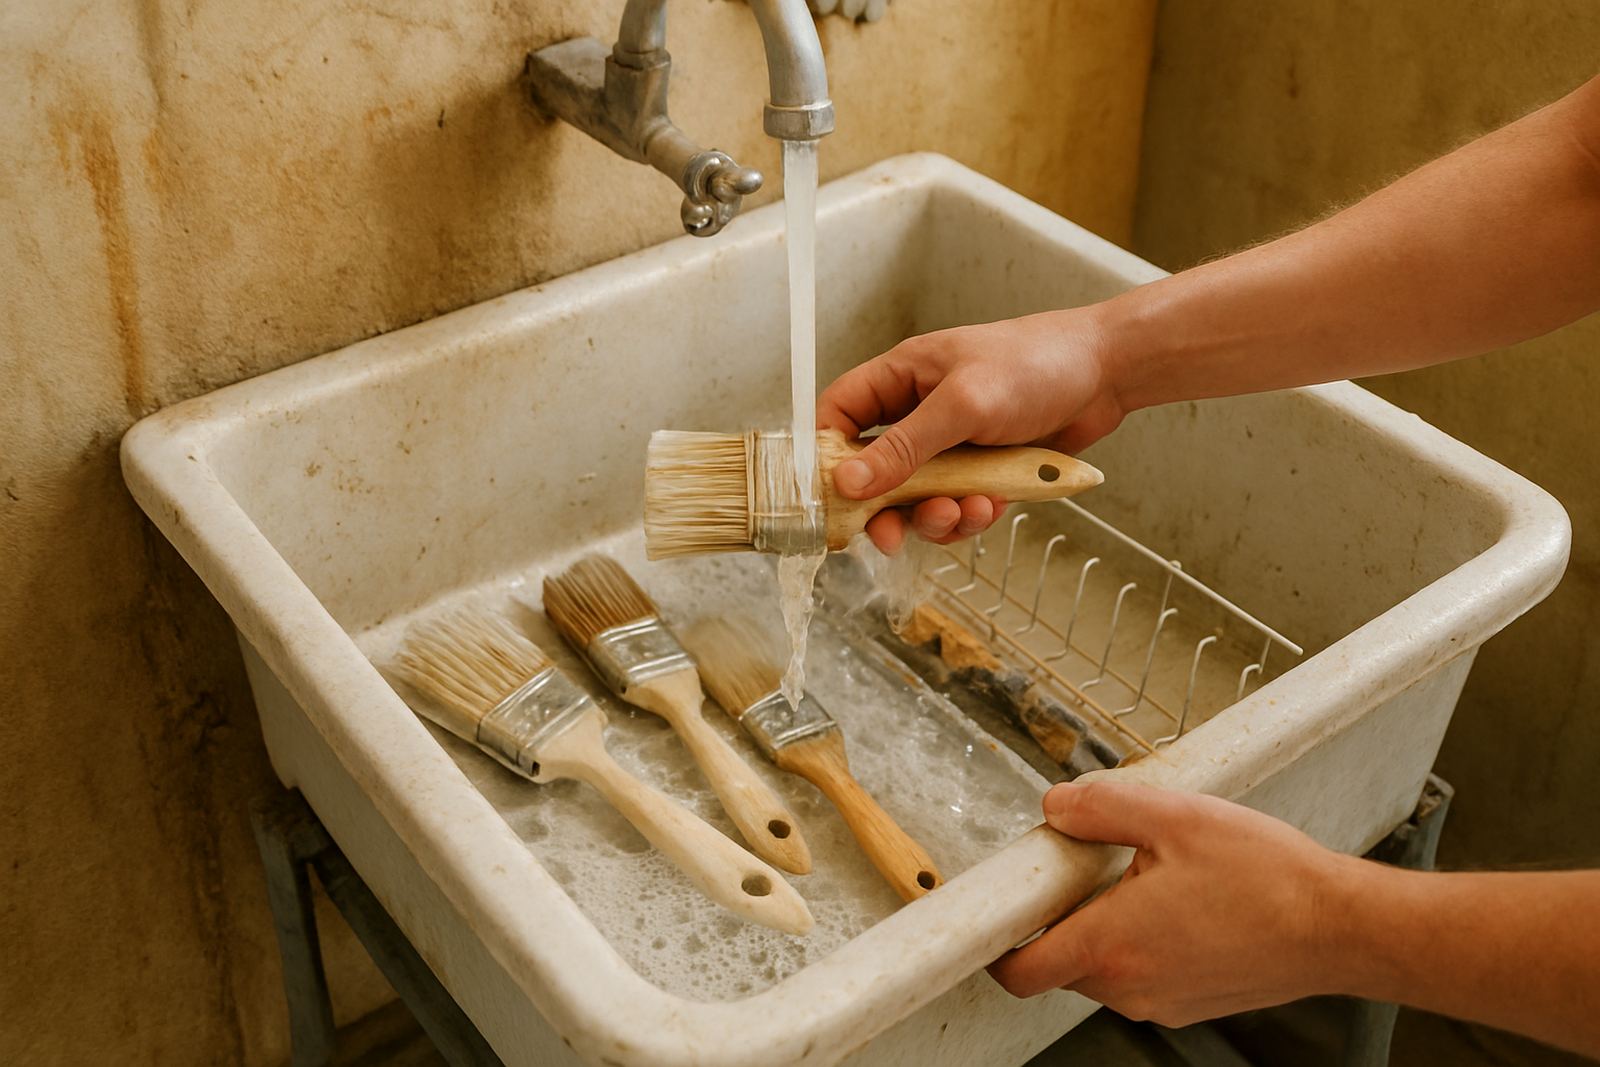
Brushes need a bit of care because the bristles can flare, bend or split if they are scrubbed too hard. Work the paint out with your fingers or against the side of the container, then rinse from the metal ferrule toward the tips. That keeps paint moving out of the brush instead of pushing it deeper in.
- Remove excess paint on the edge of the tin or tray first.
- Use lukewarm water for water-based paint, not hot water.
- Add a small amount of mild soap and work it through the bristles.
- Rinse until the water runs clear and no soap remains.
- Reshape the brush head with your fingers before drying.
Do not leave brushes standing in water overnight. The bristles can bend out of shape and the handle can swell, especially with cheaper timber handles. If the brush is a good one, it is worth spending an extra 3 minutes on proper cleaning. That little bit of care can keep it going through several rooms, not just one wall.
Roller sleeves need proper washing, not a quick dunk
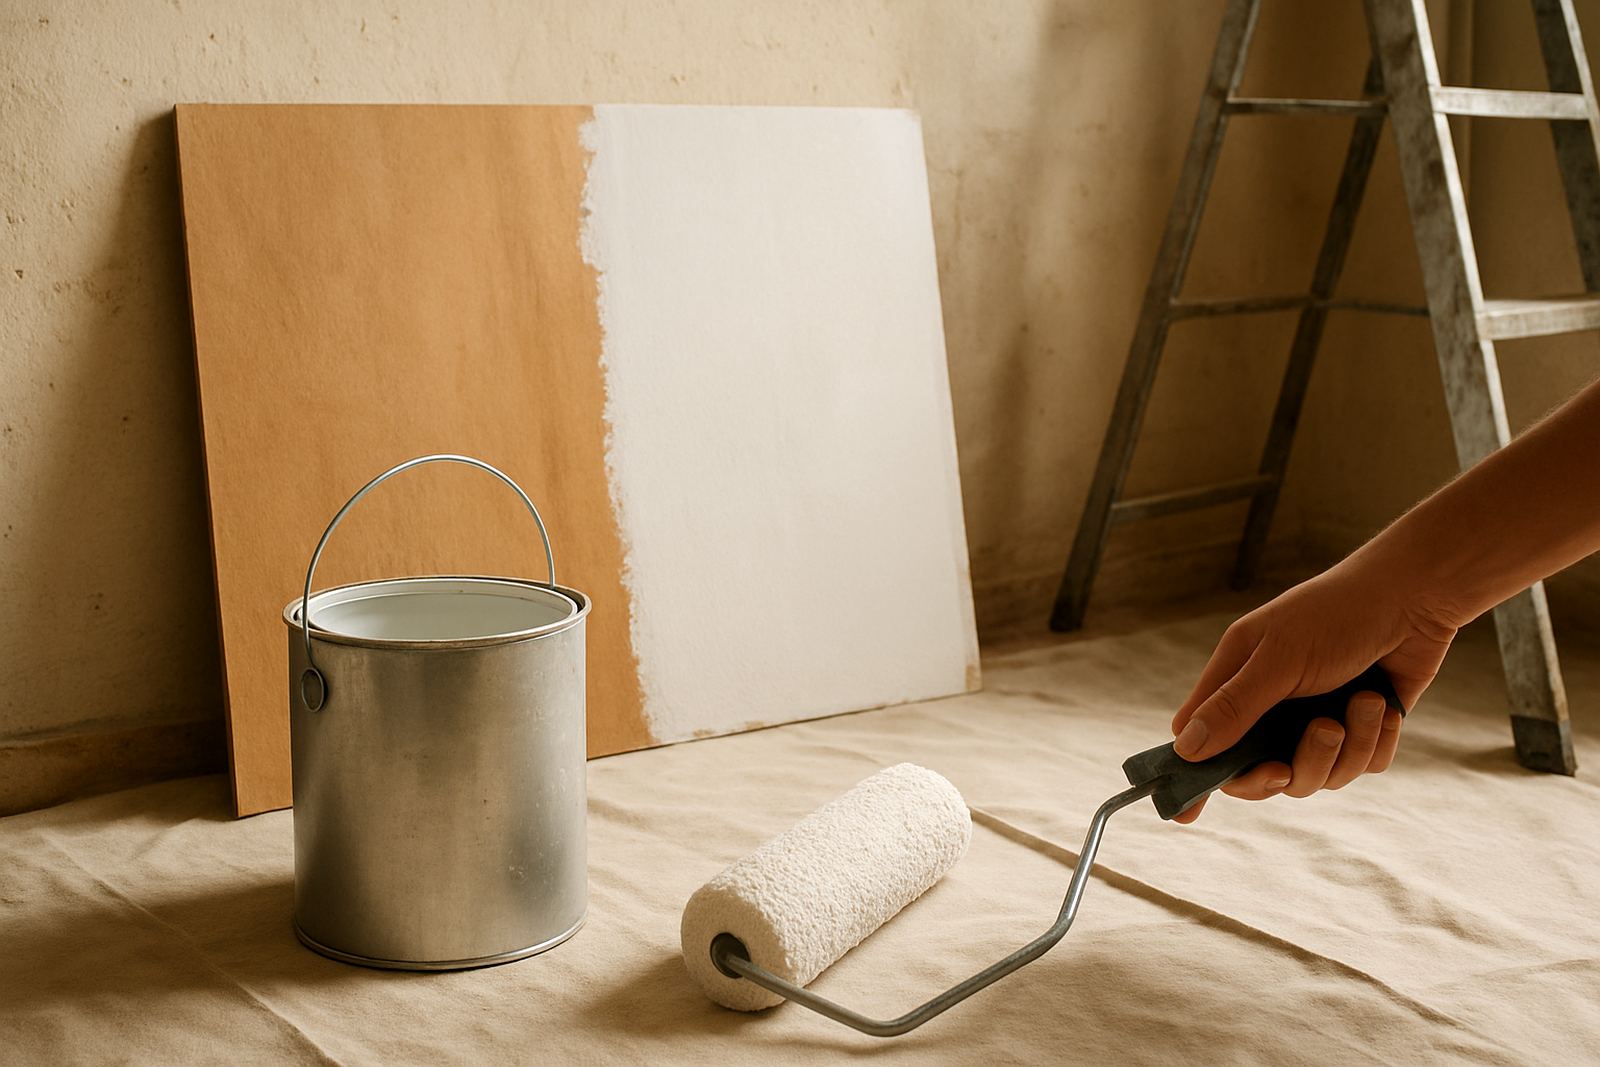
Rollers trap more paint than most people realise. A quick rinse may make them look clean on the outside, but paint can stay deep in the pile and harden later. Remove the sleeve from the frame if possible, then use your hands or a roller scraper to push out excess paint. After that, wash the sleeve in a bucket or sink and keep squeezing until the water clears.
If the sleeve is full of thick paint, repeat the rinse a few times. For larger trade jobs around Sandton or Bellville, contractors often save a lot of time by cleaning rollers as soon as one section of the job is finished instead of waiting until the whole site is done. That matters when you are working with multiple coats and changing colours in one day.
- Spin off excess paint before washing if you have a roller spinner or similar tool.
- Rinse inside the pile as well as the outside surface.
- Stand the sleeve upright to drain, then dry it in a clean place.
- Check that the core has not gone soft or warped before reusing.
Choose the right cleaner for the type of paint
Not every paint cleans up the same way. Water-based paint is generally simpler, because water and mild soap usually do the job. Oil-based or solvent-based products need the proper cleaning liquid and more care. If you use the wrong cleaner, you can leave a greasy film on the tool or damage the fibres.
For customers doing repaint troubleshooting, one of the common problems is using a contaminated brush on a second coat. A brush that still holds old paint, cleaner or dust can mark the new surface. That is why it helps to read the label before you start, not after the job is already on the wall. If you are unsure, ask for product recommendations before buying. It can save you from cleaning mistakes and give you a better finish on the next coat.
- Water-based paint: rinse and wash promptly with water and soap.
- Solvent-based paint: use the correct thinner or cleaning liquid first.
- Specialty coatings: check the instructions before cleaning, as some need a specific process.
Dry tools properly so they do not go musty
After washing, drying is just as important as cleaning. A damp brush stored in a closed toolbox can smell bad and go mouldy, especially in coastal areas like Gqeberha where the air stays moist. Lay brushes flat or hang them with the bristles pointing down so water does not collect near the handle. Rollers should drain fully before storage too.
If you put tools away wet, the metal parts can rust and the wooden handles can swell or crack. This is a problem on both DIY jobs and contractor sites, especially when tools are being used every day. Allow enough drying time before packing anything into a plastic bag or sealed box. If the next job is the following morning, give yourself the extra time now rather than replacing tools later.
Simple habits that save money on future jobs
Clean tools last longer, apply paint better and waste less product. That means smoother cutting in, fewer loose bristles in the finish, and less money spent replacing rollers after every project. For trade users, it also means less downtime because the same kit can move from one site to the next without drama.
In a Walmer repaint, for example, a small team can keep one set of brushes for skirtings, another for ceilings and another for trim if everything is cleaned and labelled properly. It sounds basic but it helps with bulk quantity planning and keeps the job moving. A tidy cleaning routine also makes it easier to spot when a brush is worn out and needs replacing instead of being forced into service again.
- Keep separate containers for clean water and dirty rinse water.
- Label brushes and roller sleeves if you use them for different coatings.
- Store cleaned tools in a dry cupboard or sealed box once fully dry.
- Replace damaged sleeves or split bristles before the next job starts.
When to get advice before you start scrubbing
Some paint products, special finishes and repair jobs need a more careful cleaning method. If you are working on a textured wall, a stained surface or a contractor account order, it helps to ask for guidance before you wash the tools the wrong way. The same applies when you are mixing sample pots, switching colours quickly or using a finish that sets faster in warm weather.
At ColouRight Paints, the team can help with surface prep advice, product recommendations and trade order support, so you are not guessing about the aftercare. For customers in Korsten, Newton Park, Randburg or Bellville, that can mean less wasted product and less time fixing tools that should have lasted much longer. If you are not sure how a coating should be cleaned, it is better to ask first than to find out once the brush is already ruined.