Start with the surface, not the paint colour
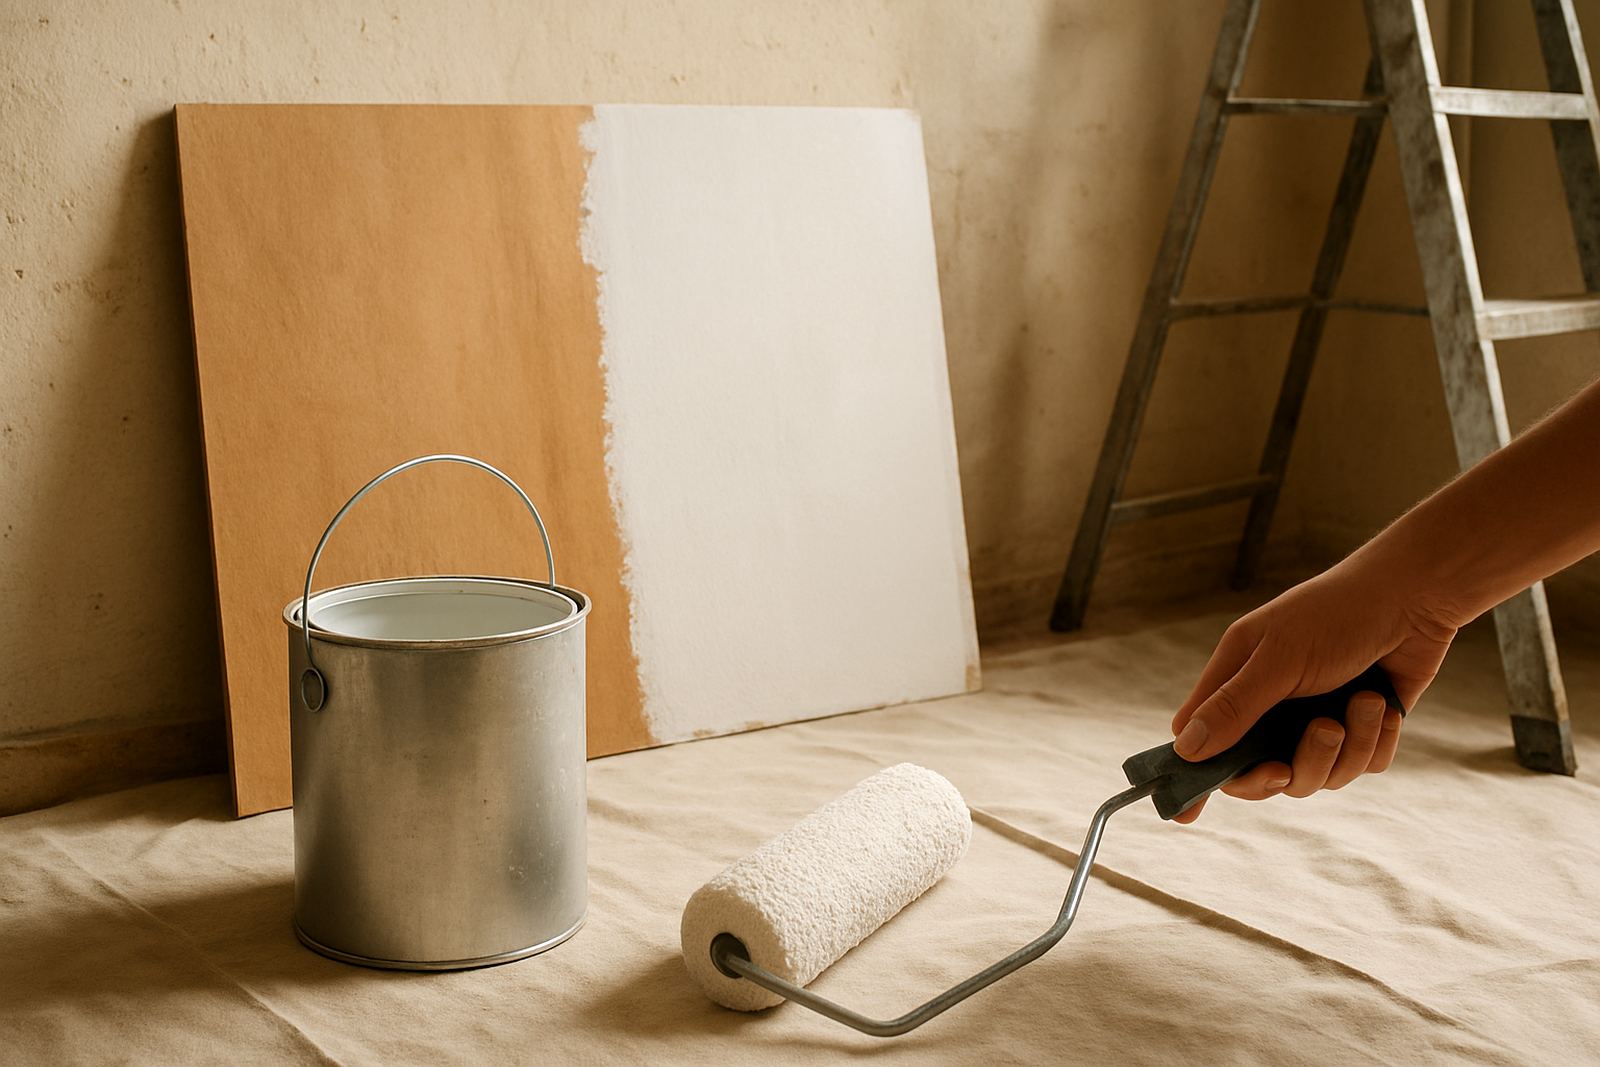
Most paint problems begin with the surface underneath. If a wall is powdery, stained, glossy, repaired with filler, or showing patchy old colour, primer gives the topcoat a better base to sit on. It helps the new paint bond properly and evens out how the surface absorbs paint.
On sound walls that are already the same colour and in decent condition, you might not need a primer. But once you change from a dark shade to a light one, or from a satin finish to a matt finish, primer often reduces the number of coats needed. That can save time, paint and money.
When primer is worth using indoors
Inside homes and offices, primer is especially useful after repairs, on new plaster and on areas that have picked up marks over time. Water stains, smoke stains and nicotine staining can all bleed through if they are not sealed first. Primer helps lock those marks down so they do not show through the topcoat.
- New plaster or skimmed walls that are still curing
- Filled cracks, patched corners or repaired ceilings
- Walls with old water marks or smoke discolouration
- Previously painted surfaces that are chalky or dusty
- Changes from a very dark colour to a lighter one
In older houses around Walmer or Newton Park, it is common to find a few different paint layers on one wall. A good primer can help pull those different areas into line, so the final colour looks more even and less blotchy.
Primer on exterior walls in coastal weather
Along the coast, paint faces humidity, sea air and strong sun. In places like Gqeberha, exterior walls can take on salt and moisture, while Cape Town homes may deal with wind, damp mornings and quick weather changes. Primer helps on bare plaster, weathered masonry and repaired sections before the finish coat goes on.
It is also useful on exterior areas where the old paint has been sanded back, because sanding can leave a surface that is too open and uneven. Primer helps the topcoat grip better and can improve durability in harsh conditions. If you skip it on tired exterior walls, the finish may look fine at first and then start failing earlier than it should.
For boundary walls, fascias, concrete columns and other exposed areas, choose the primer for the material and the condition of the surface. That simple step can help the paint film hold up through sun, rain and the odd heavy wind.
Wood, metal and tricky surfaces need special attention
Not every surface behaves like a normal wall. Wood can absorb paint unevenly, while metal needs proper preparation to help prevent early rust marks. Glossy or slick surfaces, such as old enamel finishes, also need a primer that can key into the surface.
- Wood doors, skirtings and trim that have been stripped or sanded
- Metal gates, security bars and railings with cleaned rust spots
- Melamine, hardboard or other smooth interior surfaces
- Previously glossy finishes that have been sanded dull
On these jobs, the wrong primer can cause problems later. A mismatch between surface and primer may lead to poor adhesion or visible imperfections in the topcoat. If you are not sure, ask for product advice before you start. It is cheaper than redoing a whole gate or set of doors.
How to tell if you can skip it
There are times when primer is not necessary. If the surface is sound, clean, dry and already painted in a similar colour and finish, a quality topcoat may be enough. The key is to test the wall, not just rely on how it looks from across the room.
Try this simple check:
- Wipe the surface with a dry hand or cloth. If dust comes off, it may need sealing first.
- Look for shiny patches, stains or repaired spots that absorb differently.
- Rub a hidden area. If the old paint comes off as powder, prime before painting.
- Check for peeling, hairline cracks or water damage. These need prep before any topcoat.
If a wall was painted recently and is in good condition, you may only need light sanding and cleaning. But if the job has mixed surfaces, or the room takes heavy wear, primer is often the safer choice.
A practical local example from a repaint
A common example is a living room repaint in Korsten after a damp patch near the ceiling has been repaired. The wall might look fine once the filler is dry, but if the repaired area is left unprimed it can flash through as a dull patch once the final colour is rolled on. That means the customer sees the repair again every time the light hits the wall.
In that kind of job, a stain-blocking or sealing primer on the repaired section helps the finish coat blend properly. If the room is being changed from cream to a deeper greige, the rest of the wall may also need a primer or undercoat to help with coverage. The result is better colour consistency and less touch-up later. It saves a lot of faffing about too.
For trade work, primer can also help when a contractor is planning bulk coverage on new units, rental flips or shopfront refreshes. It makes the job more predictable, which matters when timelines are tight and the weather is playing up.
What to ask before you buy primer
Primer is not one product for every surface. Ask the right questions and you are more likely to get the finish you want first time. A good supplier will look at the material, the old coating, the room conditions and the final paint system before recommending a product.
- Is the surface new, repaired, stained or already painted?
- Will it be inside or outside?
- Is it plaster, wood, metal or a glossy finish?
- Is the final colour light, dark or a strong accent shade?
- Will the area face humidity, sun or heavy wear?
That sort of planning matters in homes and businesses across Gqeberha, Sandton and Bellville. Primer is not always required, but when it is needed it does real work. Used in the right place, it improves adhesion, coverage and durability without wasting product.