Why Paint Lifts Instead of Sticking
Paint does not peel for no reason. It lifts when the bond between the coating and the surface breaks down, and that can happen fast on walls, ceilings, doors and exterior trim. Sometimes the problem starts with dust left on the wall, sometimes it is damp behind the plaster, and sometimes the old coating was not sound enough to paint over.
In coastal areas like Gqeberha, humidity and salt air can shorten the life of a weak coating. In hotter inland suburbs like Randburg and Sandton, strong sun and temperature swings can make exterior paint expand and contract until it starts to flake. The key is to work out whether the failure came from the surface, the environment, or the paint system itself.
- Dust, chalky residue or grease left on the surface
- Moisture rising through plaster or entering through cracks
- Poor sanding between old and new coats
- Using an unsuitable primer or topcoat
- Painting over loose, flaking paint instead of removing it
Moisture Problems Are Often the Real Culprit
Water is one of the main reasons paint peels. If a wall has a leak from a roof, bathroom, window sill or outside crack, the paint can blister first and then come away in sheets. On older homes, rising damp can also push salts through plaster and leave a powdery finish that will not hold new paint for long.
This is common after heavy rain, near unsealed parapets, and on walls that stay shaded and slow to dry. In a Korsten house, for example, a bedroom wall facing a boundary wall may peel again and again if the outside surface is taking in rainwater and the internal plaster never fully dries. The paint is usually only showing you a deeper problem.
- Check for stains, soft plaster or bubbling around the affected area
- Look for broken sealant around windows and doors
- Test whether the wall feels damp in the morning and dry later in the day
- Repair leaks first, then allow proper drying time before repainting
Poor Surface Prep Makes Even Good Paint Fail
Many peeling jobs come down to preparation. If the wall was not cleaned, sanded and primed properly, the new paint may look fine for a short while and then start to lift. Old gloss paint, powdery cement paint and dusty filler are all common trouble spots. A coating can only stick to what is underneath it, so if the base is weak the topcoat will fail as well.
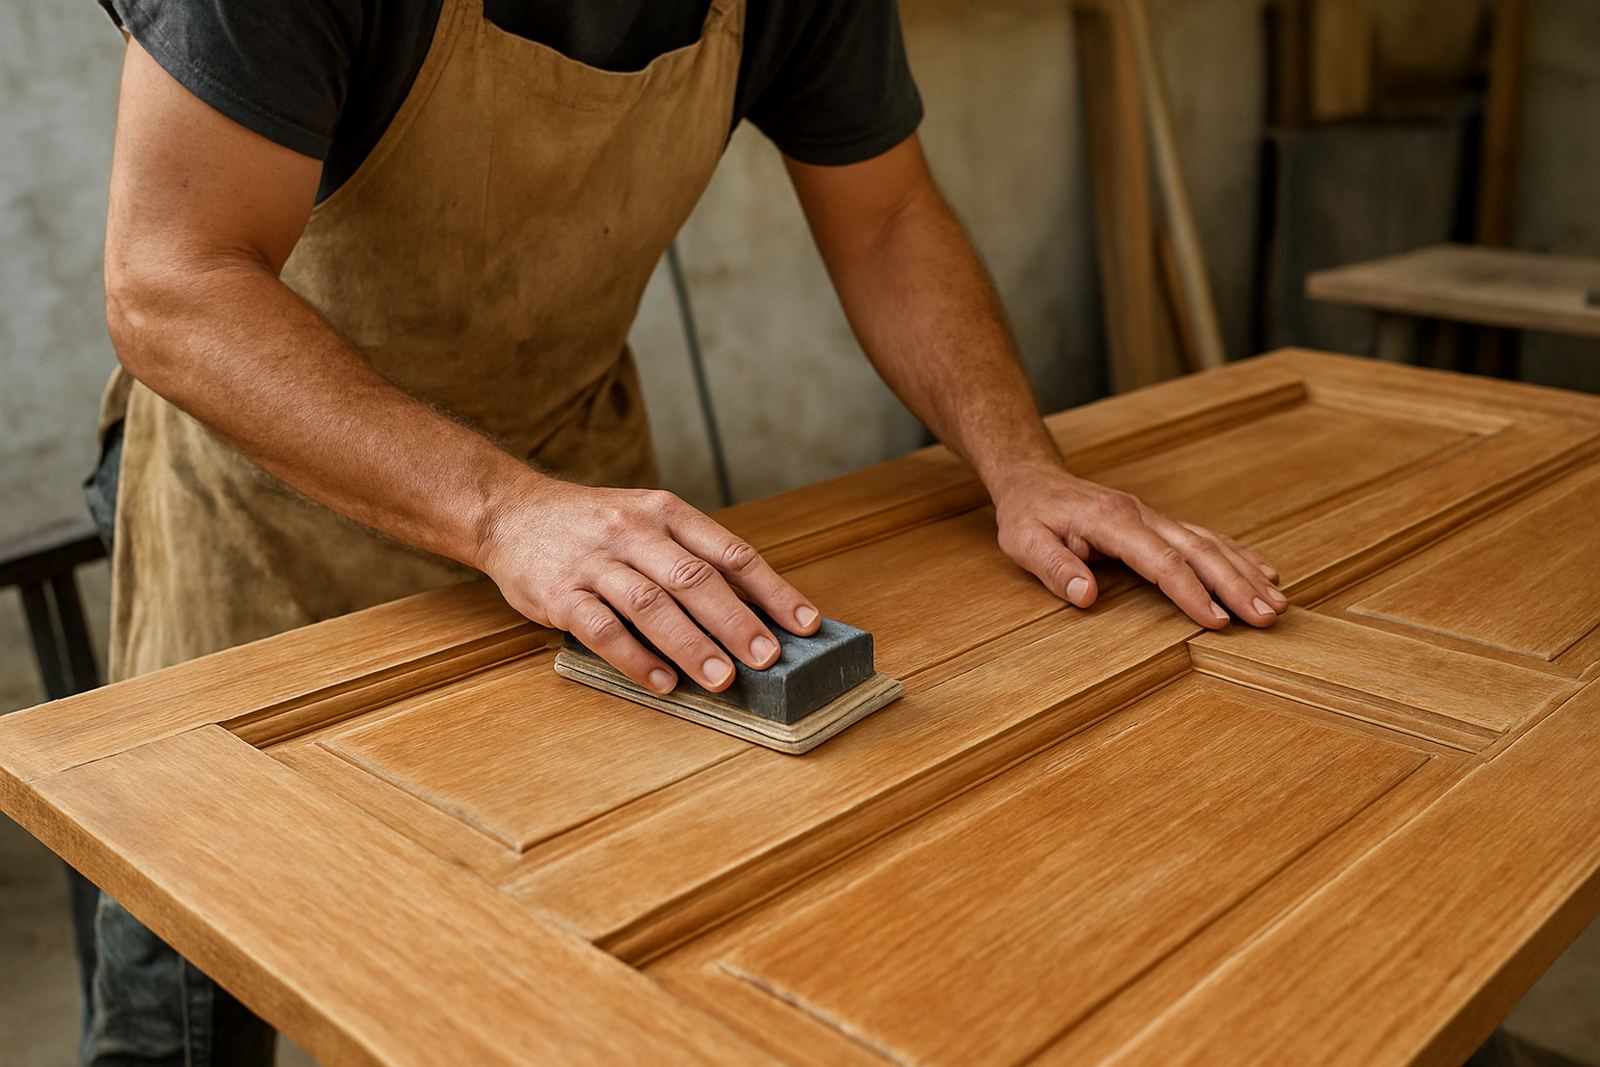
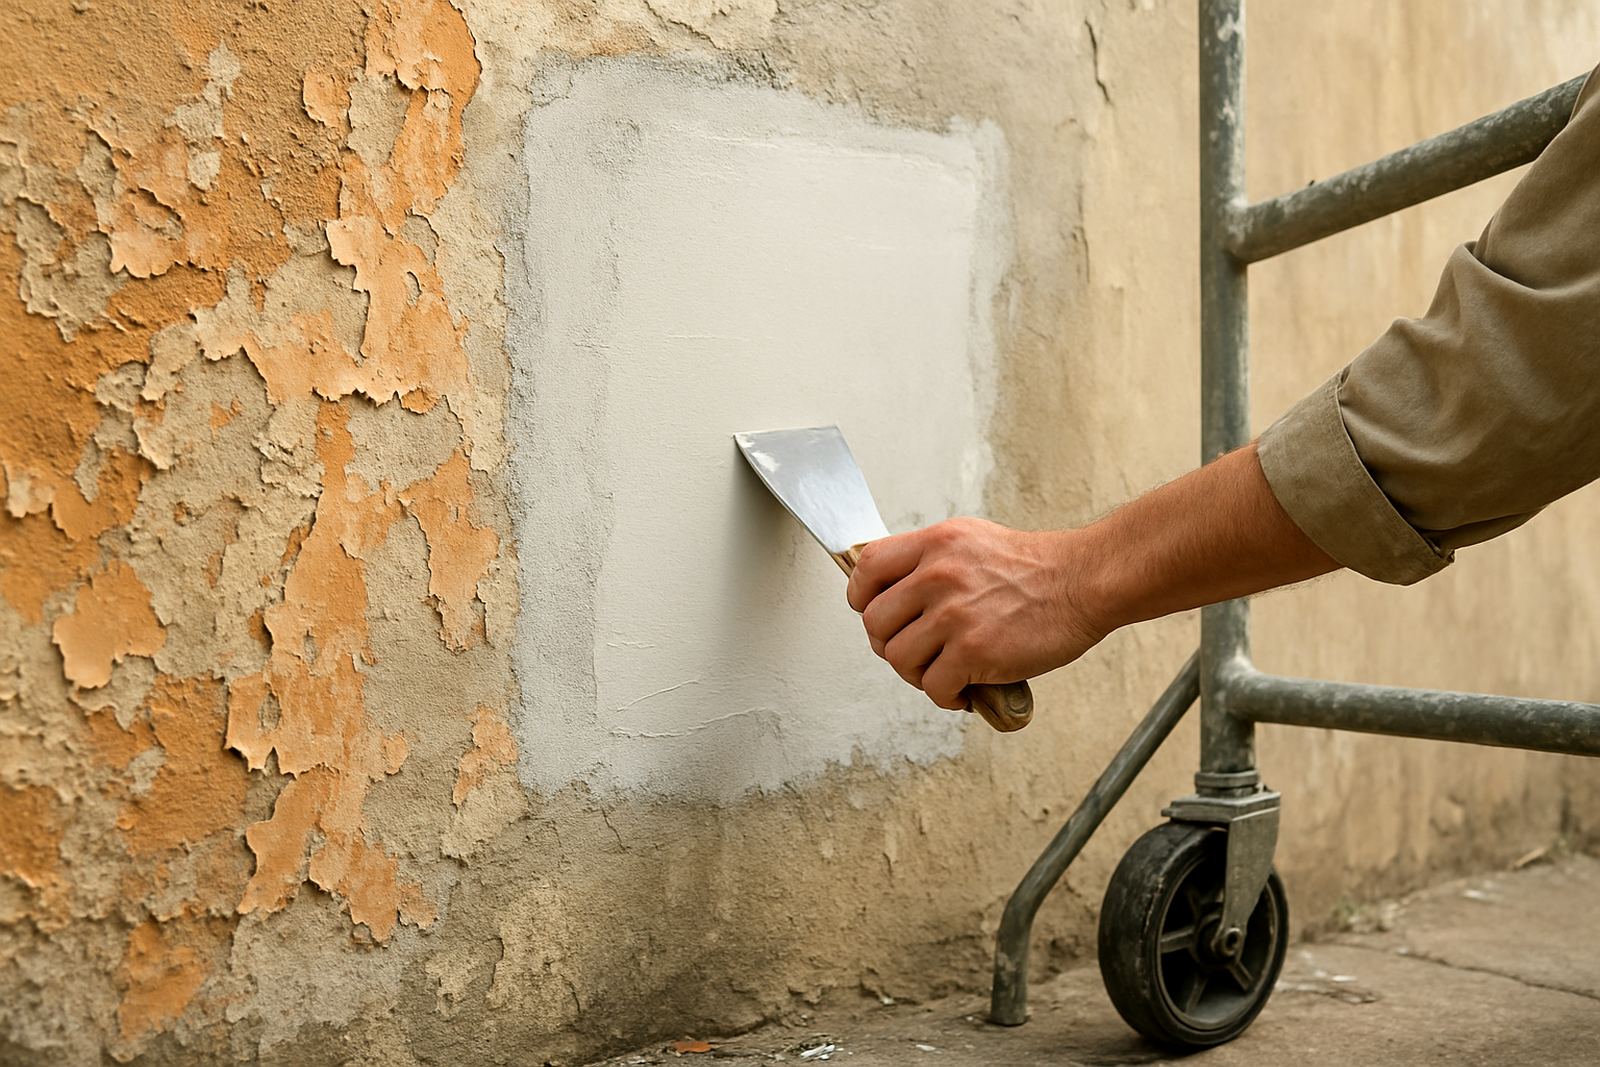
Before repainting, remove all loose paint with a scraper, sand the edges smooth, and wipe away dust. If the surface is glossy, it needs a proper abrasion so the next coat has something to grip. If the surface is chalky, it usually needs sealing. Rushing this stage is where many DIY jobs go wrong, especially when the weather is hot and people want the paint on and finished quickly.
- Scrape all loose or hollow-sounding paint
- Feather the edges so you do not see hard ridges later
- Wash greasy areas, especially near kitchens and door frames
- Use the correct primer for plaster, wood, metal or previously painted surfaces
The Wrong Paint Choice Can Cause Early Peeling
Not every paint suits every surface. Interior wall paint on exterior masonry will struggle. A low-grade coating on a sun-facing wall may look good on day one but break down early. Metal surfaces need special treatment too, because rust and old scale will push paint off from below if they are not treated properly.
Paint also needs to suit the conditions of the area. Coastal humidity, strong UV and frequent cleaning all affect product choice. For example, a kitchen or passage in Bellville may need a tougher washable finish than a dry bedroom, while a steel gate in Walmer needs rust treatment, primer and a suitable topcoat. Matching the coating to the job makes a noticeable difference to how long it lasts.
- Ask whether the surface is interior, exterior, masonry, wood or metal
- Choose a finish that can handle cleaning and daily wear
- Use paint that suits coastal or high-sun conditions where needed
- Do not mix incompatible product types without advice
What to Do Before Repainting a Peeling Area
Once peeling starts, painting straight over it is a short-term fix at best. The right approach is to find the cause, prepare the surface and then rebuild the system from the base up. That may mean repairing damp, re-plastering a damaged patch, or treating rust before any colour goes on.
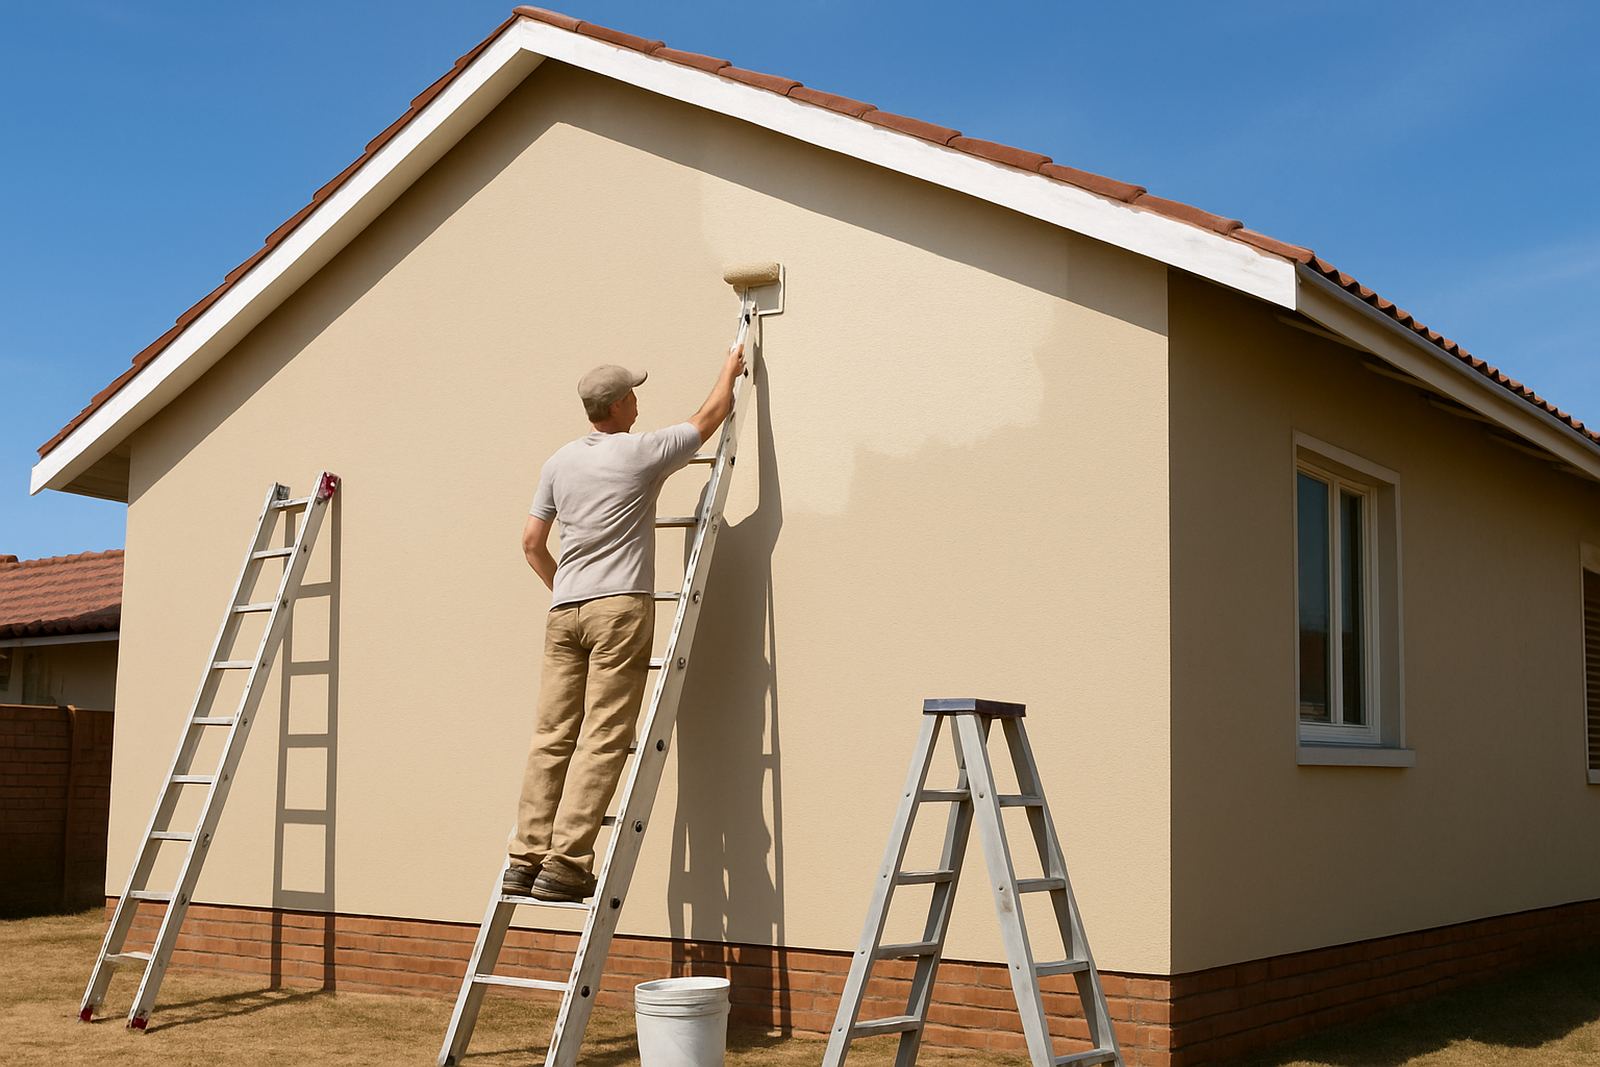
A good repaint usually follows a simple order. Clean, dry, repair, sand, prime and then topcoat. Each step matters because skipping one can undo the rest. On larger jobs, it helps to plan the amount of paint and primer properly so you do not run out mid-way and end up with a patchy finish.
- Remove all loose material before touching the primer
- Allow walls to dry fully after repairs or washing
- Fill cracks and sand them level once dry
- Use sample pots first if you are checking colour on a problem wall
- Plan bulk quantities carefully for whole-house repaints or contractor work
When a Local Paint Match Helps More Than Guesswork
Sometimes the hardest part is not the peeling itself, but finding the right follow-up colour after repairs. A patch on one wall can look different in morning light than it does in the late afternoon, especially in Gqeberha where bright coastal light can change how a colour reads. That is where careful colour matching and sample pot testing help avoid a second round of repainting.
For homeowners, landlords and contractors, it is also useful to get advice on the finish and the prep products at the same time. If the job needs tinting, sealing, a filler touch-up or contractor account support, it is better to sort all of that before the first coat goes on. A well-prepared repaint costs less than fixing peeling again a few months later.
- Test colour on more than one wall if the room gets mixed light
- Keep a record of the product and colour code used
- Get trade order support for larger jobs to avoid delays
- Ask for repaint troubleshooting when the cause is not obvious
The Main Lesson: Fix the Cause, Not Just the Flakes
Peeling paint is usually a warning sign, not the main problem. Moisture, poor prep, old weak paint or the wrong product choice are the things that need attention first. If you sort those out properly, the repaint has a far better chance of lasting through heat, humidity and day to day wear.
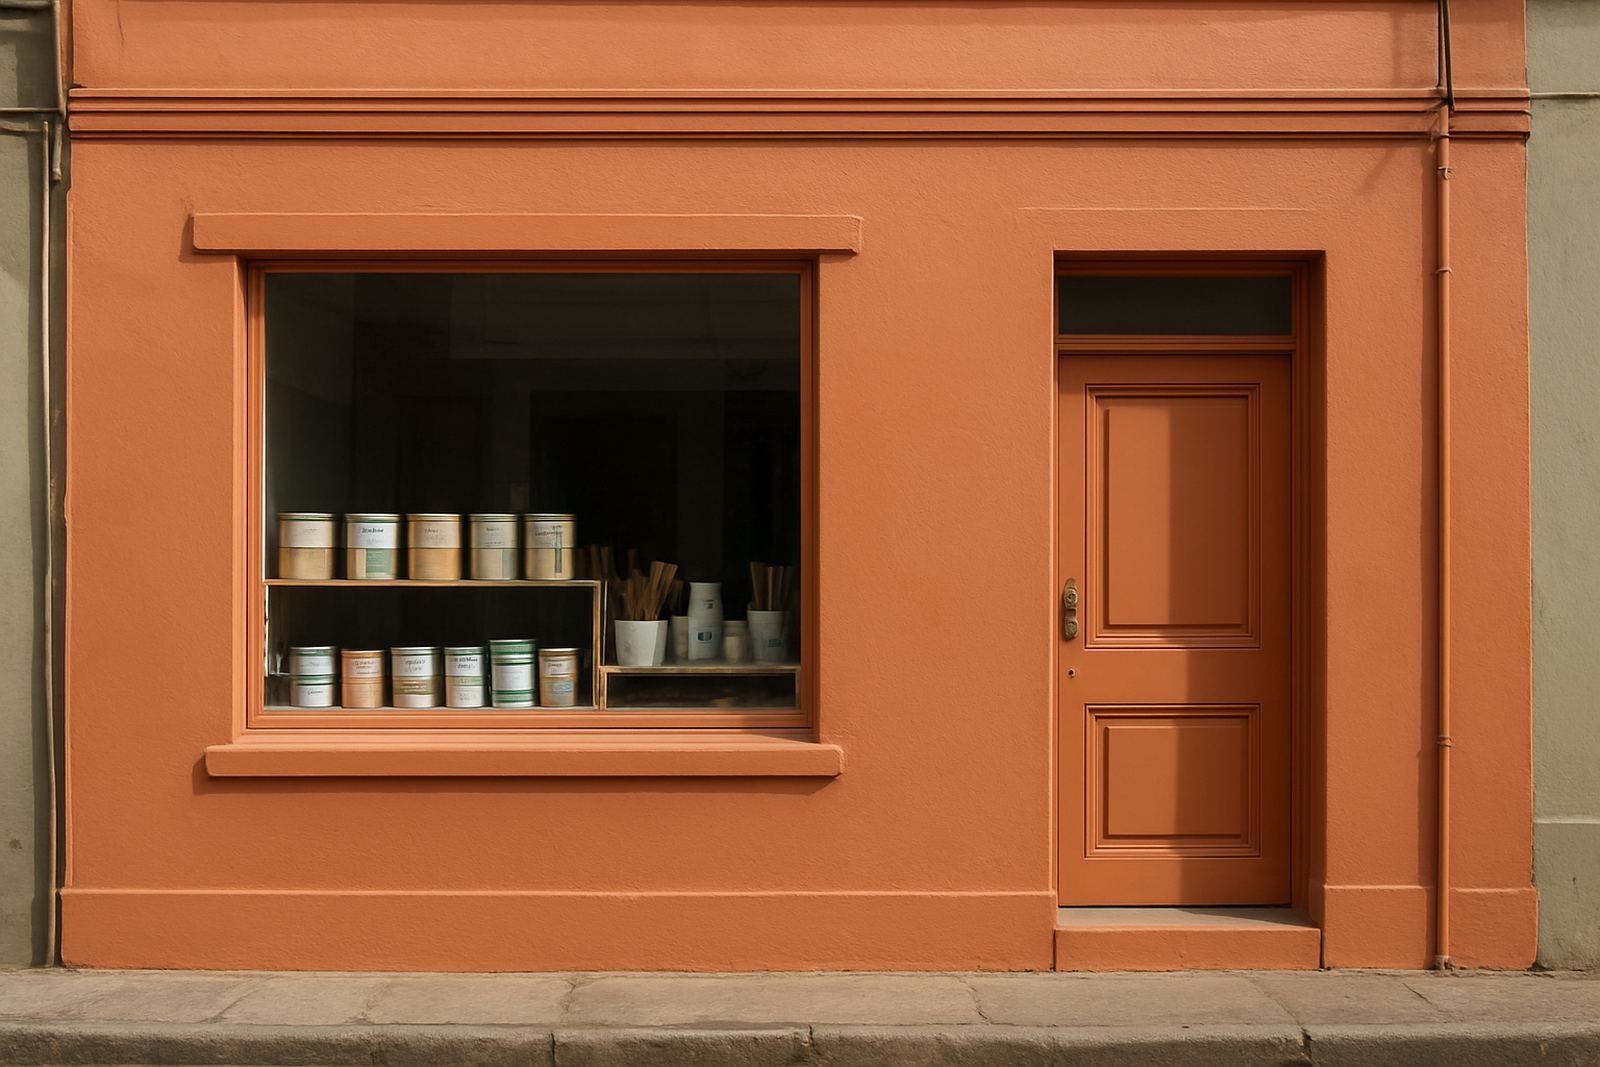
For a small patch or a full exterior, the same rule applies: prepare the surface properly and choose products that suit the site. That is what keeps the finish sound, whether you are repainting a family home in Korsten, a rental in Newton Park, or a shopfront in Cape Town.