Start with the surface, not the tool
Before you buy paint tools, look at the surface you are working on. Smooth plaster, ceilings and big wall areas usually suit a roller because it spreads paint evenly over wide spaces. Doors, trims, corners and detailed edges still need a brush because the roller cannot get into tight spots properly.
In Gqeberha, where coastal humidity can slow drying on some mornings, the choice of tool matters even more. If you overload a roller on a damp wall, you can end up with lap marks and patchy sheen. A brush gives you more control around problem areas, especially where old filler, fine cracks or uneven patches need a steadier hand.
- Use a roller for large flat walls, ceilings and broad feature walls.
- Use a brush for edges, corners, cornices, window frames and cut-ins.
- Choose a smaller roller for narrow walls or tight rooms.
- Keep a brush close by for spots the roller cannot reach cleanly.
When a roller does the heavy lifting
A roller is the better choice when speed and even coverage matter. It covers more surface area in less time, which helps on repaint jobs in homes, offices and shop interiors. If you are painting a rental in Newton Park or doing a quick refresh in Korsten, a roller can save hours without sacrificing finish quality.
For most interior walls, a medium pile roller is a practical option. It holds enough paint to cover well but still leaves a smoother finish on standard plaster. Rougher exterior walls often need a thicker pile sleeve so the paint can reach into the texture. If you are working in strong sun, keep an eye on drying edges because the paint can start to tack off faster than expected dont let that catch you out.
- Best for large, uninterrupted surfaces.
- Good for consistent film build and faster completion.
- Useful for ceilings where brush marks would show too clearly.
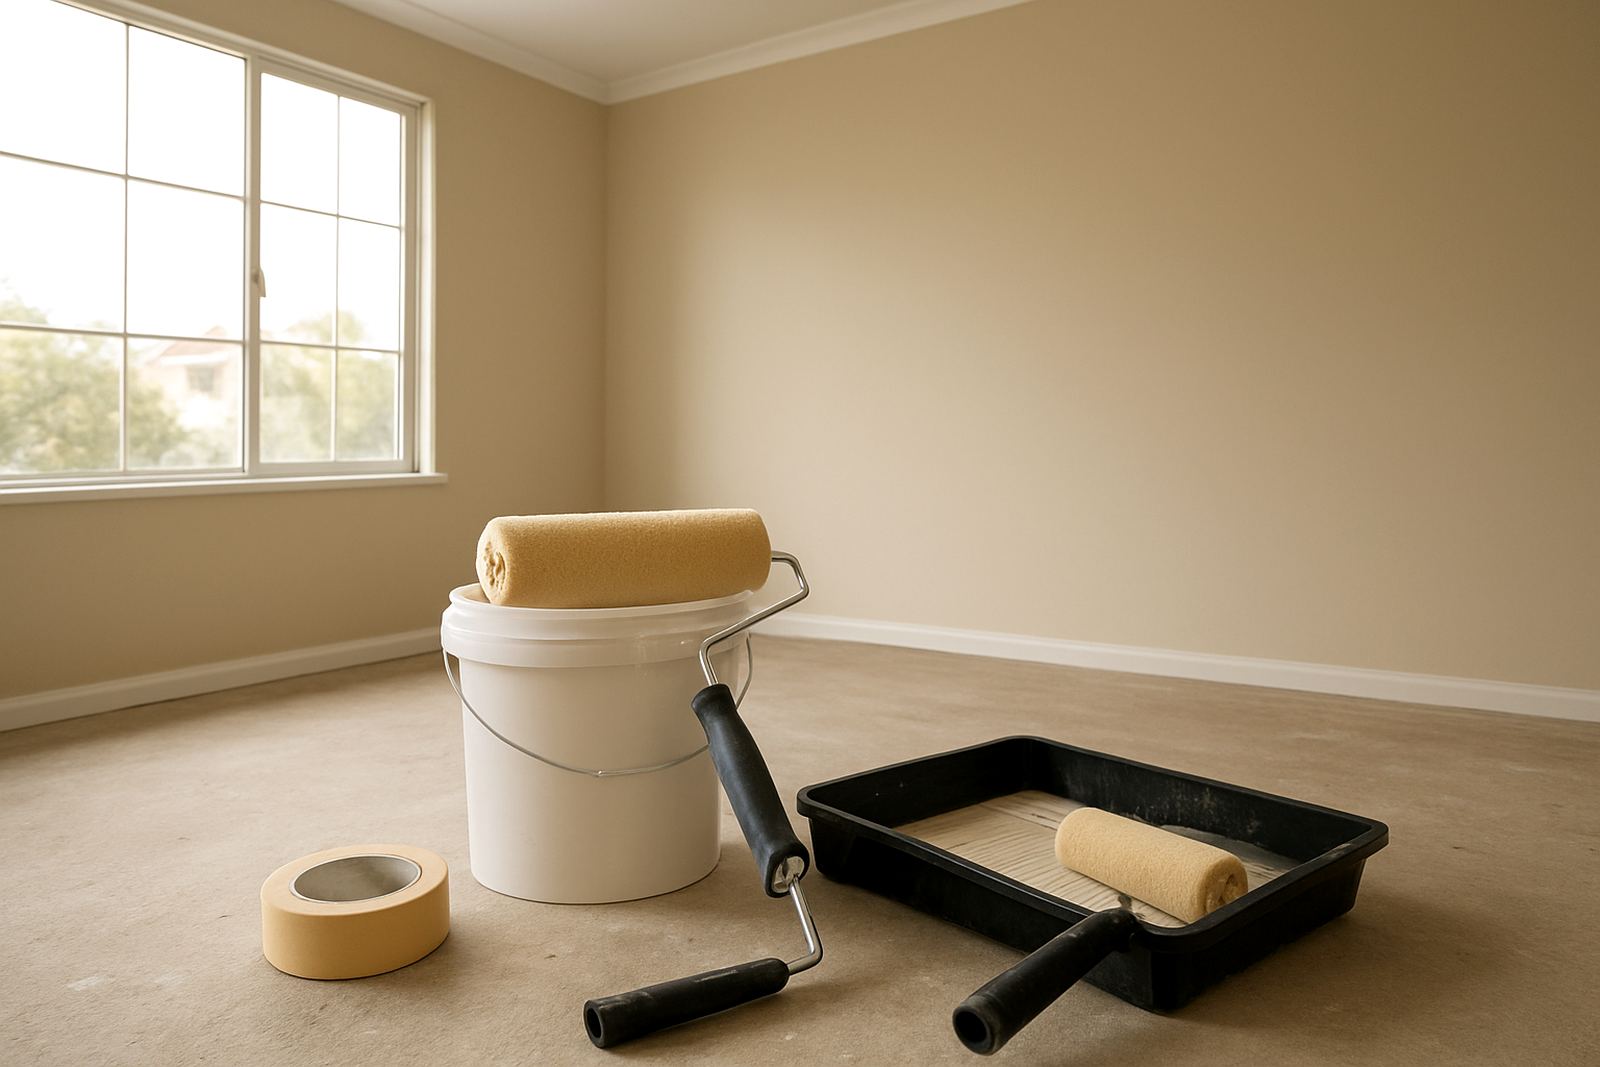
- Works well with a tray and extension pole for reach.
Where a brush still matters most
A brush gives control, and control matters on finish work. It is the tool for cut lines, trim edges, detailed mouldings and repairs where you need to paint only a small section. On older homes in Walmer, for example, you may find timber trims, uneven corners and previous filler repairs. A brush handles these areas better than a roller ever will.
Brush work is also important when you are cutting in before rolling. A neat 50 mm to 75 mm brush line along ceilings, skirtings and corners helps the roller finish the wall without leaving gaps. If you rush this stage, you often end up repainting the edge later. A good brush, kept clean and properly loaded, can make a very ordinary job look much better.
- Best for edges, trims and detailed features.
- Helps with touch-ups and small repairs.
- Better for tight corners and awkward angles.
- Useful for precision around fixtures, switches and frames.
How to use both tools together for a cleaner finish
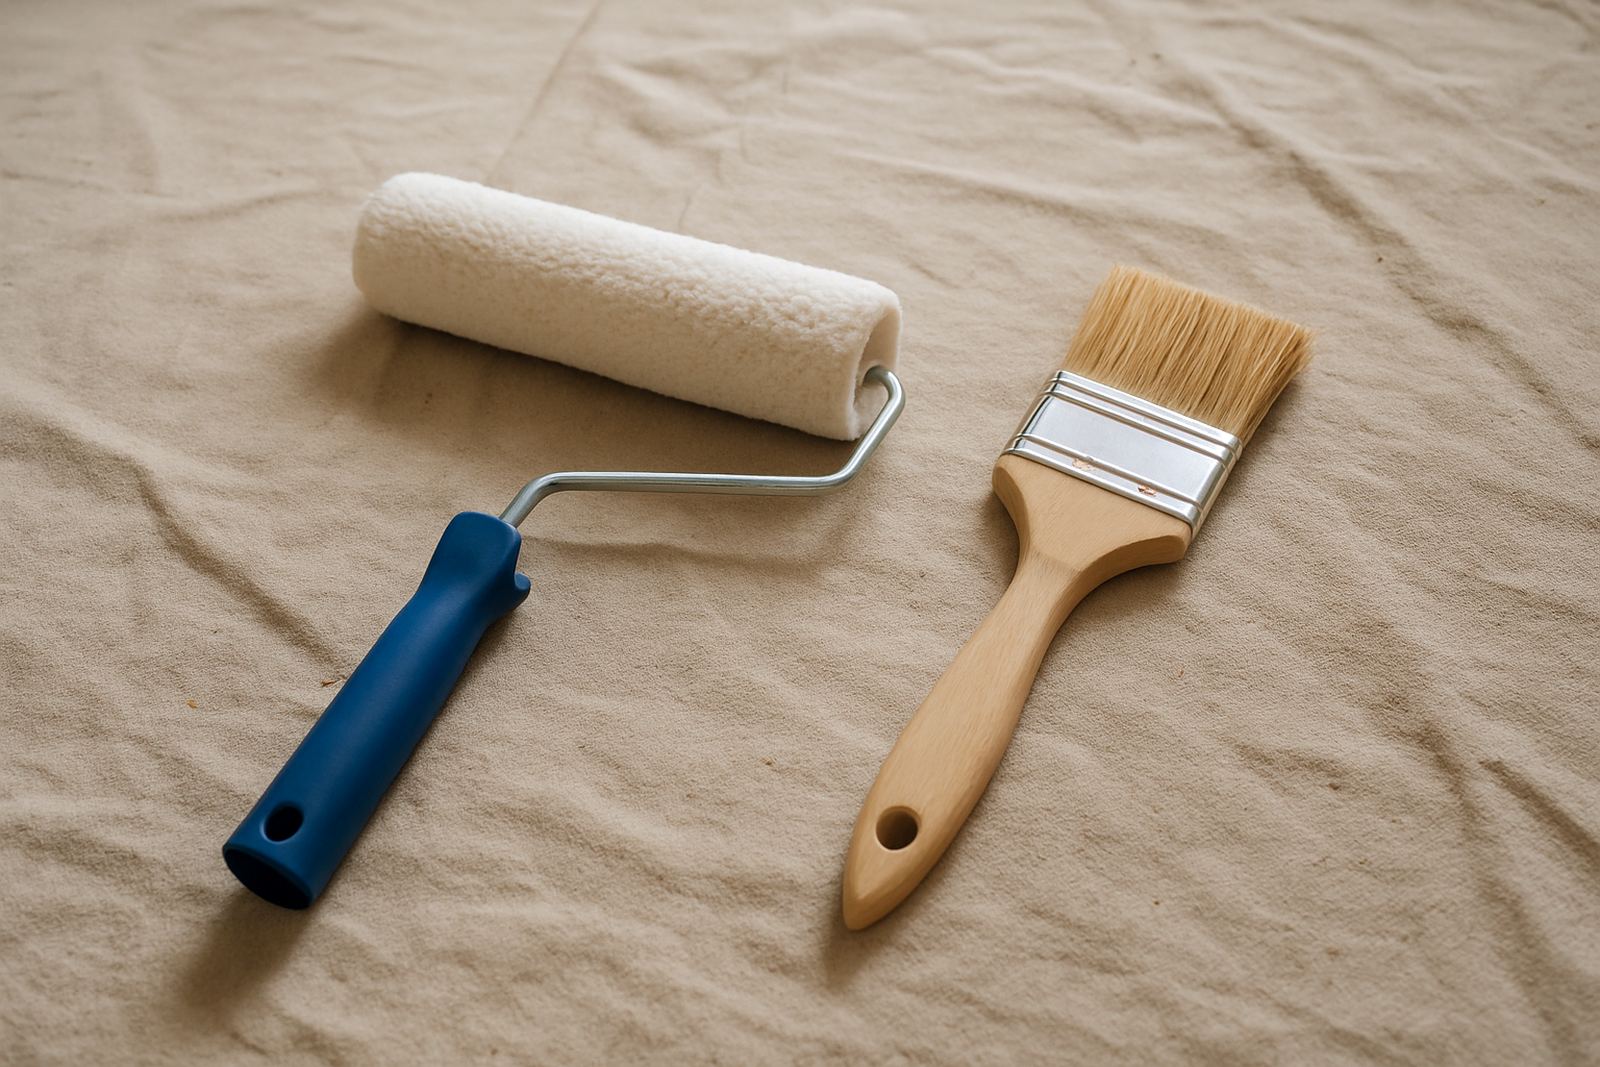
The best painting jobs usually use a brush and roller together. Start by brushing the edges and difficult areas first, then roll the main field while the cut-in is still workable. This keeps the finish more even and reduces the visible line where the two meet. On larger jobs, working in sections helps you keep a wet edge, which is important for avoiding roller marks.
A practical order is simple. Cut in a wall, roll the centre, then check the corners and edges for any missed spots. If you are painting over a darker colour or doing a full colour change, you may need a second coat to even out the tone. The goal is not to paint fast for the sake of it, but to paint in a way that gives you less fixing up later.
- Brush first, then roller for the main wall area.
- Work from top to bottom so drips are easier to manage.
- Overlap each roller pass slightly to avoid banding.
- Keep a small brush handy for final touch-ups.
Matching the tool to the paint and the job
Not every paint behaves the same. Thicker exterior coatings, washable interior paints and tint-based finishes all flow differently. If the paint is too thick for the sleeve or brush you have chosen, you will fight the finish the whole way through. For smooth interior walls, a shorter pile roller and a quality angled brush often give the cleanest result. For rougher masonry or boundary walls, a more open roller texture is usually better.
When you are unsure, ask for a sample pot first or test a small patch. That gives you a chance to see how the paint covers, how it levels and whether the sheen suits the room. Around coastal areas, product choice matters because salt air and moisture can expose weak prep work quickly. A smart tool choice can help, but the surface still needs proper cleaning and priming first.
Local jobsite lessons from Korsten to Cape Town
On a repaint in a Gqeberha flat, a contractor might use a brush for ceiling lines and around aluminium window frames, then switch to a roller for the walls to keep the job moving. In Sandton offices, the same approach works on feature walls and passageways where time is limited and finish matters. In Bellville, where many homes have textured exterior walls, a thicker roller sleeve can help cover more evenly without forcing paint into every pass.
For DIY painters, the main mistake is trying to use one tool for everything. A roller can leave dry edges in tight areas, while a brush alone can leave visible strokes on broad walls. The cleaner finish comes from using each tool where it belongs. If you are buying paint for a full room or a business repaint, it helps to plan the tools at the same time as the paint quantity so you do not stop halfway through for a second run to the store.