Start by finding what kind of crack you are dealing with
Before you reach for filler, take a close look at the crack. Hairline marks in plaster are often caused by movement, heat or normal settling. Wider cracks, stepped cracks near corners, or cracks that keep coming back can point to a deeper issue in the wall or structure. If the crack is active, repainting alone will not solve it.
For homes near the coast like Korsten, Walmer or Bellville, moisture can also play a part. Salt air and damp spots around windows or exterior walls can weaken old paint films and make cracks show up faster. Inside, cracked surfaces are common where new plaster meets old, or where a wall has been patched after plumbing work.
- Hairline crack: usually a fine surface repair job
- Open crack: needs cleaning out and proper filling
- Repeating crack: check for movement before painting
- Powdery wall: stabilise the surface first
Clean out loose paint and weak plaster before filling
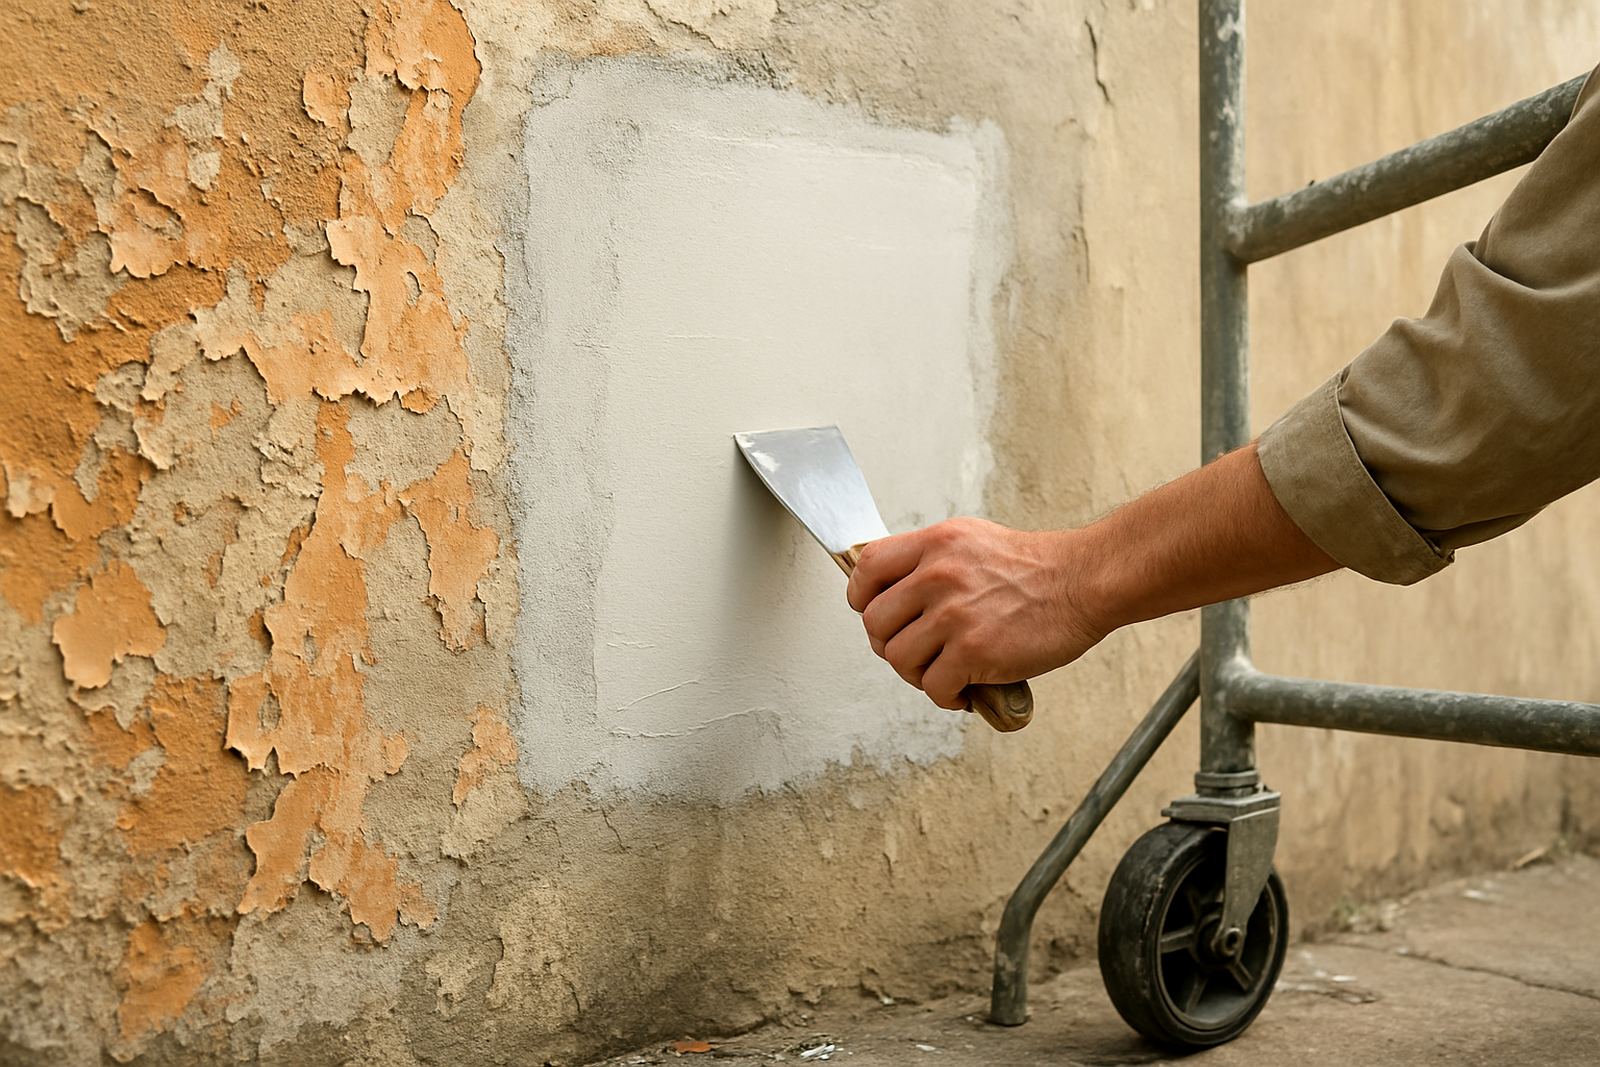
A repair starts with a clean edge. Scrape away loose paint, crumbly plaster and any dust inside the crack. If you fill over weak material, the new patch can lift after the first warm spell or during load-shedding when a room cools and heats again. Use a putty knife or scraper and work gently so you do not widen the damage more than needed.
Wipe down the area with a dry cloth or a slightly damp cloth if the surface is dusty. Let it dry fully before you continue. On chalky walls, a stabilising primer may be needed first so the filler grips properly. For areas in kitchens, bathrooms or seaside homes, it helps to check for any damp source before you go ahead. A patch on a wet wall wont last.
- Remove all loose material around the crack
- Dust off the wall so filler bonds properly
- Check for damp, leaks or staining
- Let the wall dry before moving on
Use the right filler for the size of the crack
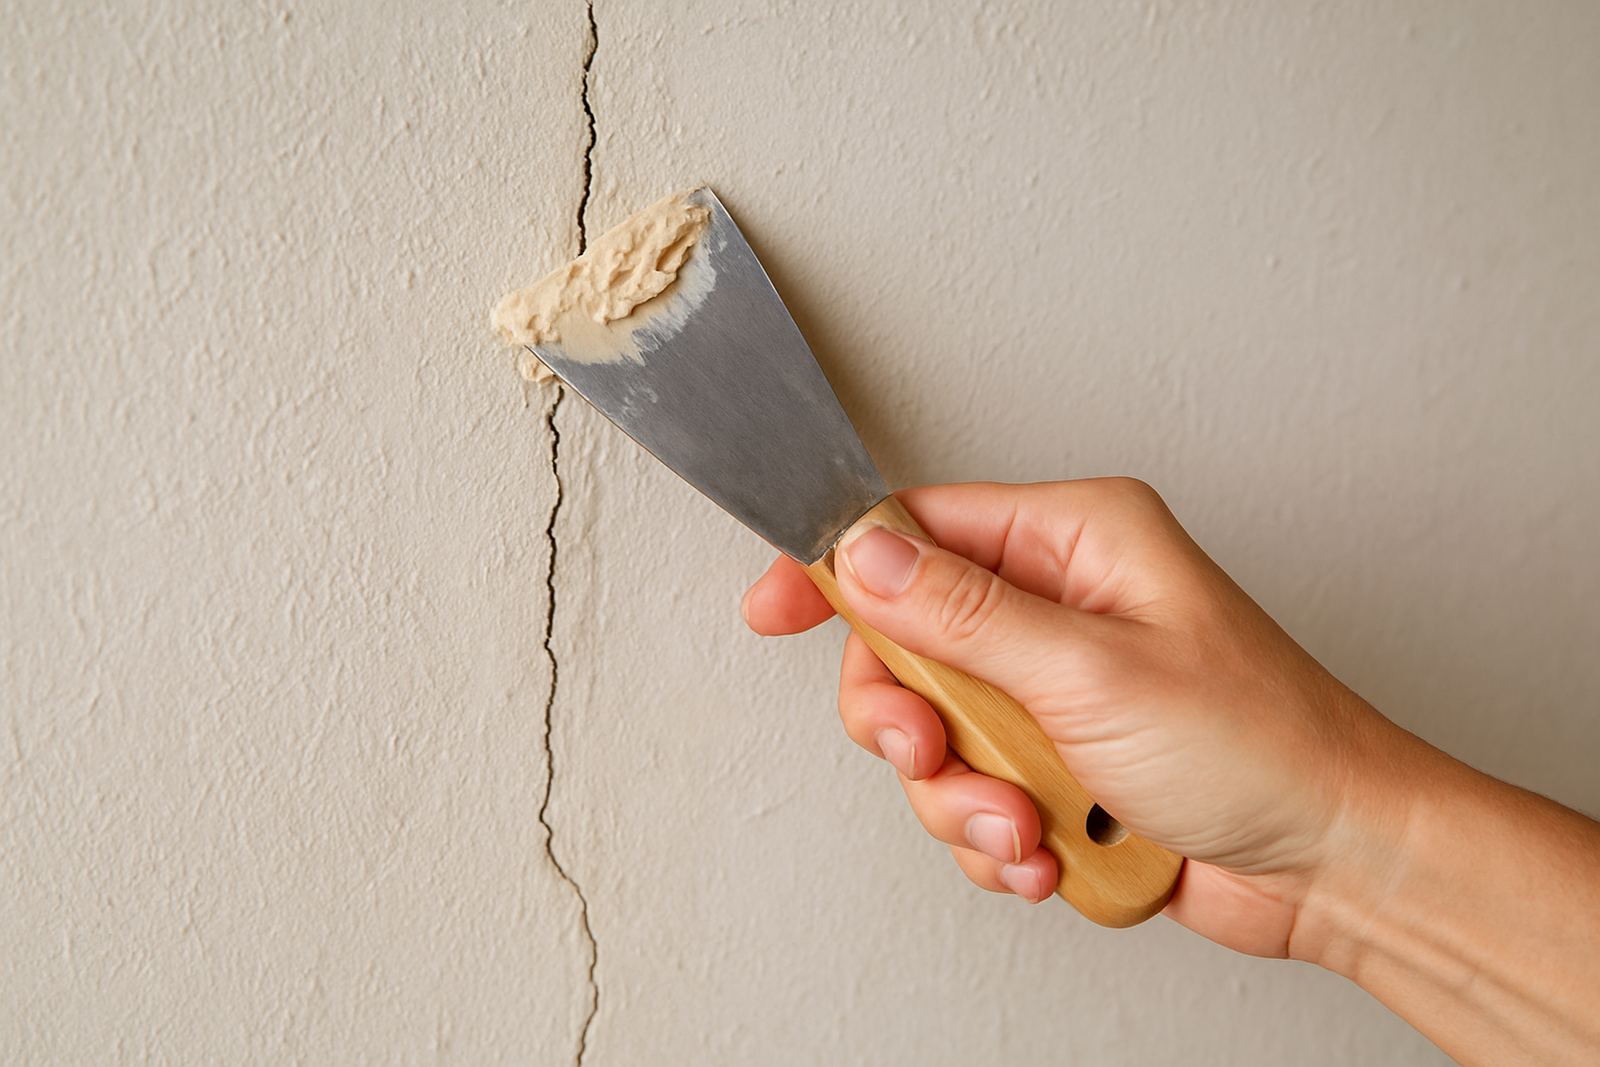
Small cracks can be filled with a fine surface filler, while wider gaps may need a stronger crack filler or a repair compound built up in layers. Read the label and choose a product that suits interior or exterior use. For exterior walls in Gqeberha or Cape Town, use a filler that can handle weather changes and direct sun.
Apply the filler slightly proud of the wall so you have material to sand back flush once it sets. Do not overfill very deep cracks in one go. It is better to build up a repair in two or three thin layers than to trap moisture inside a thick patch. If the crack is on a corner, mesh tape may help keep the line stable before you skim over it.
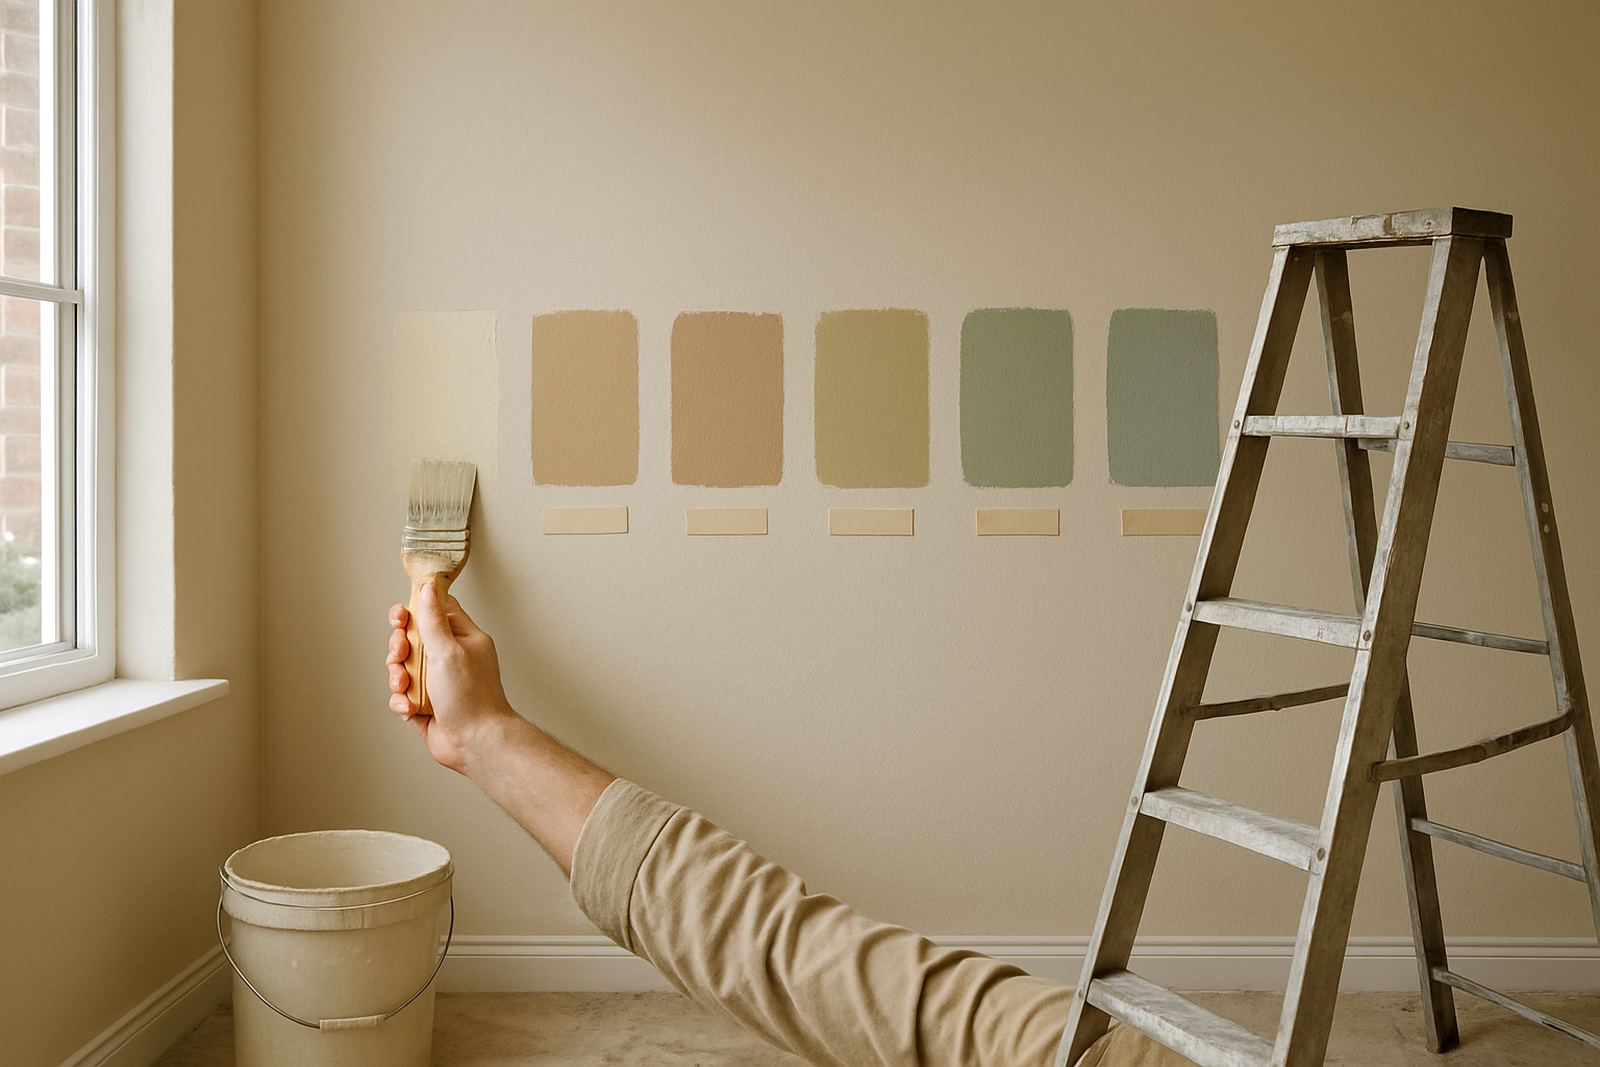
Colour matching also matters after the repair. If you plan to repaint only one room, ask for a sample pot first so you can check the colour in daylight and under indoor lighting. In homes with tinted feature walls, the wrong white can stand out straight away.
Sand the repair until it sits level with the wall
Once the filler is dry, sand it smooth with fine sandpaper or a sanding block. Start gently and keep your hand flat so you do not dig a hollow around the repair. The aim is to feather the edges into the surrounding paint, not leave a ridge you will see through the topcoat.
If the patch is on a large wall, step back now and then and look at it from the side. Side light from a window in Sandton or a coastal room in Gqeberha will show flaws that are easy to miss head on. Wipe away the dust after sanding. Even a little dust can stop the primer from bonding properly.
- Use fine sandpaper for a smoother finish
- Feather the edges beyond the patch
- Check the repair in side light
- Remove all sanding dust before priming
Prime the patch so the paint finish stays even
A repaired area should be primed before painting, especially where filler has been used. Fresh filler absorbs paint differently from old wall paint, and without primer the patch can flash through as a dull or shiny spot. Use a primer suited to the wall condition, then allow it to dry fully. In humid areas, give it a bit more time before applying the finish coat.
If the original paint is dark or stained, you may need two light coats of primer on the repair. This is common in rental units, offices and contractor jobs where walls have been marked by furniture, handprints or previous patch work. Matching the sheen is just as important as matching the colour. A matt patch on a satin wall will show immediately.
Repaint with a plan, not just a roller
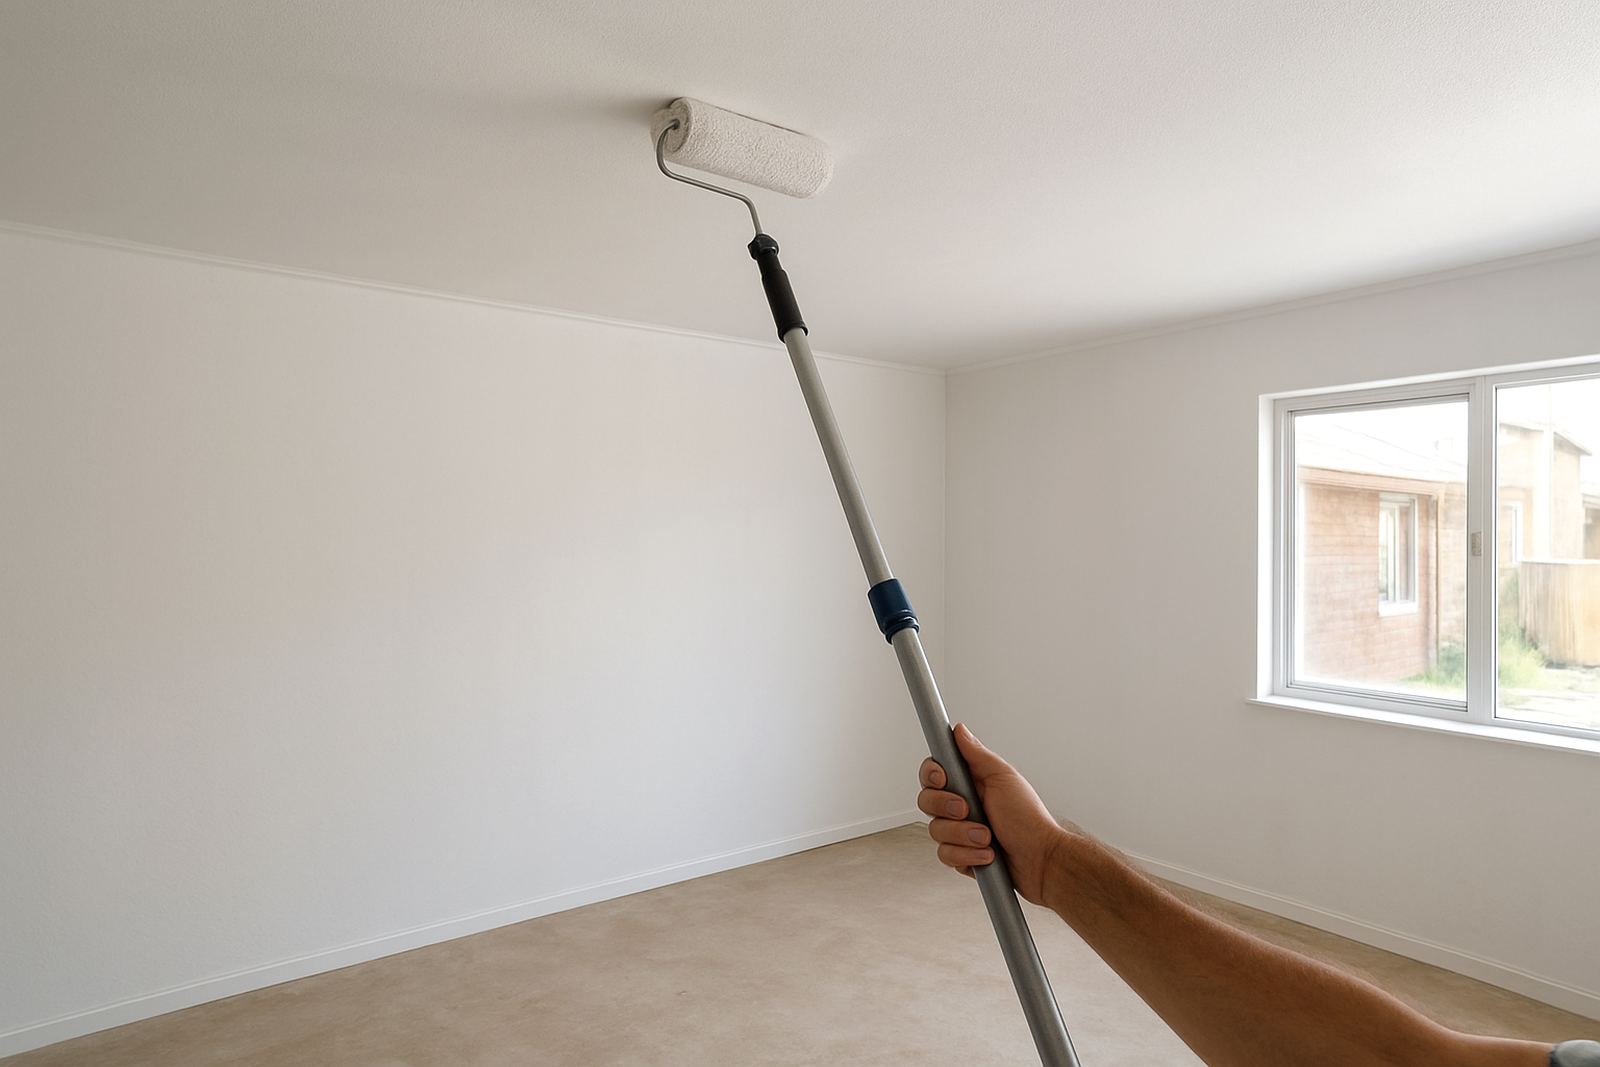
When the wall is ready, repaint the patched section or the full wall depending on how visible the repair is. Small repairs can usually be touched in, but on open-plan spaces or walls with strong light it is often better to repaint corner to corner so the finish looks even. If you are working in a business space, plan around trading hours and drying time.
Keep the room ventilated and allow each coat to dry before the next one. During power cuts, use natural airflow where you can, but avoid painting in very damp or cold conditions. For larger jobs, bulk quantity planning helps avoid running short halfway through. That saves time and keeps colour consistency across the whole wall.
- Touch in small repairs where the wall allows it
- Repaint full walls if light will show the patch
- Allow proper drying between coats
- Plan paint quantities before starting
When a crack needs more than paint
Some cracks are a paint issue, and some are a building issue. If a crack keeps returning, gets wider, or runs through more than one wall, it is worth speaking to a builder or plaster repair specialist before repainting. The same goes for bulging plaster, damp stains or areas that sound hollow when tapped. Paint can hide the symptom for a while, but it cannot fix movement.
For contractors and homeowners alike, good surface prep makes the difference between a neat repair and a wall that starts showing faults again after a few months. Around Korsten, Newton Park and the other areas we work in, the best results usually come from slowing down at the prep stage. Clean it, fill it, sand it, prime it, then paint it once and paint it properly.