Start with the ceiling before the walls and trims
If you are repainting a room, do the ceiling first. That way any splashes or roller flecks can be dealt with before you tackle the walls, cornices and skirtings. In many Gqeberha homes, especially older places in Korsten and Walmer, ceilings pick up soot, dust and a bit of damp staining over time, so a quick look before you start saves plenty frustration later.
Check for cracks, lifted old paint, water marks and loose plaster. If there was a roof leak or a burst pipe, make sure the patch is dry before painting. A fresh coat over a damp area often peels or discolours within weeks. For small hairline cracks, a suitable filler and light sanding is usually enough. If the ceiling has a chalky feel, wipe it down so the new coat can bond properly.
- Look for stains around light fittings and corners.
- Scrape off any flaking paint with a flat scraper.
- Use a bright torch at an angle to spot ridges and patch lines.
- Plan to paint when the room can stay closed off from dust.
Choose a ceiling paint that suits the room
Ceilings do not all need the same finish. A standard matt ceiling paint hides minor flaws and gives a clean, even look in bedrooms, lounges and passages. In kitchens, bathrooms and laundry areas, think about moisture, steam and splashes. A product suited to those conditions will hold up better and be easier to keep clean. In coastal areas like Gqeberha, humidity can also affect dry times, so allow extra drying time between coats.
For a low ceiling, a pale matt white usually keeps the room looking open. In a large open-plan space, a slightly warmer white can stop the ceiling from feeling cold or stark. If you are matching an existing colour, sample pot mixing can help you test the shade on a small section before committing to the full job. That is especially useful where natural light changes through the day. Morning light in Newton Park can read quite differently from late-afternoon light in Bellville or Sandton.
- Use matt for most living areas and bedrooms.
- Use a moisture-tolerant option where steam is common.
- Test a sample on the ceiling, not only on a board.
- Check how the colour looks under both daylight and lights on.
Good prep makes the paint job easier
Most ceiling problems start before the roller even opens. Clear the room as much as you can, cover floors and move smaller items out of the way. If furniture must stay in place, cover it properly and tape down the edges so dust does not creep underneath. Ceiling work can be messy and if you are on a ladder for long periods, everything below tends to catch stray drops.
Dust the ceiling, cornices and top corners with a dry broom or extendable duster. Then wash any greasy patches with a mild cleaner and let them dry fully. If the old paint is glossy, a light sand helps. For stains from smoke or leaks, use the right stain-blocking primer before applying the topcoat. Skipping that step often leads to patching through after the first coat.
Mask wall edges, light switches and pendant fittings neatly. If you are working around downlights, switch the power off at the board first. It sounds basic, but it is easy to forget when you are eager to get going.
Set yourself up for a cleaner roller finish
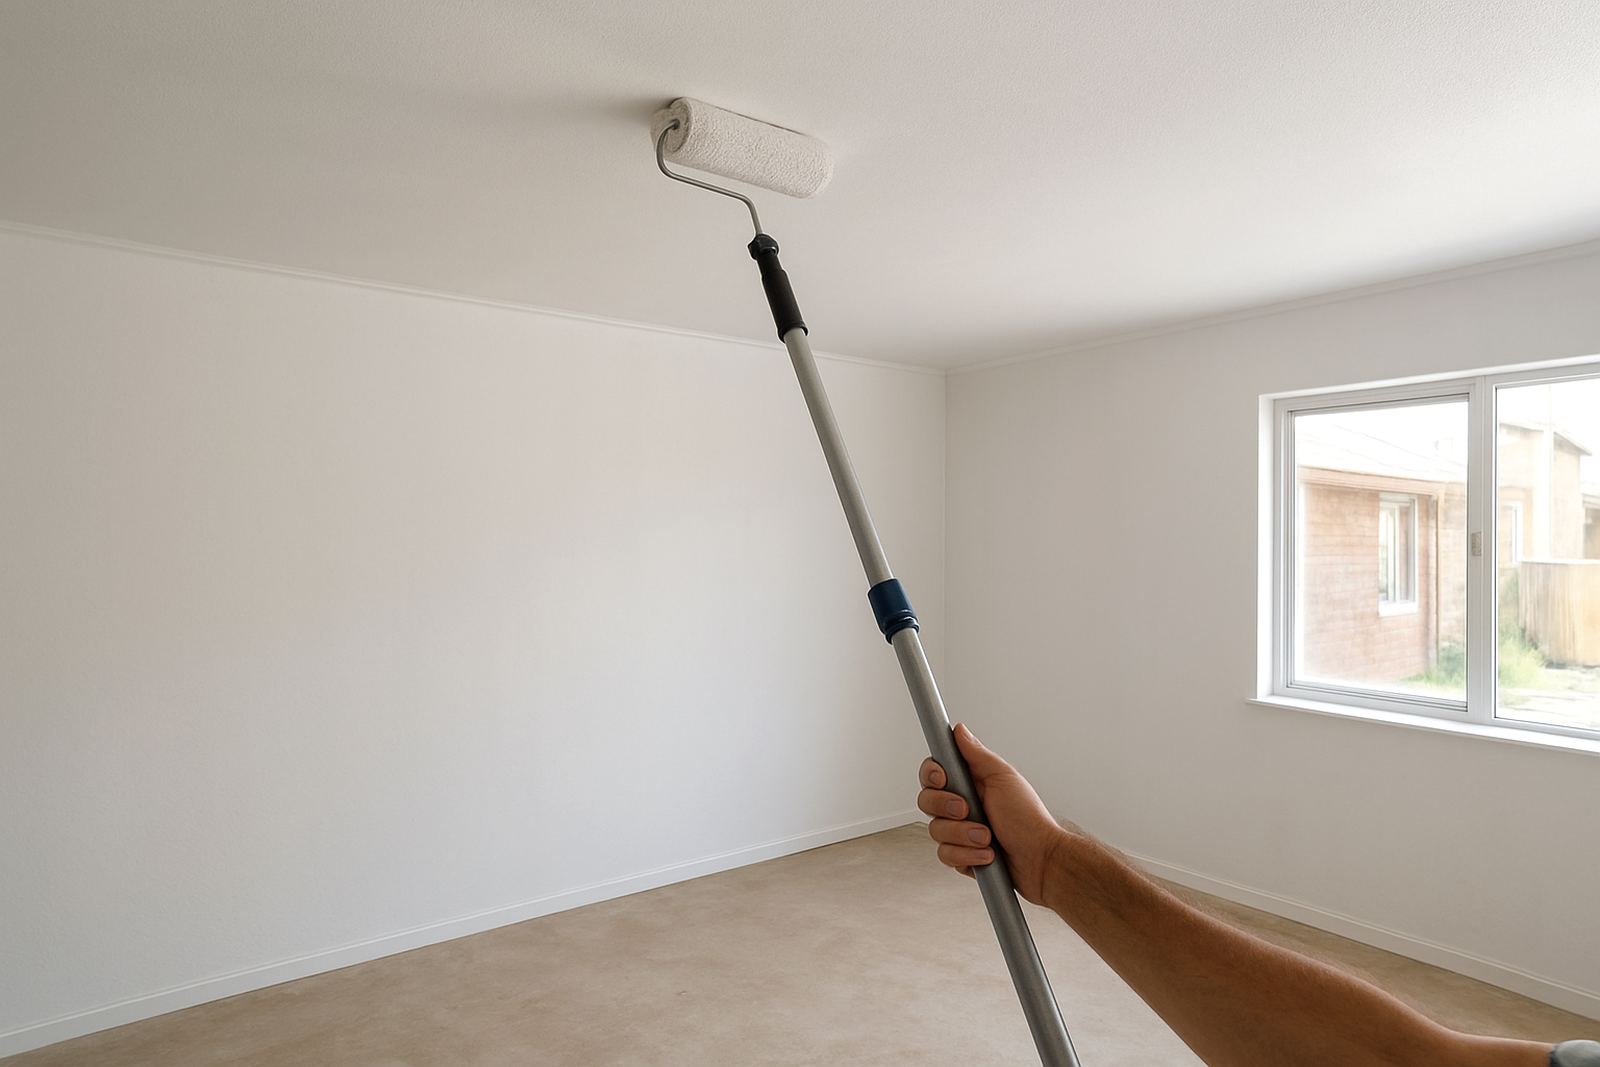
A ceiling is one of the hardest surfaces to paint neatly because you are working overhead for longer than you think. Use a medium to thick nap roller on slightly textured ceilings and a shorter nap on smooth plasterboard. Cheap sleeves tend to shed fluff and leave lines, so a decent roller cover is worth the extra Rand. A steady extension pole also reduces shoulder strain and helps keep the pressure even.
Load the roller evenly and roll off the excess before reaching the ceiling. Too much paint causes drips and splatter, while too little leaves a dry, streaky finish. Work in sections of about one to one and a half metres wide. Keep a wet edge by overlapping your strokes before the paint starts to set. If you stop in the middle of a section, you will usually see a mark later.
- Use a paint tray or bucket grid to control how much paint goes on the roller.
- Keep a small brush ready for corners and around light fittings.
- Do not overwork an area once it starts to dry.
- Stir paint well before and during use so the finish stays consistent.
Mind the light, the weather and the dry times
Ceilings show imperfections more clearly than walls, especially under strong daylight or bright LED fittings. Paint one section and step back often to check for missed strips, roller shadows and patchiness. In homes with large north-facing windows, the morning sun can highlight every overlap. In offices or shops, lighting may make one area look fine and another look dull, so always inspect the room from a few angles.
Drying time matters more than many people expect. On a hot inland day in Joburg, paint may skim faster than you can work it. Near the coast in Gqeberha, the air can stay damp and slow the cure. Read the tin, but also use common sense. If the first coat still feels tacky, give it more time before the second. Rushing can pull the first coat off the surface or cause roller marks to show through. Keep windows open where possible for airflow, but avoid strong dust or wind carrying grit into the room.
Know when patching is enough and when to call for advice
Small jobs are usually manageable with basic tools, but repeated cracking, ongoing damp or bubbling paint need more attention. A ceiling that keeps staining after every rain may have a roof issue, not just a paint issue. Similarly, if plaster sounds hollow or starts to sag, paint alone will not fix it. In those cases, sort the substrate first and then repaint once it is stable.
For contractor accounts, bulk quantities and repaint troubleshooting, proper planning saves time on site. If you are managing a block of flats, retail units or rental stock, it helps to work out coverage, drying windows and colour consistency before the first ladder goes up. A clear order plan also helps when you are collecting from a branch in Korsten, Sandton or Bellville and need the right quantity in one trip. One miss measured room can throw off the whole schedule, so check your square metres carefully.
- Fix damp and structural issues before repainting.
- Match touch-up paint to the existing batch where possible.
- Keep a note of product names, tint codes and coverage used.
- Allow extra time for multi-room work or occupied spaces.