Start with how the kitchen is used, not just the colour
A family kitchen in Gqeberha, a café prep area in Newton Park, and a rental unit in Randburg do not need the same finish. Before choosing a paint, think about heat from cooking, frequent wiping, wall contact near bins and switches, and whether the room gets steady ventilation. In a kitchen that sees daily use, the paint has to handle moisture and cleaning without going shiny in patches or marking too easily.
If there is a lot of frying, slow cooking, or washing up in the room, the walls near the hob and sink will need more protection than the ceiling or upper walls. That usually means a higher quality washable paint, careful prep, and the right primer on problem spots. For busy food areas, a cheaper finish can end up costing more when it starts to stain, peel, or show every handprint.
- Check where steam builds up most
- Look at how often the walls will be wiped
- Note whether the kitchen gets cross ventilation
- Match the finish to the amount of daily traffic
Choose a finish that can handle grease and wiping
For most kitchens, a washable matt, eggshell, or low-sheen finish works better than a flat, chalky wall paint. Flat paint can hide small surface flaws, but it often marks too easily in a room where people brush past walls with bags, plates, and elbows. A little sheen helps with clean-up, but too much can expose every surface imperfection and look harsh under downlights.
Near sinks and splash zones, a tougher washable finish is usually the safest call. If the wall is in a place where it gets regular contact, ask for a product that can take mild detergent and repeated wiping. In coastal areas like Gqeberha and Cape Town, humidity can make poor prep show up quicker, so the finish should work with the room rather than against it.
- Matt is better for low-contact walls and ceilings
- Low-sheen suits most family kitchens
- Eggshell can work well where wiping is frequent
- Higher sheen is best kept for selected trim or splash-prone spots
Prep is what keeps the paint on the wall
Good kitchen paint starts before the first coat goes on. Grease, cooking vapour, sugar residue, and dust all affect adhesion. If a wall has old cooking build-up, clean it properly with the right degreaser, rinse well, and let it dry fully. Skipping this step is one of the main reasons kitchen paint fails early, especially around the stove and along top cupboards.
For older walls, look out for hairline cracks, flaking patches, and soft areas from past moisture problems. These should be repaired and sealed before repainting. A proper primer helps on stained sections, patched areas, and bare plaster. In homes where load-shedding affects extractor use or where windows stay closed in winter, trapped moisture can be a problem so prep matters even more.
- Remove grease before priming
- Fix cracks and soft plaster first
- Use primer on stains and repairs
- Allow full drying between steps
Moisture, steam, and coastal conditions change the job
Kitchens near the coast, including homes in Walmer and the wider Gqeberha area, often face higher humidity than inland homes. That can affect dry time, adhesion, and how quickly a wall starts to look tired. In hotter months, a kitchen may also deal with a lot of steam from cooking, kettles, and dishwashing. If the room does not ventilate well, paint can pick up discolouration near ceilings and upper corners.
Where moisture is a regular issue, surface prep and ventilation go hand in hand. Openable windows, extractor fans, and keeping pot lids on during cooking all help. If a wall has had recurring damp, the source needs to be sorted before repainting or the new finish will not hold. The same goes for any wall behind a fridge or dishwasher where condensation can build up. A bit of planning now saves repainting later.
- Check corners, ceilings, and wall tops for damp marks
- Improve airflow before painting if possible
- Use moisture-aware prep on troubled surfaces
- Do not paint over active damp
Colour should work with light, cabinets, and cleaning
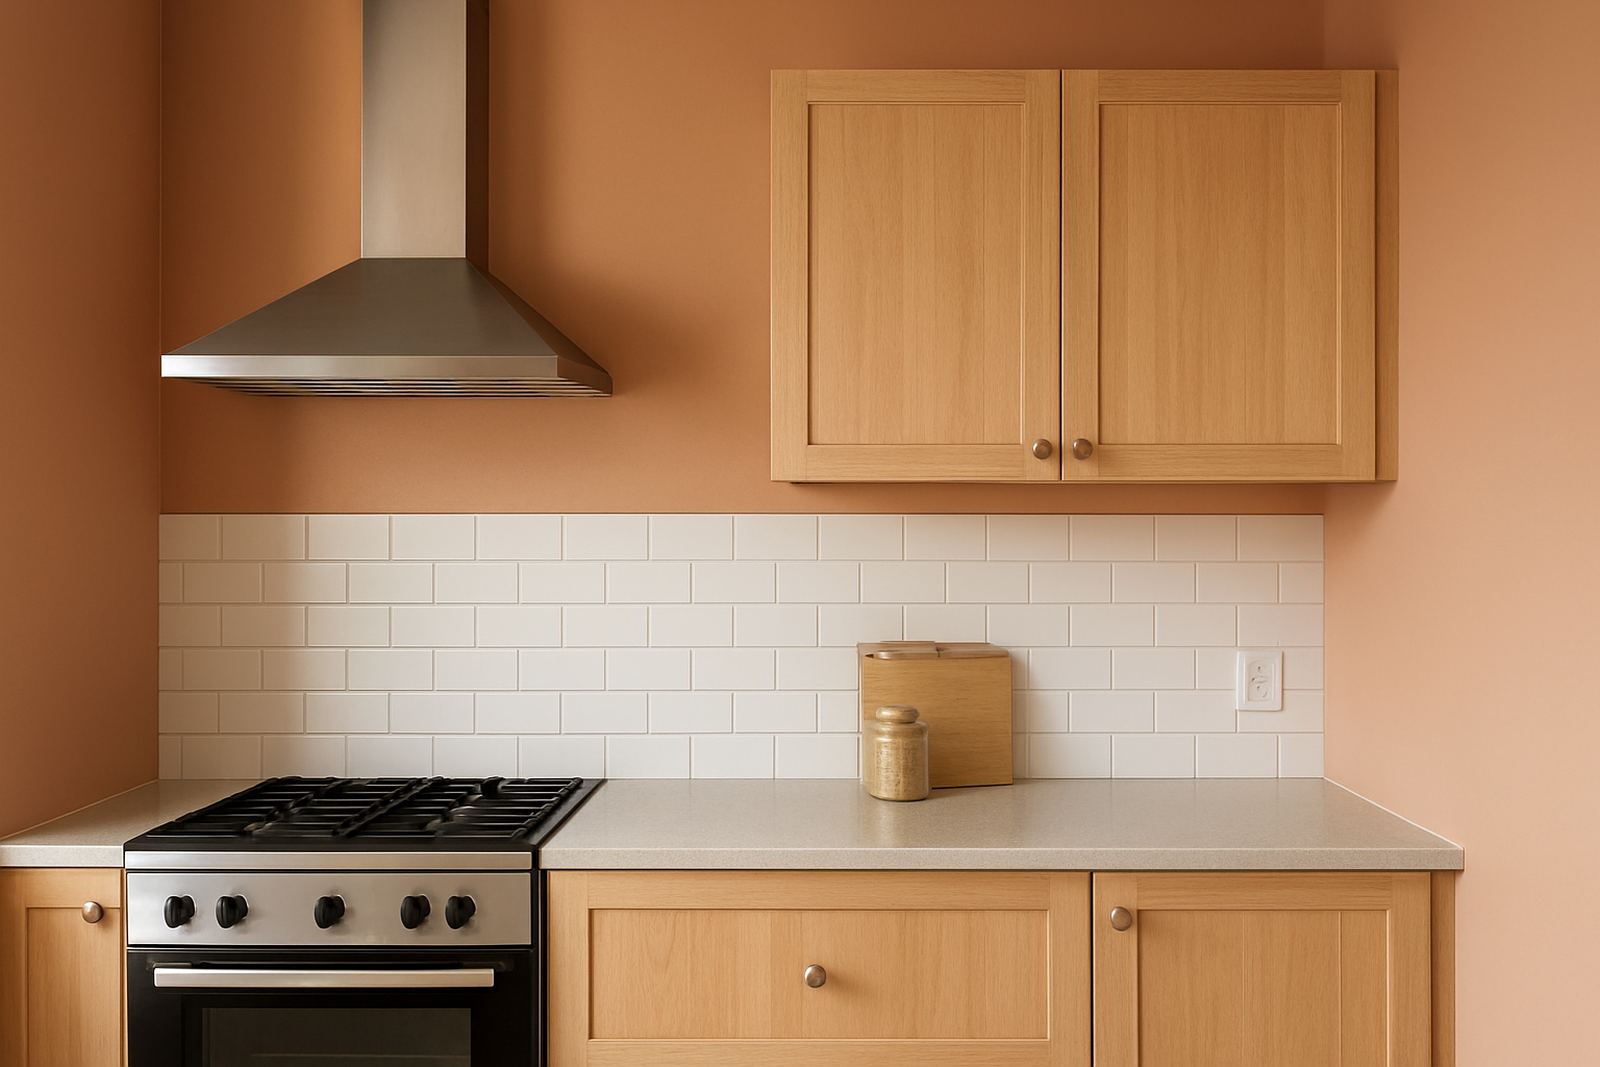
Kitchen colour is not only about style, it is also about maintenance. Light colours can make a small kitchen feel bigger, but they may show grease marks and handprints sooner. Darker colours can hide some marks, yet they can also show dust, splash spots, and uneven touch-ups. The best choice usually sits in the middle, with a practical tone that suits the flooring, cabinets, and counter tops.
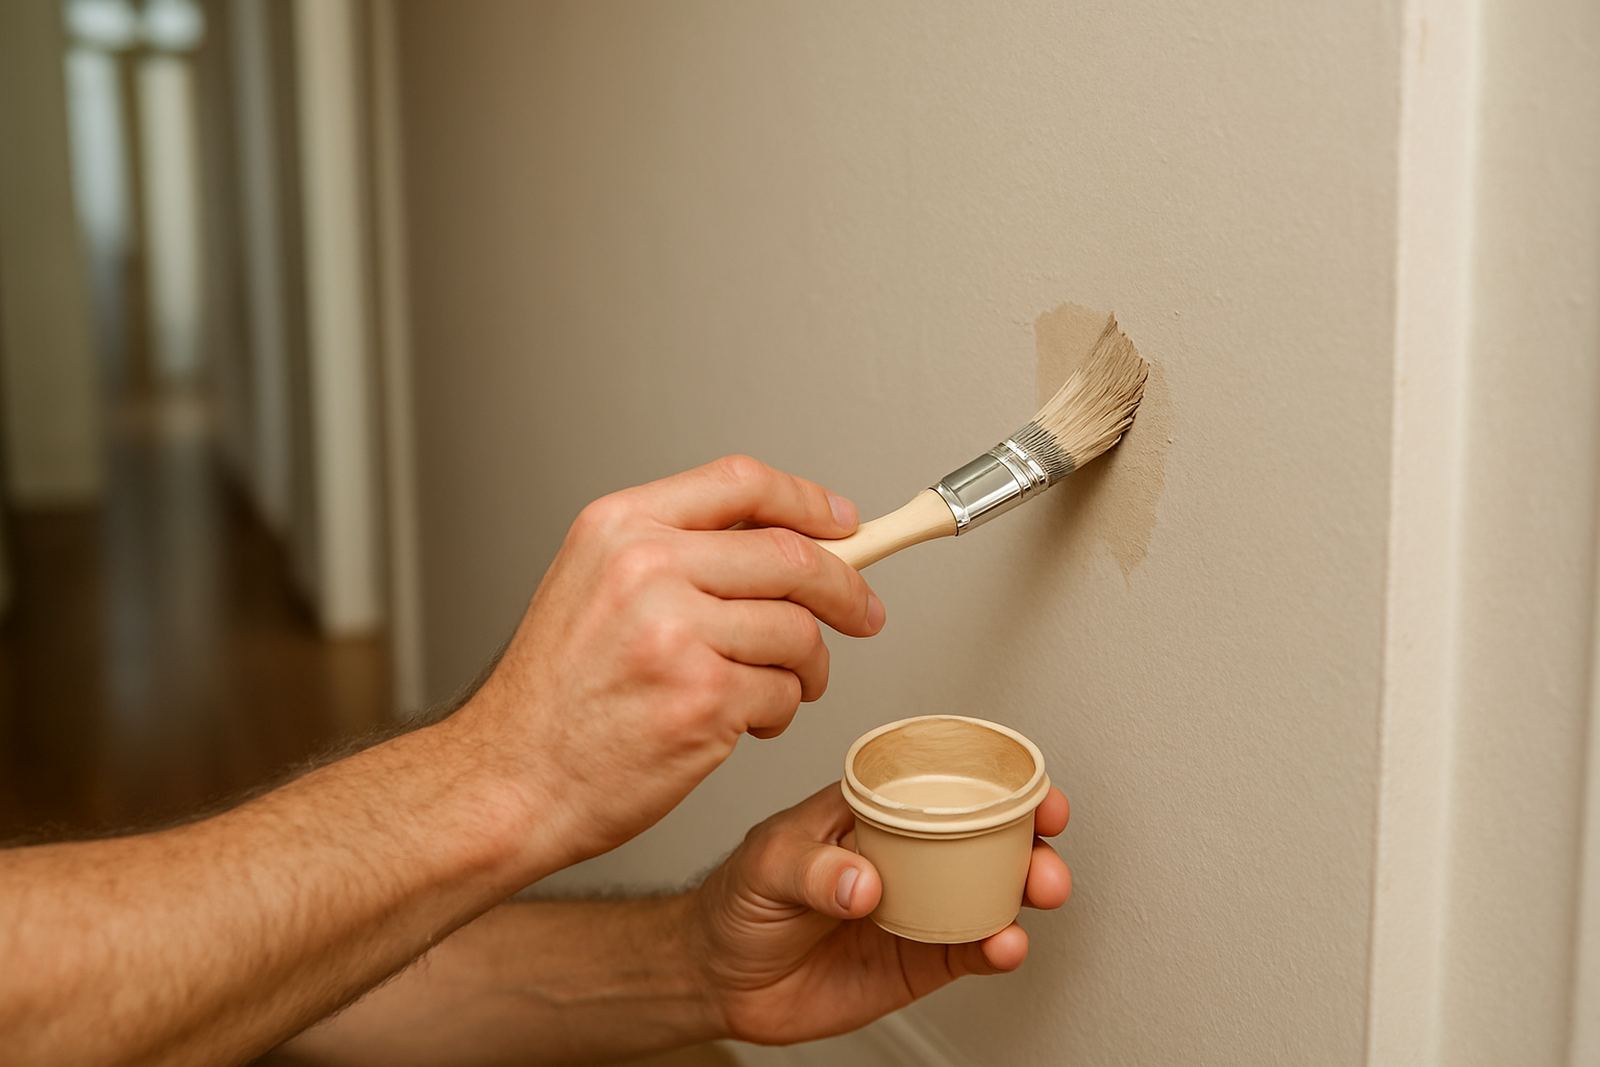
If the kitchen gets strong morning light, test the colour in both daylight and evening light before committing. A cream that looks calm in the shop may read yellow in a north-facing room, while a grey can turn cold under some LEDs. At our Korsten branch we often mix sample pots so clients can see the colour on their own wall before ordering the full amount. That is especially useful for repainting around tiled splashbacks where the wall colour and tile colour need to sit properly together.
- Test sample patches on more than one wall
- Check the colour under natural and artificial light
- Think about how often fingerprints will show
- Match the wall colour to cabinets and tops
Don’t forget the practical spots people touch most
Some kitchen areas take more wear than others. Around handles, switches, skirting boards, bin zones, and the edge of prep counters, paint gets marked fast. These areas may need a stronger finish or a more careful repaint schedule than the rest of the room. In a trade kitchen or food prep space, scuff marks from trolleys and regular cleaning can wear through weak paint long before the rest of the wall looks old.
For busy households, it helps to plan touch-up areas from the start. Keep a small labelled tin of mixed paint for future repairs, and note the sheen level as well as the colour. That way if a patch needs fixing after a year or two, the repair is far less obvious. The same advice applies when matching paint for a rented property or contractor job, because a perfect colour with the wrong sheen still looks off.
- Protect high-touch areas with better coating choice
- Store a small touch-up tin for later repairs
- Keep colour and sheen details together
- Plan for regular cleaning around handles and switches
A Gqeberha kitchen example that gets it right
A typical kitchen in Korsten or Walmer might have salty coastal air, afternoon heat, and a family that cooks daily. In that setting, a practical repaint would start with a full clean of the walls, patching of old chip marks, and colour matching against the existing tiles and cupboards. A soft neutral in a washable low-sheen finish usually gives the best balance between easy care and a tidy look. If the room is tight on space, the right colour can also keep it feeling open without making every mark obvious.
For homeowners and contractors in Gqeberha, Johannesburg, or Cape Town, the main aim is the same: choose a finish that suits the room’s use, not just the trend of the week. Good kitchen paint should stand up to steam, grease, and routine wiping while still looking decent after the weekly clean. That is the practical test, and it is the one that matters most.