Start only when the wall is truly dry
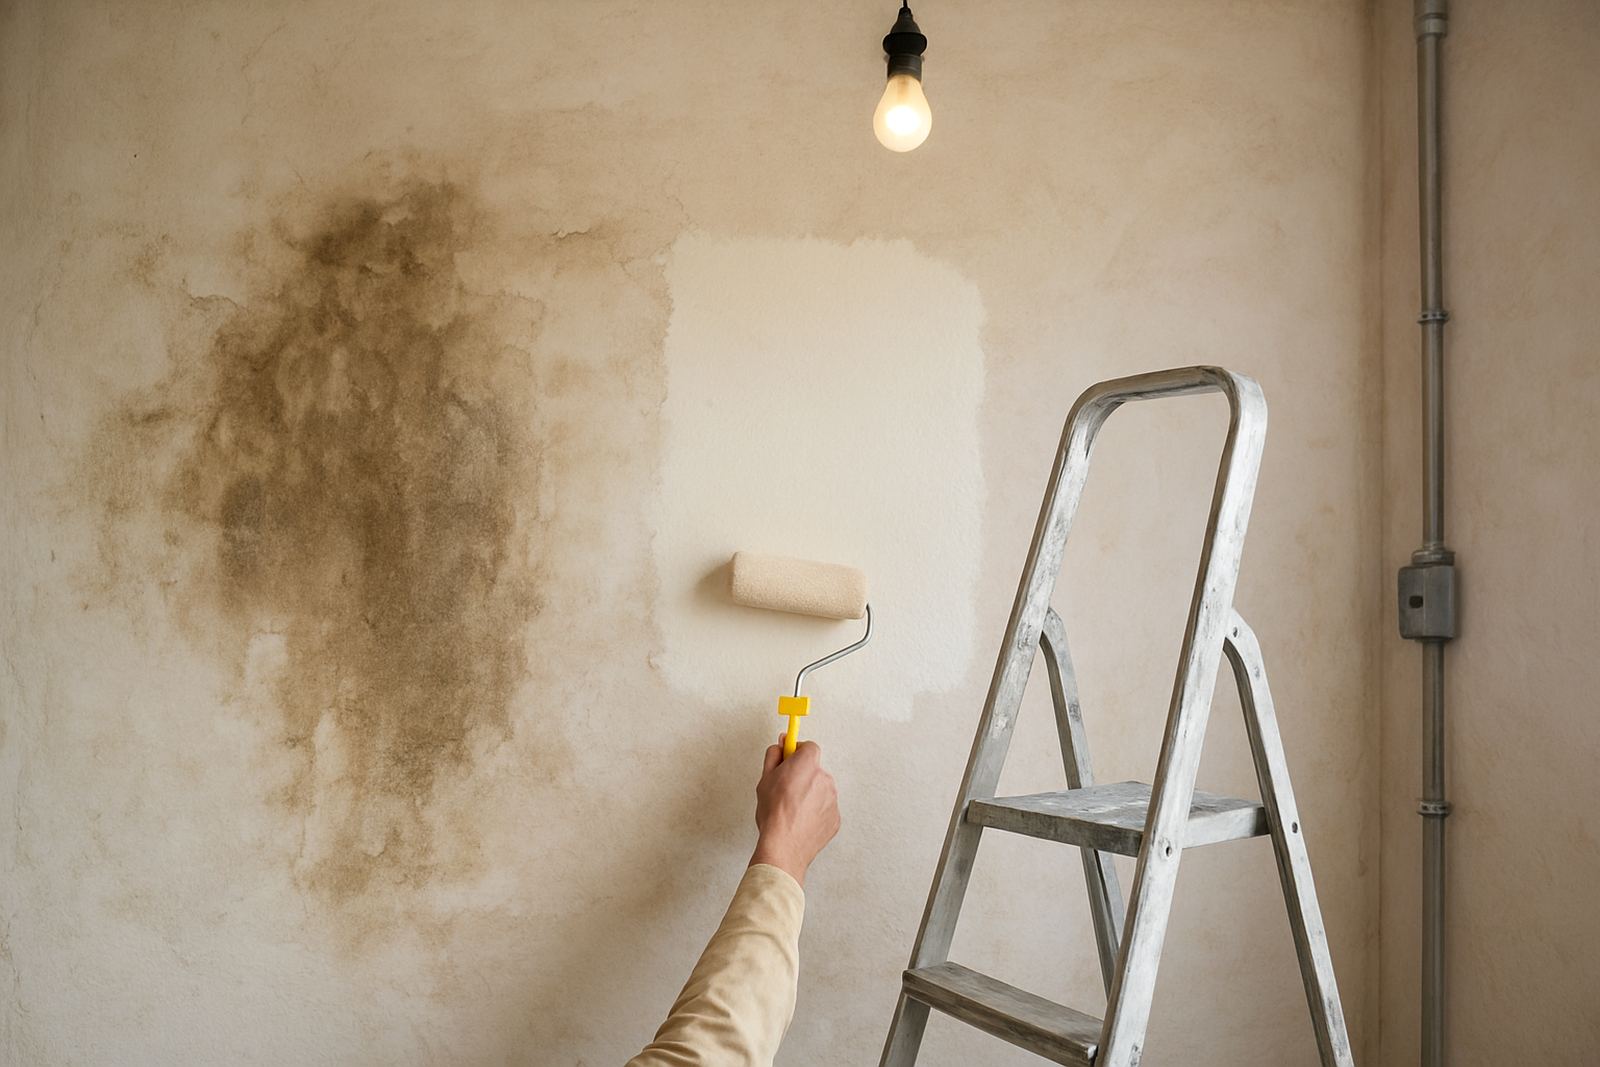
The first mistake is painting too soon. A wall can look dry on the surface while moisture is still sitting inside plaster, brick, or plasterboard. In Gqeberha, where coastal humidity can hang around for days, a wall may need longer to dry than you expect, especially after rain or a plumbing leak.
Before you open a tin, check the area for any coolness, softness, bubbling paint, or a musty smell. If the damp source has been fixed and the stain is still dark, give the wall time. Open windows where possible, use fans, and if load-shedding interrupts drying, plan the repair for a stretch of dry weather.
- Press a dry cloth against the patch and check for fresh moisture.
- Look for salt deposits, blistering, or powdery plaster.
- Make sure the stain is not spreading after 24 to 48 hours.
Scrape back anything loose and clean the patch properly
When the wall is dry enough, remove anything that will stop the new coating from bonding. Flaking paint, chalky residue, and damaged filler must come off. Use a scraper with care so you do not gouge the plaster. If the area has mould, treat it before repainting. A damp stain that has gone black at the edges often needs more than a quick wipe.
For cleaning, use a mild detergent solution first, then clean water to remove residue. Let the wall dry again before moving on. If the stain was caused by tannins from timber, rust from a hidden fixing, or old water marks on a ceiling, ask for product advice before you start. The wrong prep can leave the stain bleeding through the topcoat, no matter how many coats you apply.
- Scrape loose paint until only sound edges remain.
- Remove dust with a dry brush or vacuum attachment.
- Wash off grime, salts, mould, or mildew and allow full drying.
Seal the stain before you topcoat
Old damp marks often need a stain-sealing coating before the finish paint goes on. This is the step many people skip, then they wonder why the mark shows again. A proper sealer helps block brown rings, yellowing, and lingering moisture marks from bleeding through your new paint. It also gives the topcoat a more even base.
Use the right sealer for the job and follow the drying time on the tin. On porous walls, a single coat might not be enough, especially around old window reveals, ceiling corners, or bathroom walls that have had repeated condensation. In a Walmer or Newton Park home, for example, a ceiling patch above a geyser or near an outside wall often needs careful sealing before repainting. If you are unsure, ask for product recommendations before you commit. That small step saves time later, nogal.
- Choose a stain-blocking primer or sealer suited to the surface.
- Brush the sealer slightly beyond the stained area.
- Let it dry fully before inspecting for any remaining mark.
Patch, sand, and blend the repaired area
Once the stain is sealed, repair any damaged plaster or filler marks. If the wall has cracked or pitted, use a suitable filler and sand it smooth after drying. The goal is not just to hide the damp stain, but to leave the wall even so the finish paint does not flash in the light. This matters on ceilings and side walls where daylight from a window shows every repair line.
After sanding, wipe away the dust. Then look at the patched area from different angles. If there is still a ridge, go back and feather it out. The better the surface prep, the less likely you are to see a patch sitting proud after the final coat.
- Fill cracks and holes, then sand smooth when dry.
- Feather the edges so the repair disappears into the wall.
- Remove all dust before priming or painting.
Match the finish, not just the colour
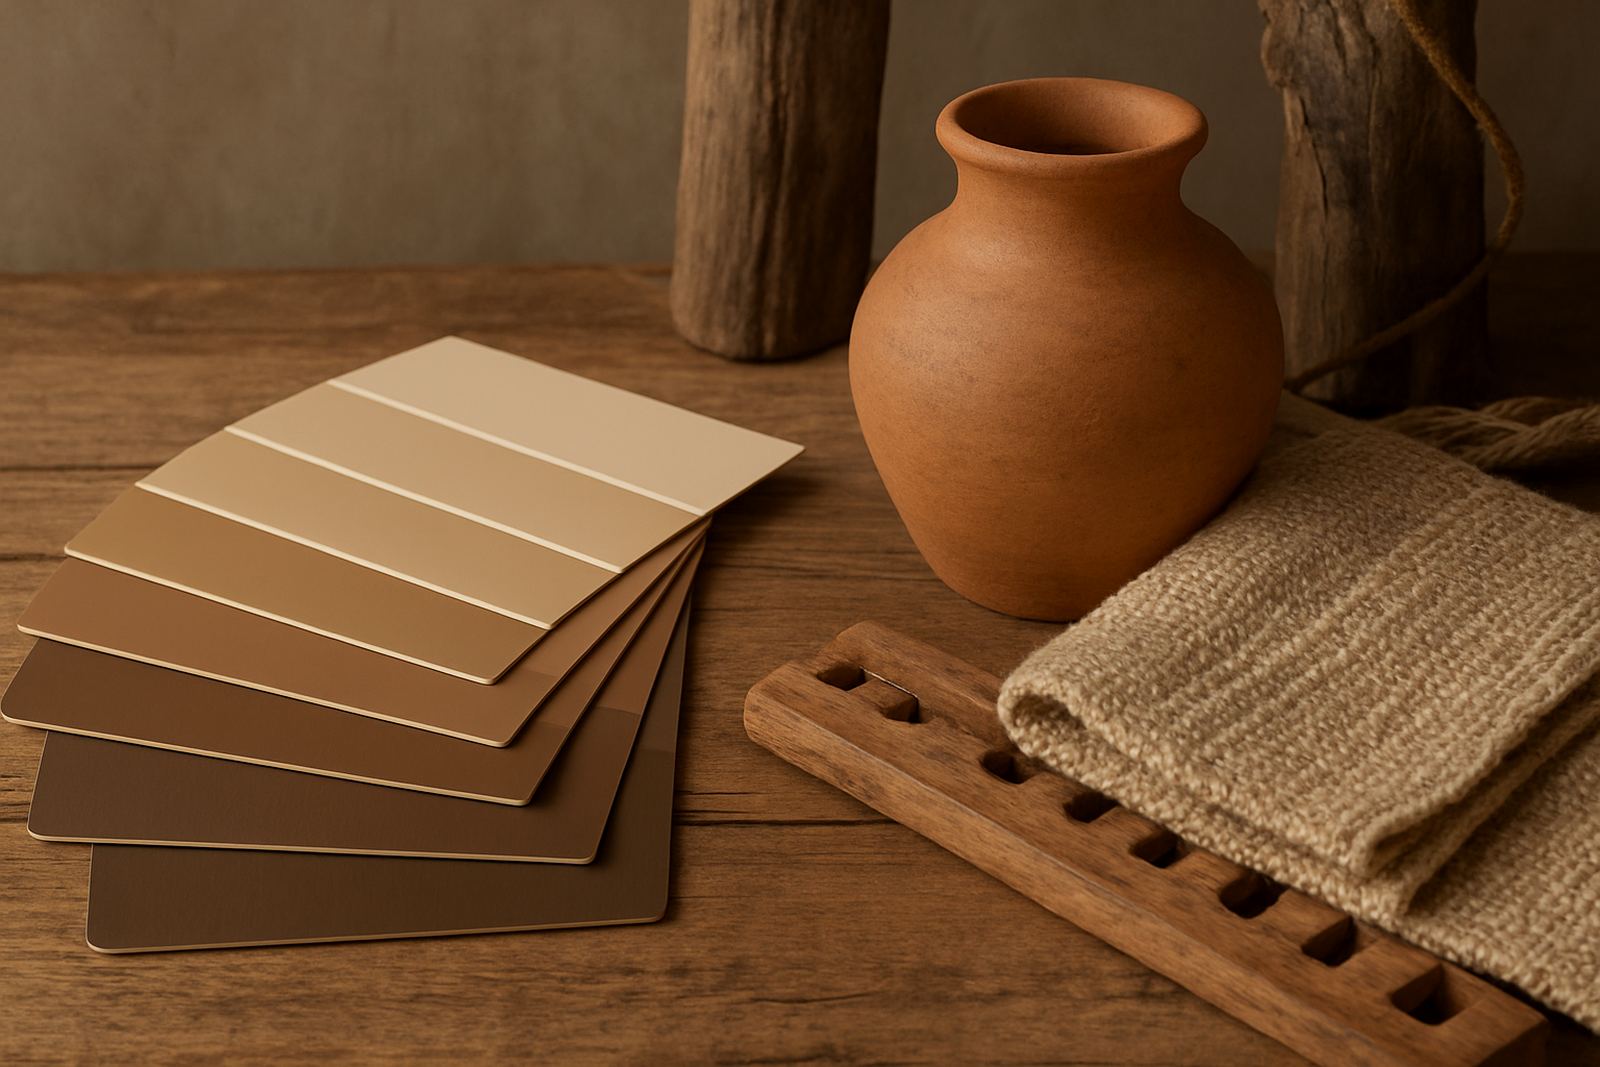
For the best result, match the sheen level as well as the colour. A matt wall next to a low-sheen patch will show up under side light, even if the colour is exact. That is why colour matching and product choice should go together. For older homes, it also helps to keep a small record of the paint type used in each room so future touch-ups are easier.
In a trade setting, this is where bulk planning helps. If you are repainting a rental unit in Sandton or sorting out a row of offices in Bellville, it makes sense to order enough paint from the start and keep one labelled sample pot for future repairs. For homeowners, a sample pot can help test the colour on the same wall after the damp has been sealed, since old stains and fresh plaster can affect how the final colour reads.
- Compare matt, eggshell, and low-sheen finishes before buying.
- Test a sample on the repaired section and check it in daylight.
- Keep note of the exact colour and product used for later touch-ups.
Repaint with thin coats and proper drying time
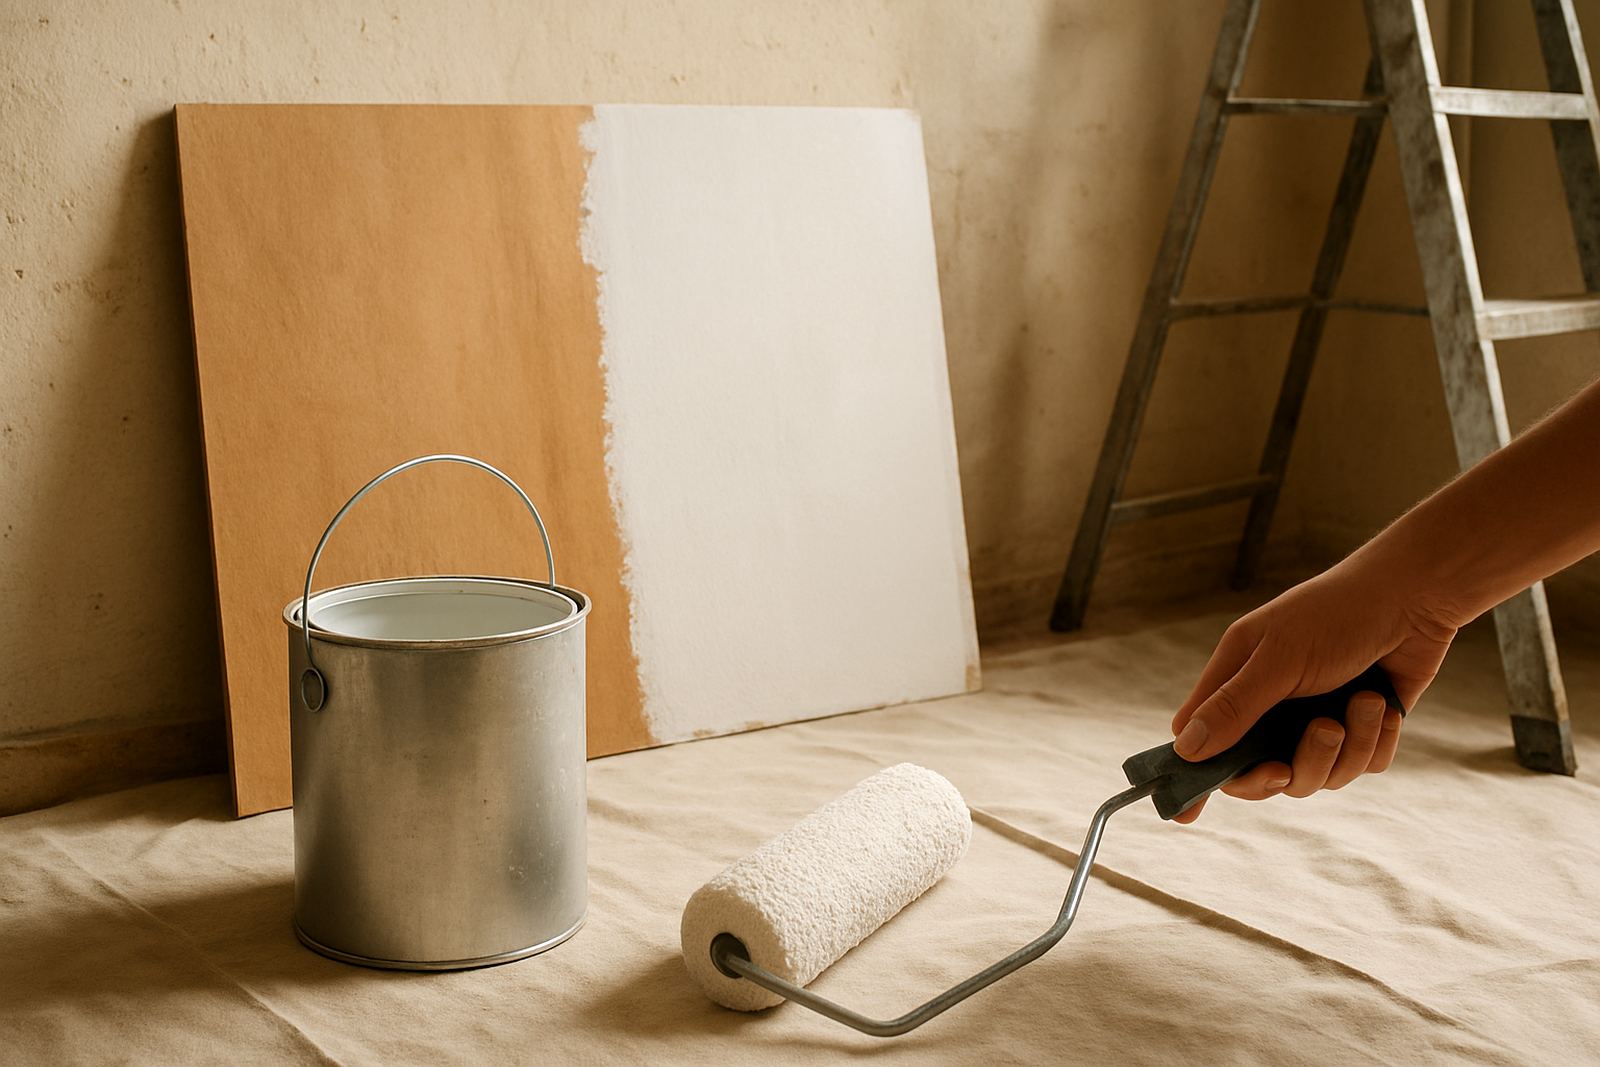
Do not try to cover a repaired damp stain with one heavy coat. Thin, even coats give a cleaner result and dry more consistently. Use a good quality roller for the wall area and a brush for edges and corners. If the patch is large, paint the whole wall rather than only the repaired spot so the finish blends properly.
Allow each coat to dry fully before applying the next one. In humid weather or where there is little airflow, this can take longer than expected. If the wall starts showing through after the first coat, do not panic. That is normal with stain repairs. What matters is that the sealer and finish system are doing their job. A rushed second coat can trap moisture and lead to peeling later.
- Apply two thin coats rather than one thick coat.
- Paint the full wall or ceiling section if colour blending is likely to show.
- Leave enough drying time between coats, especially in humid conditions.
Know when to call for advice before repainting
Some damp stains are straightforward, others point to a bigger issue. If the stain returns after drying, if plaster is soft, or if there are repeated marks along one wall, the source may not be fully resolved. Rising damp, roof leaks, cracked outside walls, and plumbing faults all need proper attention before paint will hold. Paint can hide the damage for a while, but it will not fix the cause.
If you are dealing with a stubborn patch in Korsten, a rental in Randburg, or a shopfront in Cape Town, it helps to get product guidance before spending money on multiple repaints. Good advice on sealing, surface prep, and repaint troubleshooting can save a lot of time. Once the wall is sound and dry, the repair becomes much simpler and the finish lasts better.
- Get help if stains keep coming back after drying.
- Ask about the right sealer, filler, and topcoat for the surface.
- Plan enough paint for the whole area so the finish stays even.