Start with the wrong paint and the room will show it fast
One of the biggest bathroom paint mistakes is treating the room like a normal bedroom or passage. Bathrooms need coatings that can handle moisture, frequent wiping and sudden temperature changes after a hot shower. A flat finish in the wrong product can mark easily, while a low quality sheen may show patchiness where steam hits the wall first.
In Gqeberha and other coastal areas, this matters even more. Humidity from the sea can slow drying and make a weak coating fail sooner at corners, above basins and near ceilings. If you are repainting a family bathroom in Korsten or a guest toilet in Walmer, choose paint suited to damp conditions and ask for product advice based on the room use, not just the colour you like.
- Pick a moisture resistant interior paint for standard bathrooms.
- Use a washable finish where children or tenants will wipe walls often.
- Do not assume any white paint will perform the same way.
Painting over mould or damp only hides the problem for a while
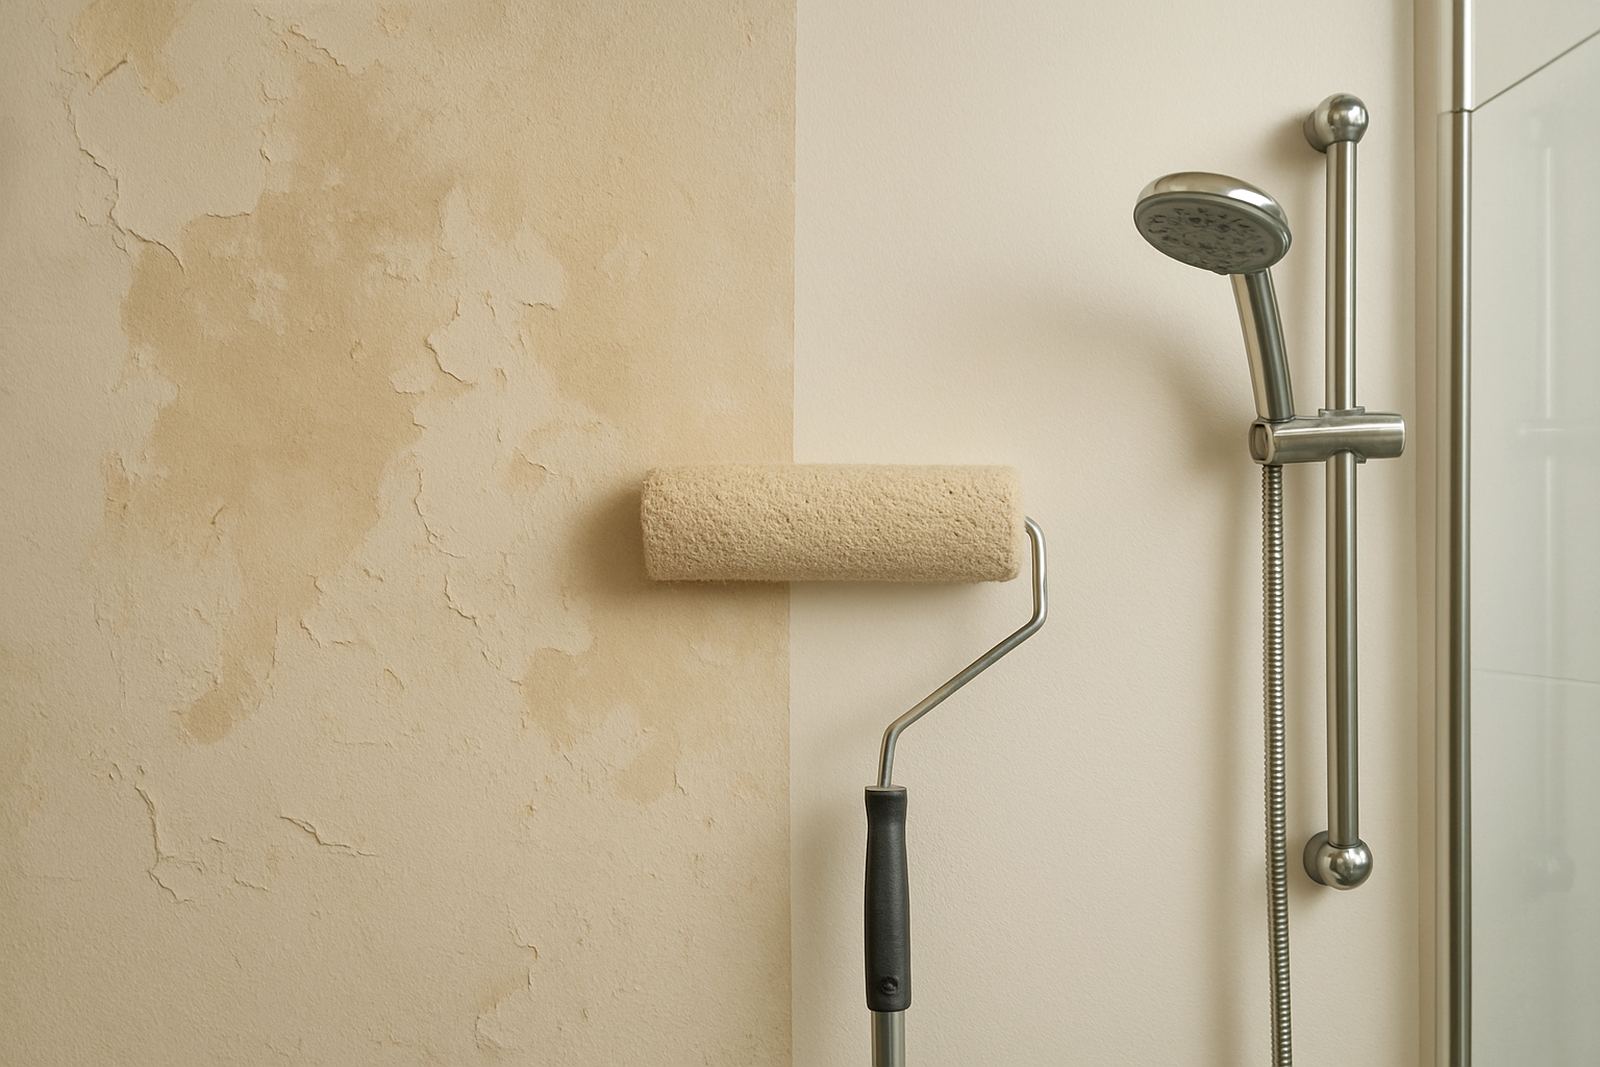
People often scrub a mould stain, paint over it and hope for the best. That usually means the mark comes back through the new coat, especially around ceilings, shower corners and behind toilets where air does not move well. If the wall is damp from a leak, cracked grout or poor extractor performance, the paint is only covering symptoms.
Before repainting, check where the moisture is coming from. Look at basin seals, shower grout, roof leaks and plumbing runs. In older homes around Newton Park and in many flats and rental units, it is common to find hidden damp near external walls. Sorting the cause first saves time, labour and paint.
- Fix leaks before any sanding or priming.
- Clean mould with the correct treatment and let the wall dry fully.
- Use a stain blocking primer if old marks are still visible after cleaning.
Skipping prep work is why bathroom walls peel early
Bathrooms get a lot of handling, steam and cleaning, so surface prep matters more than in many other rooms. If you paint over dust, soap residue, loose filler or old flaking layers, the new finish will struggle to bond. The result is peeling around edges, bubbling near the shower and rough patches that make the room look tired quickly.
A proper repaint starts with washing down the walls, sanding glossy spots, repairing cracks and letting the surface dry properly. If the bathroom was previously painted with a very shiny coating, a light sand helps the next coat grip. For contractors working on multiple units or homeowners doing one room at a time, it is worth taking the extra hour. It often saves a whole repaint later.
- Wash walls first, then dry them completely.
- Sand old glossy finishes before repainting.
- Patch and prime small defects so they do not flash through the topcoat.
Choosing the wrong colour can make the bathroom feel smaller and colder
Colour choice in a bathroom is not only about style. Dark or highly saturated shades can work, but in a room with little natural light they may make the space feel tighter and more closed in. This is common in older homes, small guest bathrooms and some apartment units where the only window is tiny or sits high on the wall.
That does not mean you must stay with plain white. Soft neutrals, warm greys, pale greens and muted blues can look clean without feeling sterile. If the light is poor, test a sample on more than one wall because bathroom lighting can change colour badly at night. A shade that looks gentle in a Gqeberha morning may feel colder under a bulb after load-shedding.
Good colour matching helps here. If you are tying the bathroom into the rest of the home, or matching an existing vanity tile, sample pots are worth using before you buy the full quantity. It is a small cost compared with repainting a room because the colour looked different once it dried.
Ventilation and drying time are not optional in humid rooms
Many bathroom paint failures start because the room was shut up too soon. If you close the door, switch off airflow and run hot water the same day, the coating may skin over before it has cured properly. In humid conditions, that can leave a soft finish that marks easily and holds a dull, patchy look.
Let the room breathe after painting. If you have an extractor fan, use it. If not, keep windows open where possible and plan the job for a dry day. In coastal areas and during winter in the Eastern Cape, a bathroom may need more drying time than the tin suggests. It is better to wait overnight than to rush the second coat and trap moisture in the system.
- Allow extra drying time in humid weather.
- Keep doors and windows open where safe to do so.
- Do not scrub fresh paint for several days after application.
Small bathrooms need the right tools, not just more paint
Another common mistake is overbuying or underbuying without checking the actual wall area. Bathrooms have a lot of corners, tile lines and fittings, so coverage can be tricky to estimate. Using the wrong roller or brush also leaves a poor finish. A cheap roller may shed fibres, while the wrong brush makes edging around mirrors and pipes untidy.
For trade work and busy households alike, planning matters. Measure the wall space, subtract large tiled areas and allow for a primer if the surface is porous or patched. If you are repainting several bathrooms in one complex or getting contractor accounts in order, bulk quantity planning can save multiple trips and reduce colour variation between batches.
- Measure before buying so you do not run short mid-job.
- Use a smaller roller for tight bathroom spaces.
- Keep a sample pot for touch ups and future repairs.
A practical Gqeberha example: what went right after a bad repaint
A homeowner in Korsten had a bathroom that looked fine for two weeks, then started showing patchiness above the shower and a faint mould line near the ceiling. The previous coat had been applied over a slightly damp wall, with no proper primer and poor ventilation afterwards. The room was small, so the moisture sat there longer after each shower.
The fix was simple but careful. The wall was cleaned, the damp source checked, the surface was allowed to dry fully and the stained area was sealed before repainting. The colour was matched to the rest of the home, but the finish was changed to suit a wetter room. After that, the bathroom held up better, and the owners no longer had to keep repainting the same patch every few months.
That is the lesson with bathroom paint. Good prep, the right product and proper drying matter more than rushing to get the colour on the wall. If the room is humid, narrow or prone to mould, the right advice upfront will save money later.