Why lap marks happen on everyday paint jobs
Lap marks are usually caused by working too slowly across a wall, rolling back into paint that has already started to dry, or changing pressure from one section to the next. On larger walls the difference can be clear, especially when light from a window hits the surface at an angle. It is not always the paint itself, and often it comes down to the way the coat is applied.
In Gqeberha, where coastal moisture can slow drying on some days and summer heat can speed it up on others, timing matters even more. A wall painted in a cool, damp room will behave differently from one in a sunny shopfront in Walmer or a north-facing home in Newton Park. If the painter is not keeping a wet edge, the overlap line shows up fast.
- Rolling over partly dry paint leaves a darker or shinier band.
- Uneven pressure on the roller changes how much paint is deposited.
- Stopping mid-wall without planning the next pass creates visible joins.
- Thin paint may dry too quickly and show the overlap more easily.
Prepare the surface so the first coat goes on evenly
A smooth, clean surface gives you a better chance of getting an even finish. Dust, old flaking paint, filler patches, and glossy spots can all change how paint sits on the wall. Before opening the tin, check for cracks, sanding dust, water stains, and greasy marks around switches or kitchen walls. If the surface is inconsistent, the paint will dry inconsistently too.
Surface prep advice matters just as much as the paint product. A light sand, proper dust removal, and the right primer or sealer can reduce patchiness and help the topcoat spread at a steadier rate. On new plaster or repaired areas, allow enough drying time and make sure all sections have the same suction, otherwise the lap line may appear where one patch drinks the paint faster than the rest.
- Wash off dirt and chalky residue before painting.
- Fill and sand repairs so they sit level with the wall.
- Seal repaired spots or bare plaster where needed.
- Mask off edges carefully so you can focus on the main wall area.
Keep a wet edge from the first roller pass
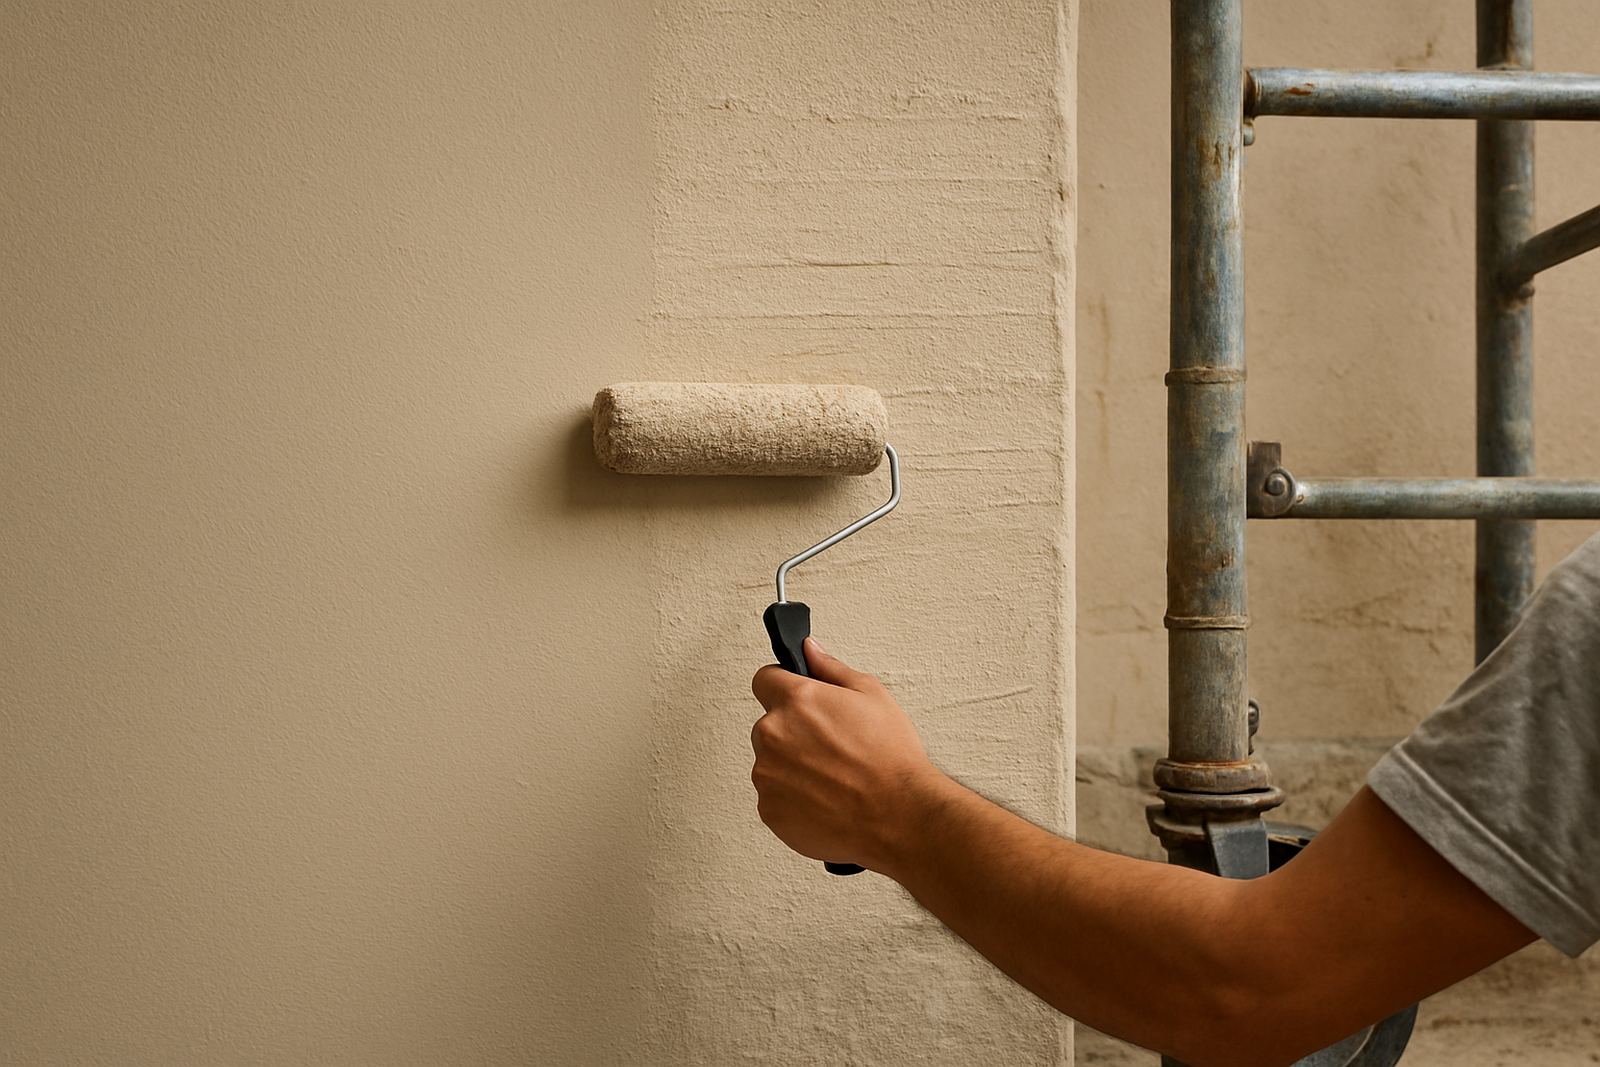
The simplest way to avoid lap marks is to keep a wet edge. That means each fresh section should overlap the previous one while it is still wet, not after it has started to flash off. Work in manageable sections, especially on wide feature walls, passage walls, or high-traffic business areas where you need to maintain a steady pace.
Load the roller evenly and apply the paint in a consistent pattern. Most painters find it helps to roll in a W or M shape, then fill in the open spaces without overworking the surface. Finish each section with light, vertical strokes in one direction so the texture stays even. If you are using a brush for edging, cut in a small section at a time and roll into it straight away.
In a Korsten home with afternoon sun coming through the windows, a wall can start drying before you have finished the pass if you stop to answer the phone or move furniture. Plan your breaks at corners, not in the middle of a wall. That one habit makes a big differance on the final finish.
Match your tools to the room and the paint
Not every roller cover, brush, or paint type behaves the same way. A cheap roller may shed fibres, hold paint unevenly, or leave a stripy finish. For smooth interior walls, a medium-nap roller is often enough. For slightly rougher plaster or exterior masonry, a longer nap may carry more paint and help keep the coverage steady. The idea is to choose a tool that releases paint at the same rate across the surface.
Paint consistency is just as important. If the paint is too thick for the surface or the weather, it may drag and leave overlaps. If it is too thin, it can dry too fast and show every pass. Colour matching and sample pot mixing can help you test the shade and the handling before you commit to the whole job, especially when you are repainting a room in stages or matching an older colour. For contractors working in Sandton or Bellville, that small test can save a full recoat.
- Use a roller nap suited to the wall texture.
- Stir the paint properly before and during use.
- Keep a small sample area to test spread and drying.
- Choose the right sheen for the room so touch-ups blend better.
Control drying time in South African conditions
Drying time changes with temperature, wind, sunlight, and humidity. That is why the same paint can behave differently in a shaded flat in Randburg and a sunlit coastal lounge in Gqeberha. On hot days, work smaller sections and avoid stretching one coat over too much wall space. On cooler or damp days, do not rush the second pass before the first has levelled properly.
If you are painting near open windows or in a drafty corridor, moving air can skin the surface before the wet layer underneath has settled. In factories, offices, and retail spaces, this is common around entrances and loading doors. When possible, close direct draughts and keep the room at a steady temperature. Good timing also helps when load-shedding interrupts the day, because you may need to plan the work so the light and drying conditions stay predictable.
For exterior repainting, avoid starting late in the afternoon if the wall will cool quickly after sunset. Sudden temperature changes can affect how the paint levels, and that can show up as a band once the coat dries.
Plan bigger jobs so the finish stays consistent
On larger homes, schools, body corporates, and trade jobs, lap marks are often caused by poor planning rather than poor painting. Once you start a wall, have enough paint mixed to finish it. Keep the batch numbers and tint details together so any top-up matches the first mix. If you have to stop, finish at a corner, door frame, or change in wall plane where the join will be less obvious.
Bulk quantity planning matters for whole-house repaints and contractor work. Running short halfway through can lead to a second mix that is close, but not exact. Even when the colour is right, the application speed can change if one tin is thicker than the next. That is why trade order support and contractor account help are useful when you are managing several rooms or a commercial schedule.
- Buy enough paint for the full area plus a small touch-up reserve.
- Keep one person cutting in and another rolling if the space is large.
- Label mixed containers so the same shade is used throughout.
- Use the same application method on all walls in the room.
For a repaint troubleshooting job in Walmer, for example, the fix is often simple: sand the affected band lightly, repaint the full wall edge to edge, and keep the same roller load all the way across. That approach usually gives a cleaner result than trying to spot cover the mark.