What Sandpaper and Abrasives Do on Prep Jobs
Sandpaper and abrasives are used before painting to level filled cracks, dull glossy paint and smooth timber between coats. The aim is not to remove more material than needed, but to create a clean keyed surface so primers and topcoats hold properly.
In homes around Korsten, Walmer and Newton Park, this often means patching nail holes, dealing with water marks, or taking the shine off old enamel before a repaint. On site, contractors use different grits for plaster, steel, doors, skirtings and furniture, because one grade does not suit every surface.
- Use coarser grits for heavy filler, rust edge clean-up and rough timber
- Use medium grits for general wall prep and old paint keying
- Use fine grits for between-coat smoothing and final finishing
Common Sizes and Formats We Supply
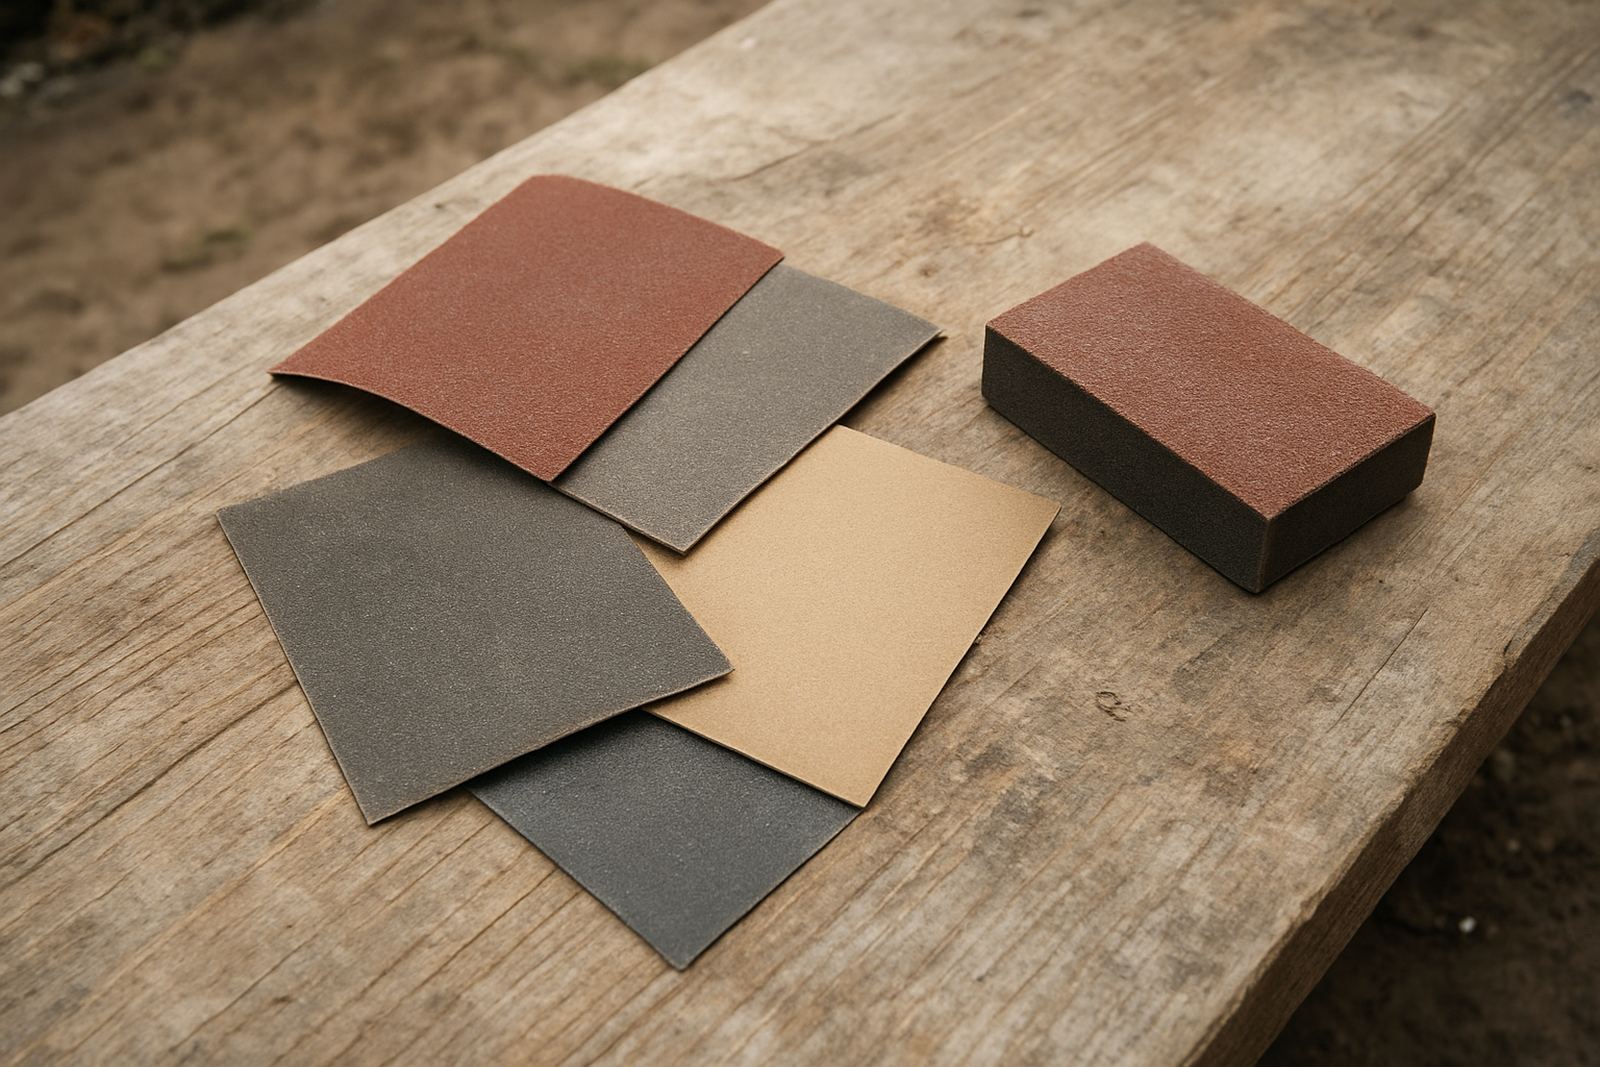
Most customers buy abrasives in sheets, rolls, discs or small hand pads. Sheets are practical for hand sanding blocks and tight areas, while discs suit orbital sanders and larger flat surfaces. Rolls are handy for workshop cutting, and pads work well on mouldings, corners and detail pieces.
Typical sheet size is 230 mm x 280 mm, with disc sizes commonly from 125 mm to 150 mm depending on the machine. Grit ranges usually start around P40 for heavy prep and move through P80, P120, P180 and P240 for finer finishing. For timber work, a stepped approach gives better control than jumping straight to a very fine grade.
- Sheets for hand sanding and block use
- Discs for orbital and finishing sanders
- Rolls for cut-to-size workshop use
- Hand pads for profiles, corners and light scuffing
Where These Products Suit Best
Surface-preparation abrasives suit plaster, drywall filler, wood, painted metal, old varnish and some primed boards. For interior walls, medium grit usually handles patched areas and old roller marks. For doors, frames and built-in joinery, a finer finish keeps the topcoat looking even.
Coastal homes in Gqeberha need particular care because humidity can soften weak filler or leave timber raised after sanding. In those cases it helps to let repairs dry fully, then sand again lightly before priming. If you are working in a double-volume lounge or a busy retail space, dust control matters too so the choice of grit and pad can make the cleanup easier, not harder.
- Interior walls and ceilings after crack repair
- Wooden skirtings, doors, window frames and furniture
- Steel gates, rails and brackets after rust treatment
- Trade repaint work where a fast but controlled key is needed
Using Them by Hand or with a Sander
Hand sanding needs no power at all and is still the best choice for corners, trim and small patch repairs. Machine sanding is faster on large areas, especially when a job needs consistent pressure and a steady finish. If you are using a powered sander, match the disc size to the machine and use dust extraction where possible.
There is no gas requirement for abrasives, but the surrounding setup still matters. On municipal repaint jobs or occupied properties, check for electricity access, extension lead length and dust containment before starting. A simple test run on a small area can show whether the grit is cutting too hard or clogging from soft filler.
- Hand sanding for detail, profiles and touch-up repairs
- Powered sanding for doors, floors and larger flat areas
- Dust masks and eye protection are strongly recommended
- Vacuum extraction helps on interior work and busy sites
Care, Storage and Job-Site Handling
Good abrasives last longer when they are kept dry, flat and away from grit contamination. A damp box or open bag can shorten the life of the product and make it clog sooner. Keep sheets and discs in a sealed container in the van or workshop, especially in humid areas near the coast.
When sanding filler or old paint that feels soft, clean the surface often rather than forcing one sheet to do too much. That saves time and gives a more even result. It also helps to step through the grits properly, otherwise you can leave scratches that show through the topcoat.
- Store in a dry place out of direct sun
- Separate coarse and fine grades so they do not mix
- Tap or brush out light clogging where possible
- Replace worn sheets before they start burning the surface
What to Check Before You Order
Ordering the right abrasive starts with the surface type and the machine you are using. Check whether you need sheets, discs, rolls or pads, then confirm the grit range and backing type. If the work includes patched plaster, timber trim and painted metal in one property, you may need more than one grade to get the job done properly.
For contractors, bulk quantities are worth planning upfront so you do not run short midway through a repaint. That is especially useful on flats, shops and sectional title properties where access time is limited. If you are unsure, send the surface details and we can advise on the likely grit progression, a small typo in planning can cost a full day on site.
- Surface type: plaster, wood, metal or mixed prep
- Tool fitment: sheet size, disc diameter or pad format
- Grit range: coarse, medium or fine progression
- Quantity: single packs, mixed packs or bulk trade order
Key facts
| Product type | Surface-preparation abrasives for smoothing filler, keying paint and refining timber |
|---|---|
| Common formats | Sheets, rolls, discs and hand pads |
| Typical sheet size | 230 mm x 280 mm |
| Typical disc sizes | 125 mm and 150 mm |
| Grit range | P40 to P240 depending on prep stage |
| Power or gas needs | No gas required; hand use needs no power, machine use depends on sander fitment |