What Caulking Sealant Does On Site
Caulking sealant is a flexible filler used where two surfaces meet and a clean finish is needed. It helps close movement joints, small cracks and gaps around window frames, skirting, architraves, sinks, counters, pipe entries and fixed fittings. Once cured, it forms a slightly flexible line that can be painted over when the product allows it.
For many jobs it is the last step before painting, and it makes a real difference to how tidy the final work looks. In homes around Gqeberha, Sandton or Bellville, it is often used to deal with fine gaps caused by timber movement, plaster shrinkage or changes in temperature. It is not a structural repair product, so very wide cracks or moving joints may need another method first.
- Seals small gaps up to about 5 mm to 10 mm, depending on the joint
- Helps reduce dust, draughts and water entry at finishing lines
- Suitable for neat interior and exterior detail work
- Can improve the look of repaint and renovation jobs
Sizes, Formats And Finish Options
Caulking sealant is usually supplied in standard cartridges for use with a sealant gun, and some products are also available in sachets or larger contractor packs. The right format depends on the size of the job and whether you are working on one room, a whole house, or a site with repeated applications. For trade jobs in Korsten or Randburg, bulk buying can save time when the same colour and product are used across multiple units.
When ordering, check whether the sealant is acrylic, silicone, hybrid or polyurethane based. Acrylic types are common for painted interior finishing, while silicone suits wet or high-moisture areas where paint over the joint is not needed. Hybrid and polyurethane types are often chosen for tougher exterior sealing or areas with more movement. Some products are white, clear or neutral grey, while others can be tinted or painted after cure. If colour matters, ask us before you buy because a slight mismatch can stand out near light walls or dark joinery.
- Cartridge size commonly around 280 ml to 310 ml
- Contractor pack sizes available for repeat trade use
- Colours may include white, clear and neutral shades
- Paintable and non-paintable options are both used on site
Where Acrylic Sealant Handles Korsten And Bellville Conditions
This product suits interior and exterior joints where a neat line and some movement tolerance are needed. In coastal areas like Gqeberha and Cape Town, it is helpful for sealing around window frames, trim and small openings where damp air and wind can work into fine gaps. Inland, it is often used in homes and shops where heat and seasonal movement affect timber, plaster and fitted finishes.
It is also common on repaint projects, tenant handovers, new builds and maintenance work. A contractor might use it around ceiling cornices, tiled edge lines, cabinetry ends, skirting boards or service penetrations. For bathrooms, kitchens and laundry areas, choose a sealant suited to moisture and make sure the joint is clean and fully dry before application. If there is constant standing water or direct weather exposure, ask for product recommendations based on that area.
- Windows and door frames
- Skirting, trim and decorative moulding
- Sink surrounds, counter edges and service joints
- Light exterior gaps on painted surfaces
How To Apply It Properly
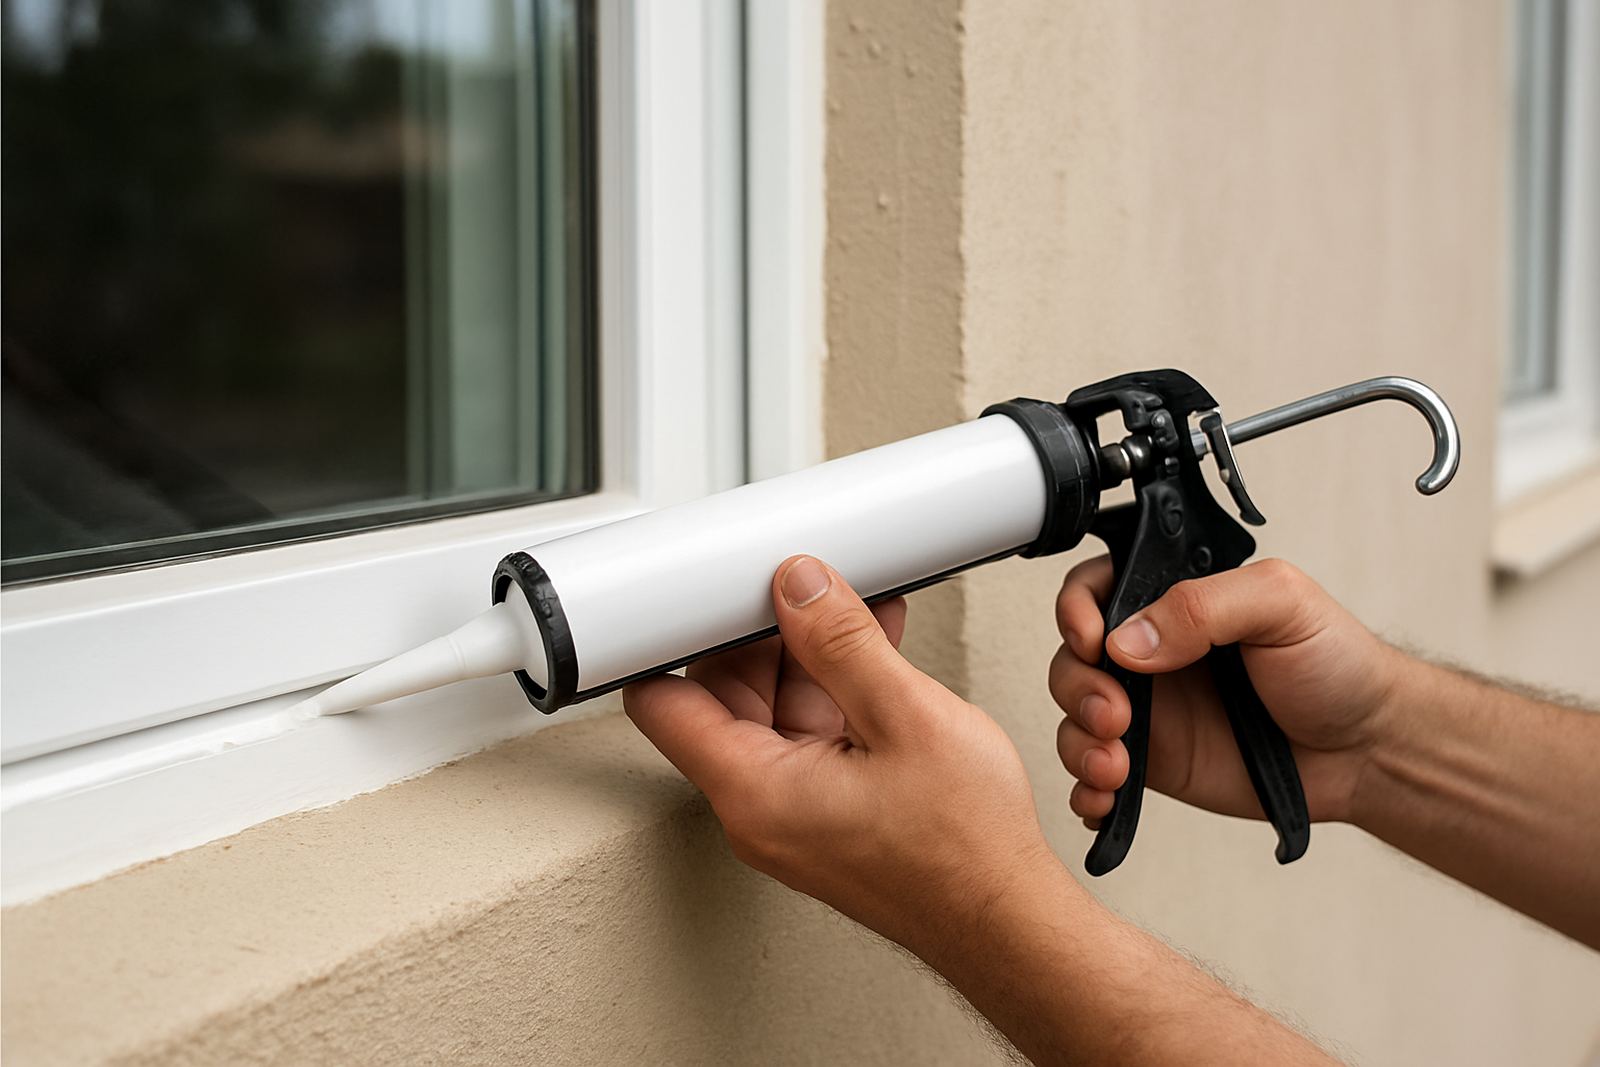
Good application starts with surface prep. Remove loose dust, old cracked sealant and flaky paint, then wipe the area clean. The gap should be dry and stable. Cut the nozzle at an angle, puncture the seal if required and load the cartridge into a proper sealant gun. Apply steady pressure so the line fills the joint rather than sitting on top of it. A wet finger or finishing tool can help shape the bead, but use care not to smear it across the surface.
For best results, work in manageable lengths so the skin forms before you finish the line. Masking tape can help when you need very straight edges on visible trim. Most products need time to skin, cure and become ready for paint, so do not rush the topcoat. Drying times vary by formula, joint depth and weather. In humid coastal weather, give it a little extra time if needed, because rushing can cause the line to slump or pick up dust.
- Clean, dry and sound surfaces give the best bond
- Use a sealant gun for even pressure and control
- Allow proper cure time before painting or exposing to moisture
- Do not use on greasy, dusty or moving substrates without preparation
Power, Gas And Jobsite Needs
Caulking sealant itself does not need power or gas, which makes it practical during load-shedding or on sites with limited utilities. What you do need is the right hand tools and enough lighting to see the joint clearly. A sealant gun, utility knife, cleaning cloths and finishing tools are usually enough for most work. On larger jobs, battery tools can help with lighting or surface prep, but the sealant application remains manual.
For trades working in occupied homes or shop fit-outs, this is useful because there is less disruption. It can be applied without generators or heaters, provided the surface conditions are suitable. If the site is cold, very damp or exposed to rain, delay application until conditions improve. Some sealants cope better with weather than others, so check the technical fit before ordering. A little patience can save a redo later.
Care, Storage And When To Replace It
Unopened cartridges should be stored upright or as recommended, away from direct sun and extreme heat. Once opened, reseal the nozzle if the product allows it, but note that many cartridges have limited re-use once air enters the tube. Keep stock moving on active sites, because older sealant can thicken or cure in the nozzle. If a cartridge has gone hard, separated or produced a poor bead, replace it rather than trying to force it through.
For finished joints, inspect them during routine maintenance. Small hairline splits, shrinking edges or signs of peeling usually mean movement or poor prep was the cause. In rentals, offices and coastal homes, it is worth checking seal lines after heavy rain seasons and again before repainting. If the same area keeps failing, the issue may be substrate movement, not the sealant itself.
What To Check Before You Order
Before placing an order, confirm the joint type, the finish you need and whether the sealant must be paintable. Also check the surface material, because plaster, timber, aluminium, tile and uPVC all behave differently. If you are matching an existing line, bring a sample or clear photos so we can advise on colour and finish. For contractor accounts and bulk planning, it helps to note how many metres of joint you need and the expected bead size.
If you are not sure what to choose, ask for product recommendations based on the area and the finish coat. The wrong sealant can cause paint cracking, poor adhesion or visible shrinkage. We assist DIY users and trade teams across Korsten, Walmer, Newton Park, Sandton, Randburg and Bellville, and we can help with repaint troubleshooting, sample pot mixing and order planning when the job needs more than one product.
- Confirm paintable or non-paintable before ordering
- Check if the area is interior, exterior or wet zone
- Measure the joint length and estimate bead size
- Match the sealant to the substrate and expected movement
Key facts
| Product type | Flexible caulking sealant for finishing joints and gaps |
|---|---|
| Common sizes | 280 ml to 310 ml cartridges, plus selected bulk packs |
| Typical colours | White, clear and neutral shades, depending on stock |
| Best use | Windows, trim, skirting, fittings and small movement joints |
| Application tools | Sealant gun, knife, cleaning cloth and finishing tool |
| Power or gas needed | No, hand application only |