Coastal brief for a Table View family home
The client was a private homeowner in Table View, Cape Town, working on a full exterior repaint for a single-storey family house with plastered walls, fascias, soffits and boundary walls. The old finish had faded unevenly on the western side, with chalking on the sun-facing walls and a few patch repairs where hairline cracks had opened after winter rain. The aim was not a bold makeover. It was cleaner kerb appeal, a calmer exterior colour and a finish that would stay presentable through coastal humidity and regular windblown dirt.
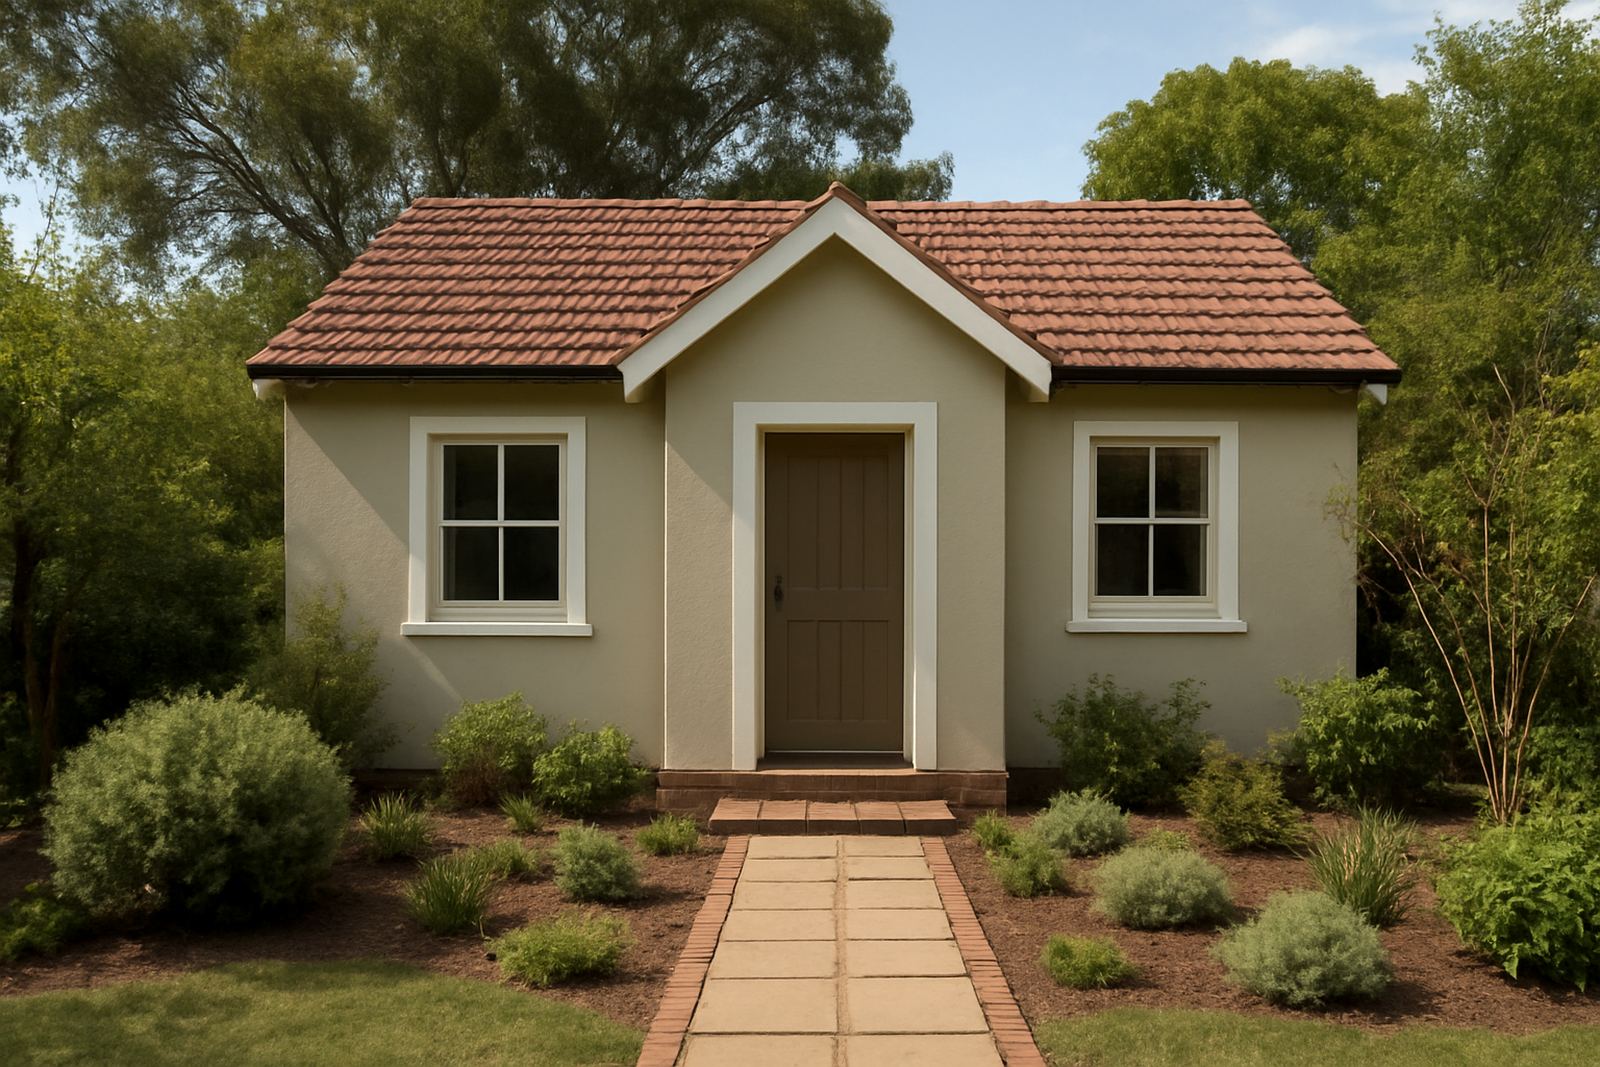
We worked from a sample taken off the existing wall and built a new match from that, then adjusted the tint slightly to suit the light in Table View. The home sits close enough to the coast that colours can read cooler and flatter than they do inland, so we checked the formula against the morning light and late afternoon shade before approving it. The family wanted a soft neutral with enough depth to hide day-to-day dust but still look fresh against the roofline and boundary paving.
Surface checks and prep plan before any paint went on
Before supply, we discussed the likely prep sequence with the client and contractor so there were no surprises on site. The exterior had a mix of sound paint and areas where the existing coating had lost bite, plus old filler around window returns and a few cracked corners near downpipes. Because coastal properties pick up salt, grime and moisture faster than inland homes, the first step was a proper wash-down and inspection, not just a quick overcoat.
- High-pressure wash and detergent clean to remove dust, salt and loose paint
- Crack filling on hairline breaks with flexible exterior filler
- Spot priming on bare plaster and repaired patches
- Masking around aluminium window frames, paving edges and light fittings
- Check of drainage points and damp-prone walls before coating
We also flagged a common Table View issue: if prep is rushed, exterior paint can look good for a few weeks then start showing patchy sheen or early failure around corners. That is why we pushed for a full surface check upfront, even where the walls looked mostly sound.
Colour matching and product choices for the coast
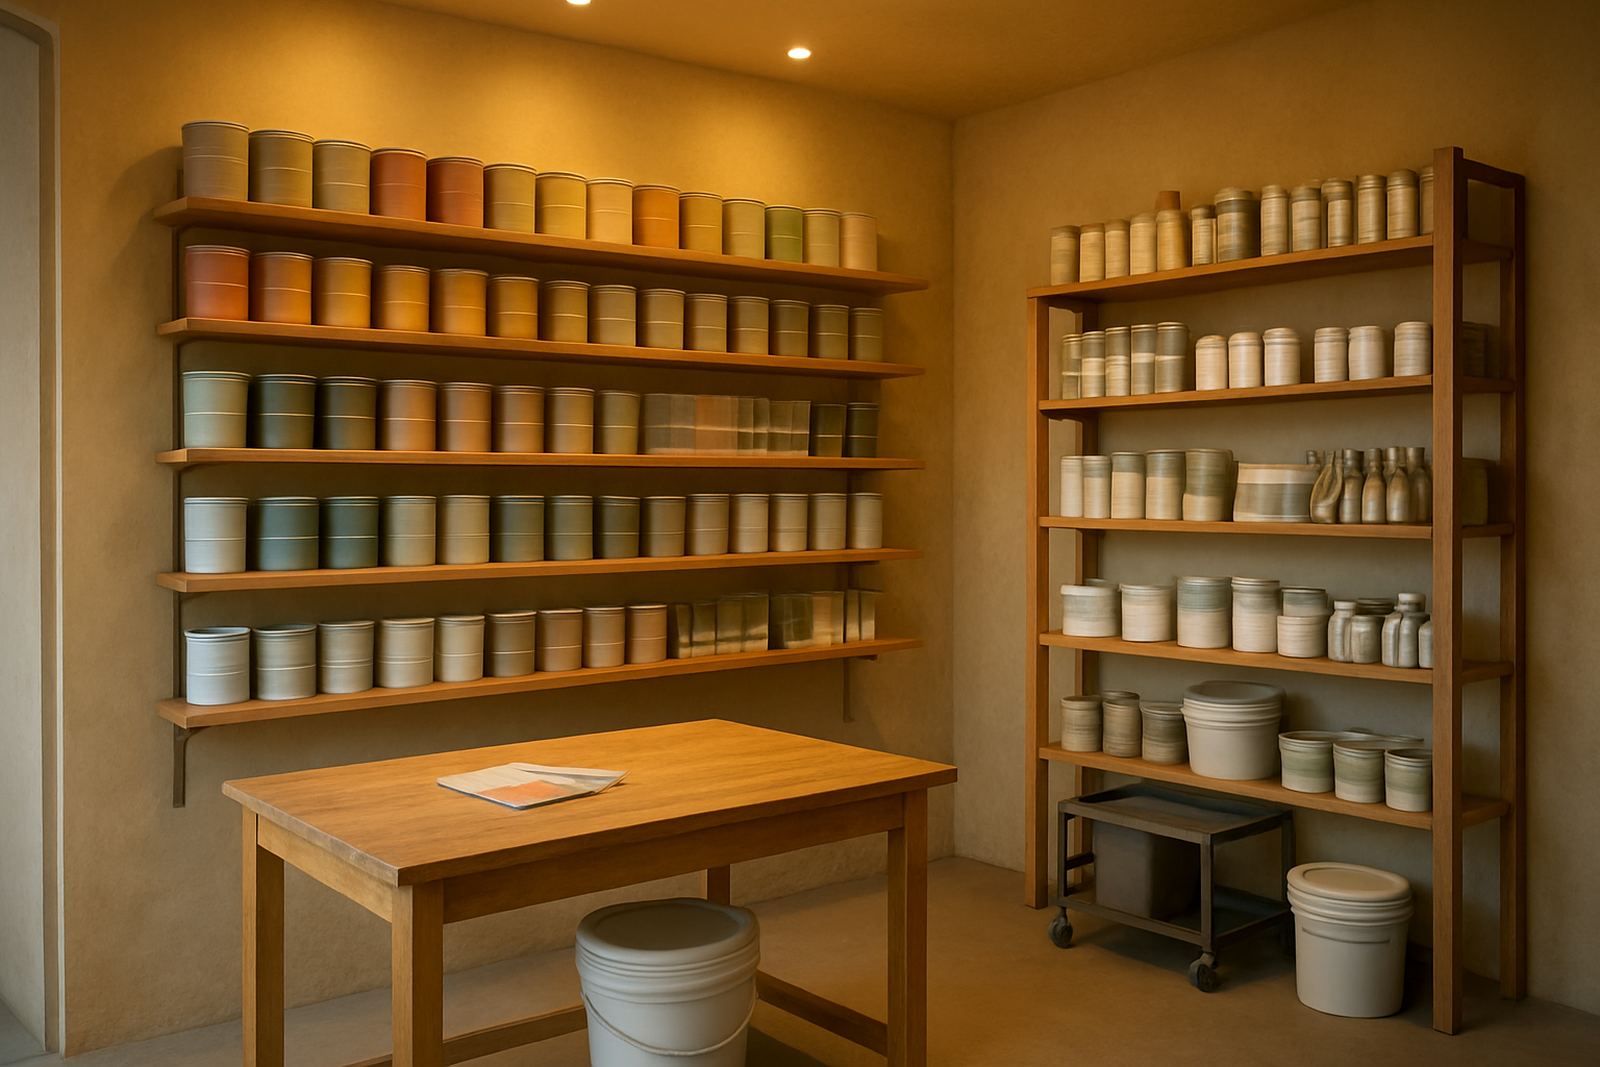
The main service here was colour matching. The client did not want to change the house character too much, just lift the appearance and get a cleaner, more even exterior. We mixed a matched sample and then supplied sample pots so the homeowner could test on different walls before confirming the final shade. On a coast-facing property, this step matters because colour on the north side can look warmer than the same colour in shaded areas.
For the topcoat, we recommended a weather-resistant exterior system with strong adhesion and good resistance to moisture, UV exposure and mild coastal fallout. The chosen finish needed to wash down well, since the owner wanted something practical for a family home, not a finish that would mark easily. We also supplied the supporting materials: exterior filler, masonry sealer, masking consumables and brushes and rollers suited to textured plaster. A quality tint system helps, but on a house like this the prep and undercoat matter just as much.
- Matched sample pots for wall testing in sun and shade
- Exterior tinting adjusted for coastal light conditions
- Masonry sealer for porous repaired areas
- Trade-grade consumables for even application on textured surfaces
How the project moved over three weeks
The repaint ran over three weeks from first call to final sign-off. Week one was for sample confirmation, product planning and prep advice. Week two covered the main surface preparation and priming, with the contractor working section by section to keep dust and weather exposure down. Week three was the final coating stage, touch-ups and walk-through. Because Cape Town weather can turn quickly, we allowed a weather buffer and advised the client to keep the schedule flexible around wind and afternoon showers.
During the job, we stayed in contact with both the homeowner and the applicator so product quantities could be adjusted where needed. That saved time on site and avoided hold-ups on the second coat. We also helped confirm coverage for the boundary wall, which had slightly rougher plaster and ended up needing a bit more material than first planned. Not every project lands exactly on the first estimate, and a small bit of re-ordering is often better than trying to stretch paint too far.
Finish, kerb appeal and the after-effect on the house
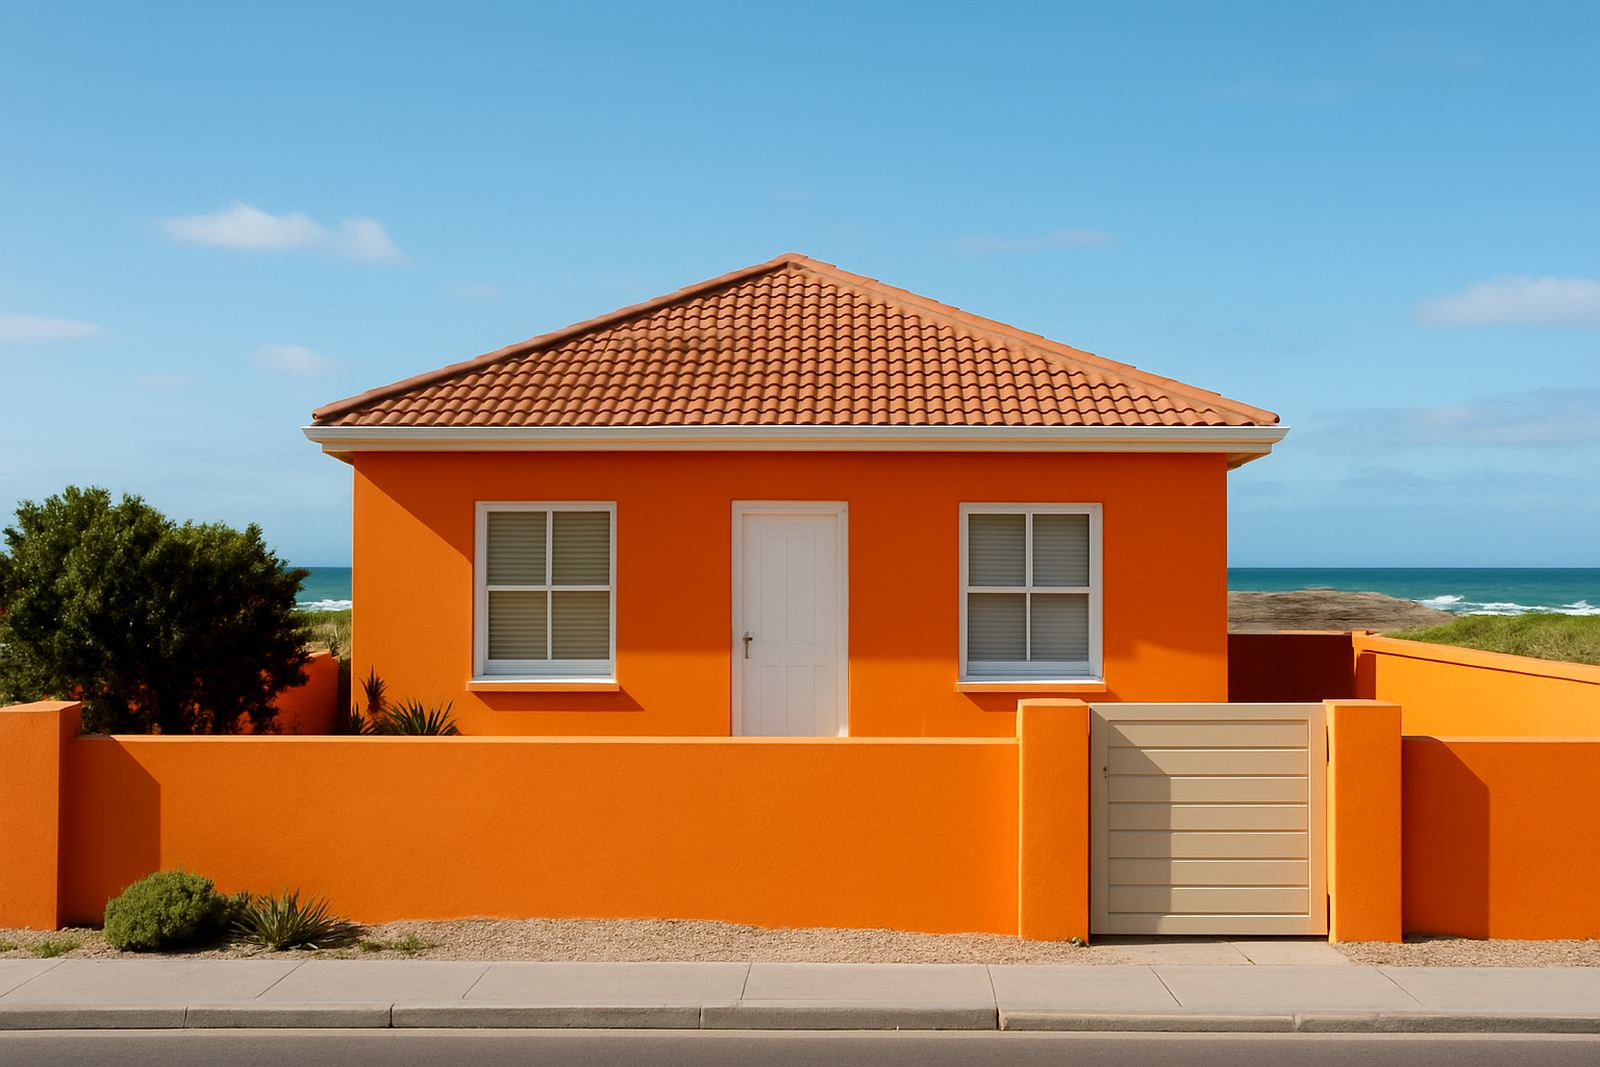
Once complete, the home looked cleaner from the street and the colour now reads more even across the full frontage. The repaired patches blended into the surrounding walls, and the exterior had a more settled look without seeming overdone. The family was especially pleased with how the boundary wall and front elevation now matched, since those areas are the first thing people see from the road.
For a Table View property, that matters because the outside gets judged early and often. Salt in the air, UV exposure and blowing sand can make even a decent paint job look tired if the wrong product or wrong colour is used. This one now has a better chance of staying presentable between maintenance cycles, with less visible marking and better washability after weather and dust build-up.
What we would repeat on a similar home
If we were handling a similar exterior again, we would keep the same order of work: test the colour in more than one light condition, inspect for moisture-related damage before pricing, and plan the materials around the real wall texture rather than a rough estimate. On coastal homes, the temptation is always to jump straight to colour selection. In practice, the house tells you what it needs once the salt, old filler and hairline cracks are properly checked.
We would also keep the same support structure for the contractor and homeowner. Clear sample approval, sensible volume planning and practical repaint troubleshooting make the job smoother and reduce waste. For anyone in Table View or the wider Cape Town side dealing with an exterior that is fading unevenly, that approach saves time and gives a neater result the first time round.
- Confirm the final shade on at least two wall faces
- Allow extra material for rough plaster and boundary walls
- Use a proper masonry sealer on repaired areas
- Keep weather timing flexible for coastal conditions
Key facts
| Project | Table View Home Exterior |
|---|---|
| Location | Table View, Cape Town |
| Scope | Full exterior repaint with colour matching and prep support |
| Timeline | 3 weeks |
| Key materials | Exterior masonry paint, sealer, filler, sample pots, masking consumables |
| Main challenge | Coastal exposure, faded finish and patch repairs |
| Support | Paint Colour Matching, Custom Tinting, Sample Pot Mixing, Surface Prep Advice |