What the Randburg brief called for
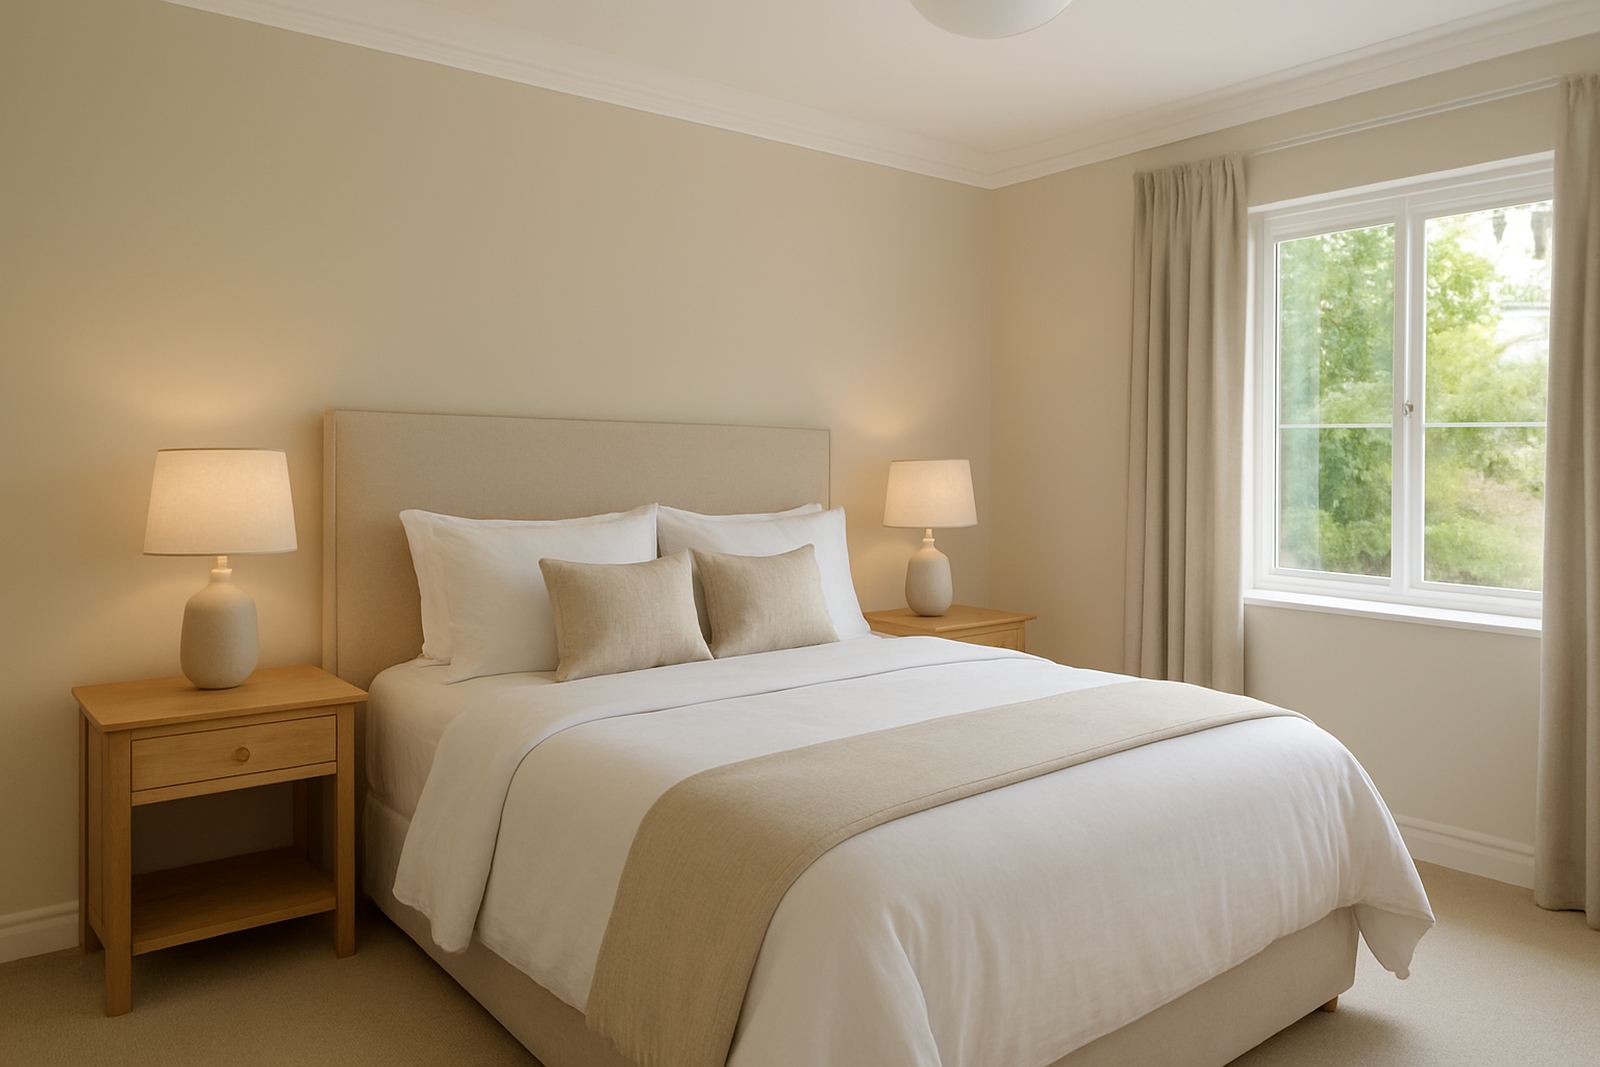
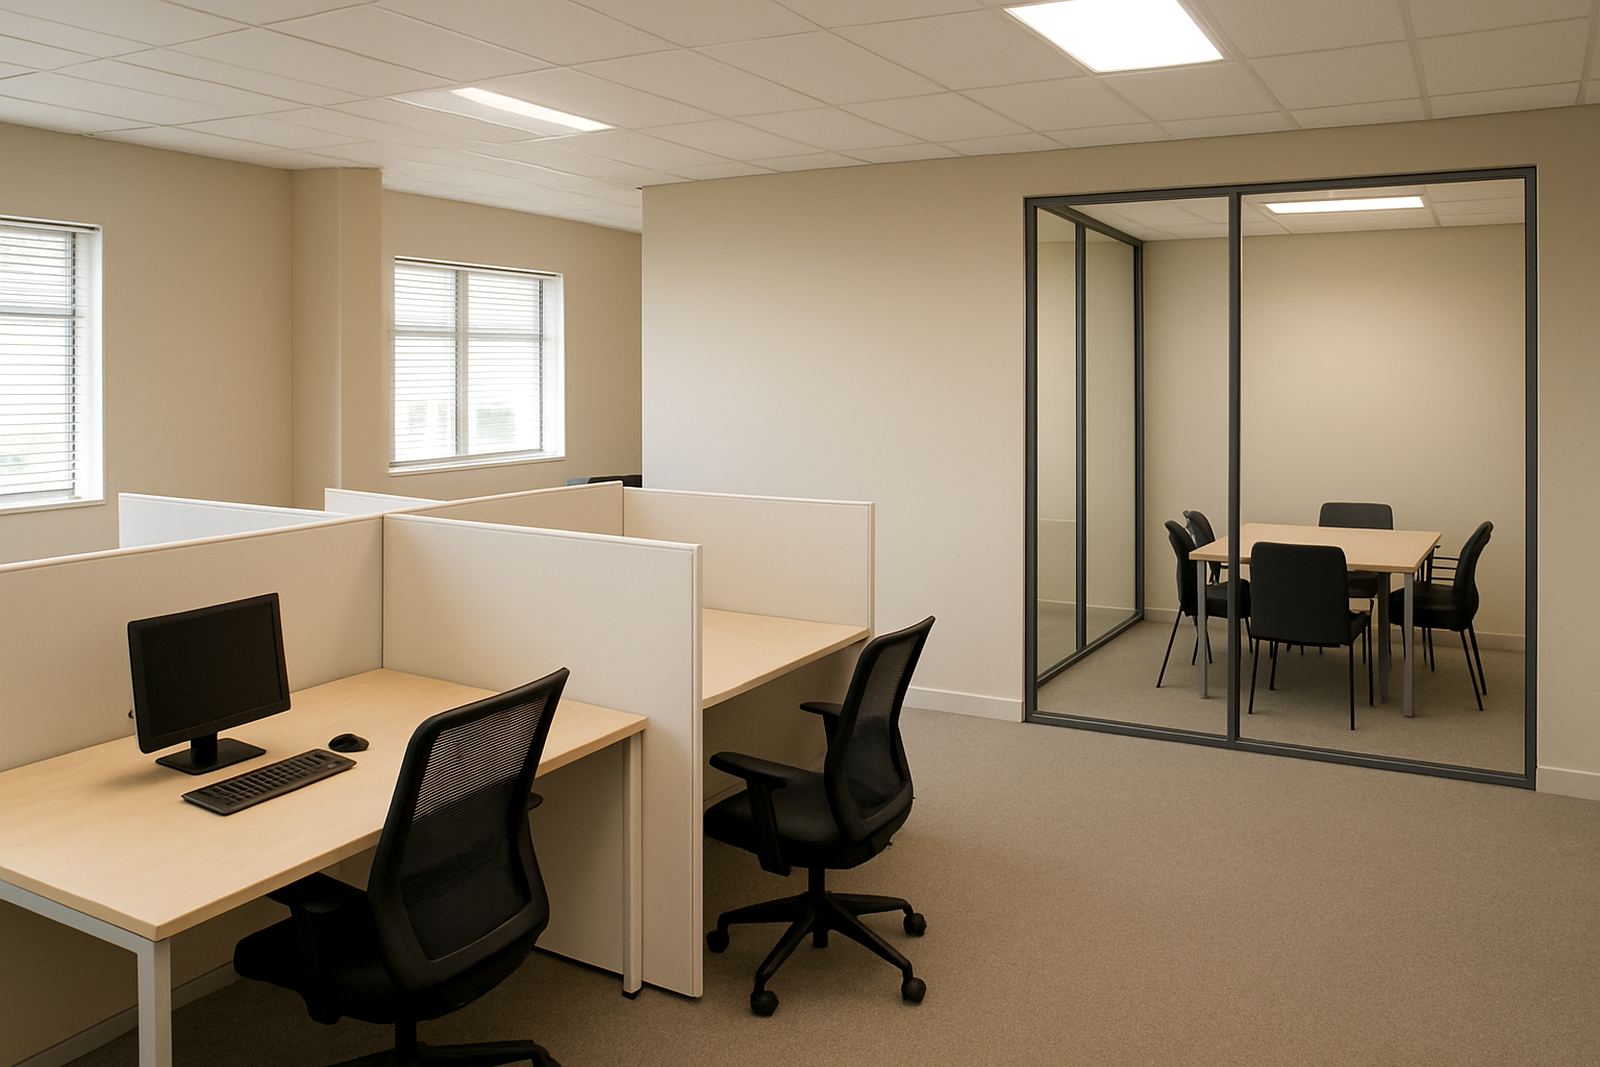
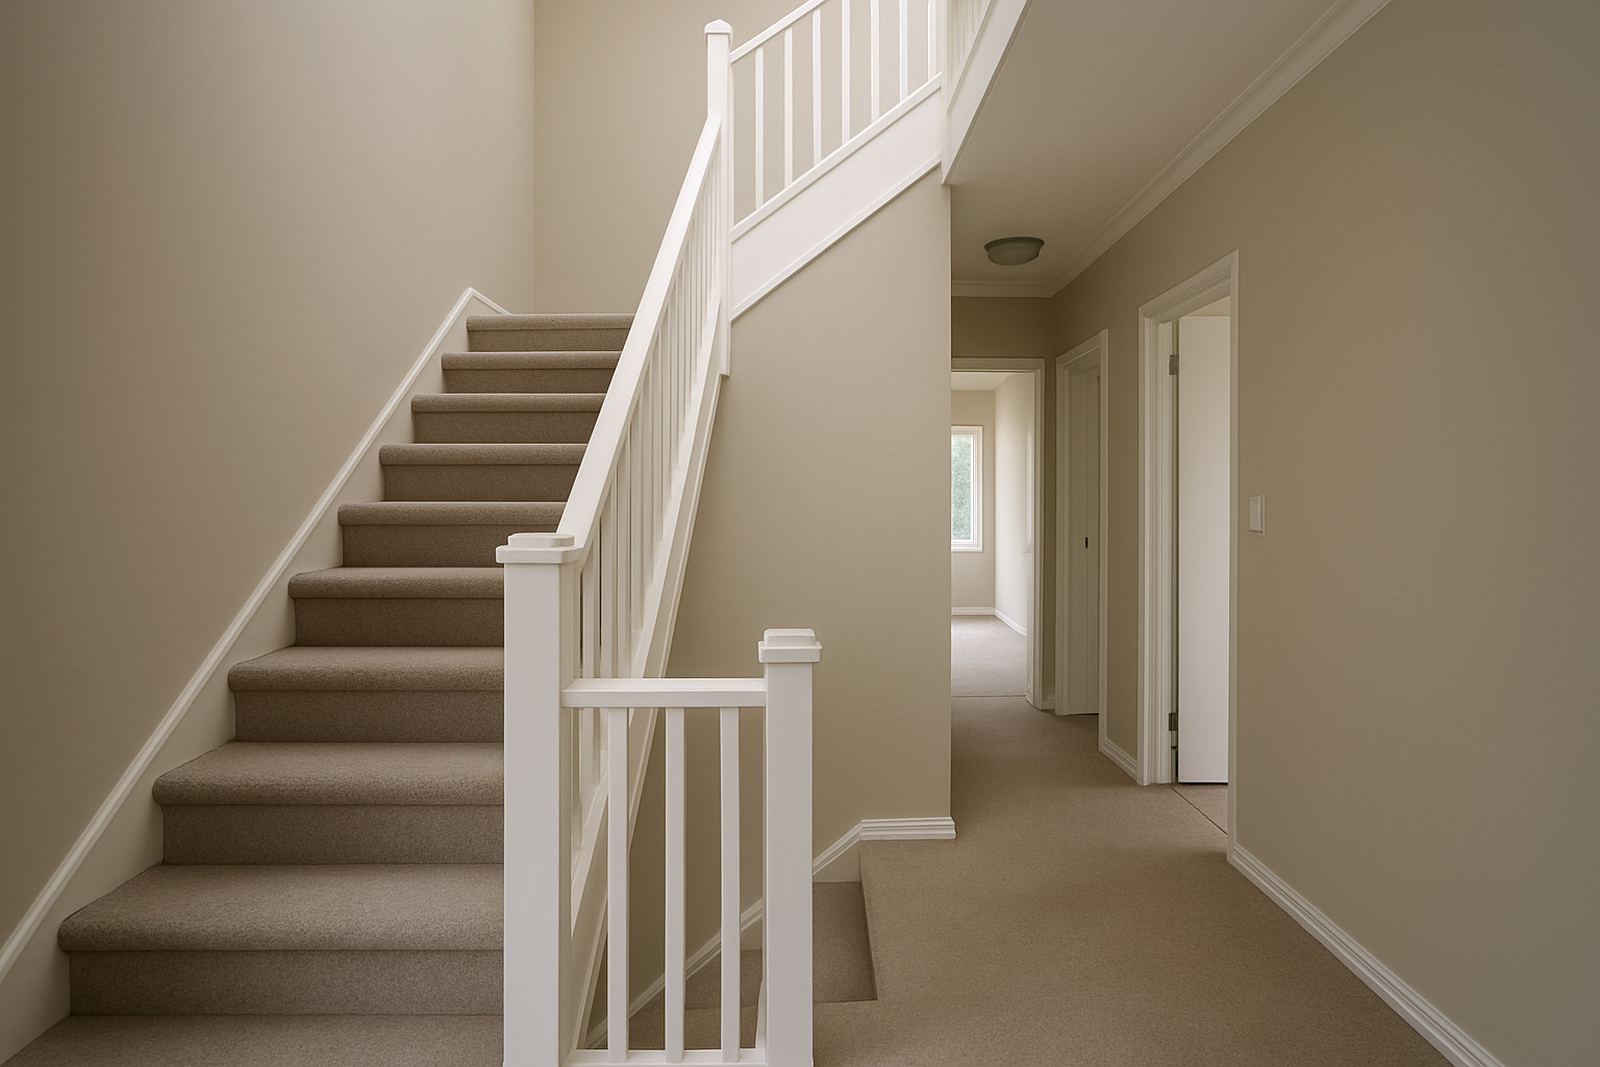
The owner of a duplex in Randburg wanted the property updated before resale marketing started. The brief was simple enough on paper: refresh the interior walls, ceilings and trims, keep the palette light and neutral, and make sure the finish looked consistent from room to room. The unit had the usual wear from daily use, including scuffed passages, a few patched areas around fittings and some discolouration on the ceiling lines. The goal was not a full remodel, just a proper repaint that would help buyers see a well kept home.
Because the place was going on the market, timing mattered. The owner needed work that could be completed in stages over 2 weeks without holding up photography, cleaning or the listing schedule. We also had to factor in a few practical points: mixed natural light from upstairs windows, older trim that showed brush marks, and interior areas that would need quick drying between coats. In Randburg that means planning around colder mornings too, especially in winter when paint can stay tacky longer than expected.
- Property type: duplex townhouse
- Location: Randburg, Joburg north
- Scope: interior walls, ceilings and trims
- Purpose: resale presentation
- Timeline: 2 weeks from product selection to final touch ups
Paint matching and product advice for resale work
The first step was matching the existing off white areas so the new finish would not clash with any walls that were only partially repainted. Our colour matching specialist checked sample boards in the branch and set up test tins for the client to review under natural and indoor light. That matters more than people think because a colour that looks warm at noon can read flat under LED downlights after 6pm, and Randburg homes often have both.
For the main repaint we recommended durable interior paint for the walls, a washable ceiling finish and a hard wearing trim product for doors, frames and skirtings. The owner wanted a low fuss result that a buyer could walk into and immediately read as clean and cared for, so the product choices leaned toward easy maintenance and even coverage rather than a decorative speciality finish. We also supplied sample pots for two neutral options so the final shade could be confirmed against the flooring and existing cupboards.
- Colour direction: light neutral, slightly warm off white
- Wall finish: washable interior paint
- Ceiling finish: flat white ceiling coating
- Trim finish: tougher enamel style coating for doors and skirtings
- Sampling: 2 sample pots mixed on site for approval
Surface prep before the first coat
A resale repaint only looks good if the prep is handled properly. We walked the rooms with the owner and noted the usual problem areas: nail holes, small cracks at corners, worn patch repairs and a few marks from moving furniture. Our advice covered surface cleaning, sanding of shiny spots and the right filler for minor defects. Where ceilings had old water marks, we recommended spot sealing first so the staining would not ghost back through the finish. That step saves a lot of trouble later, and it is easy to skip when people are in a hurry.
Because the property was lived in during the prep period, we also suggested a room by room approach. That allowed furniture to be moved in sections and kept the unit usable between visits. For the trim work, we pointed out which areas would need a degloss and which areas could take a light sand only. The difference shows in the final line of the skirting, especially in narrow passageways where every flaw catches the eye.
- Cleaning: dust, grease and hand marks removed before coating
- Repairs: minor cracks filled and sanded flush
- Stain control: ceiling marks spot sealed where needed
- Access plan: rooms done in sections to keep the unit functional
How the repaint was phased over two weeks
Week 1 focused on colour confirmation, prep materials and test areas. Once the sample shade had been approved, the owner collected the product list and quantities needed for the full duplex. We helped with bulk quantity planning so there was enough paint, sealer and trim product on hand without overbuying. For a property of this size, that kind of planning avoids extra trips and keeps the job moving at a steady pace.
Week 2 was the actual repaint window. The walls were coated first, then ceilings, then trims and touch ups. That order helps keep the job neat because you can cut in cleanly against already finished surfaces. Drying time was managed room by room, and a second inspection was done before handover so any missed edges or thin spots could be corrected. The owner was also given repaint troubleshooting notes for any future maintenance, which is useful if a buyer later asks about small scuff repairs or patch blending.
- Week 1: colour matching, sampling and quantity planning
- Week 2: repaint, drying, inspection and touch ups
- Sequence: walls first, then ceilings, then trims
- Support: repaint troubleshooting notes supplied for future upkeep
The result for marketing photos and viewings
The finished duplex looked brighter, cleaner and more even across all main interior spaces. The neutral palette helped open up the rooms on camera and in person, while the refreshed trim gave the whole unit a sharper edge. Buyers tend to notice the small things first, like the condition of the skirtings, the ceiling finish and whether the walls carry old marks. Once those were sorted, the property felt ready for viewing instead of needing another round of work.
From a resale point of view, the repaint did exactly what it was supposed to do. It removed distracting colour changes, made the rooms easier to stage and gave the owner a simple story to tell potential buyers: the interior has been properly updated and cared for. The finish was not flashy, but that was the point. It needed to be clean, practical and easy for the next owner to live with.
- Visual effect: brighter rooms and cleaner edges
- Listing value: improved presentation for photos and showings
- Maintenance: easy to spot clean after handover
- Buyer appeal: neutral enough for most furnishing styles
What we would do again on a similar Randburg duplex
If we were handling the same kind of resale repaint again, we would follow the same approach. Start with proper colour matching, confirm the neutral shade in the rooms themselves, and do not rush the prep. That combination gives the best chance of a neat result, especially in a duplex where different floors can pick up light differently. In Randburg homes with older trims and mixed ceiling heights, a careful phased repaint works better than trying to push through the whole unit at once.
We would also keep the advice practical for the owner or contractor on site. Clear quantities, clear product use and clear drying times save money and avoid do overs. A resale repaint does not need complicated products, it just needs the right ones applied in the right order. That is where good paint selection and proper support make the difference, and it is why this kind of job turns out well when the planning is done before the brushes come out.
- Best practice: confirm colour in the actual rooms
- Best practice: allow for drying time between coats
- Best practice: repair and seal problem spots before finish coats
- Best practice: keep product quantities tight and accurate
Key facts
| Project | Randburg Duplex Repaint |
|---|---|
| Property type | Duplex townhouse |
| Location | Randburg, Johannesburg |
| Scope | Interior wall, ceiling and trim repaint |
| Timeline | 2 weeks |
| Purpose | Resale marketing preparation |