A small cottage that needed to feel bigger
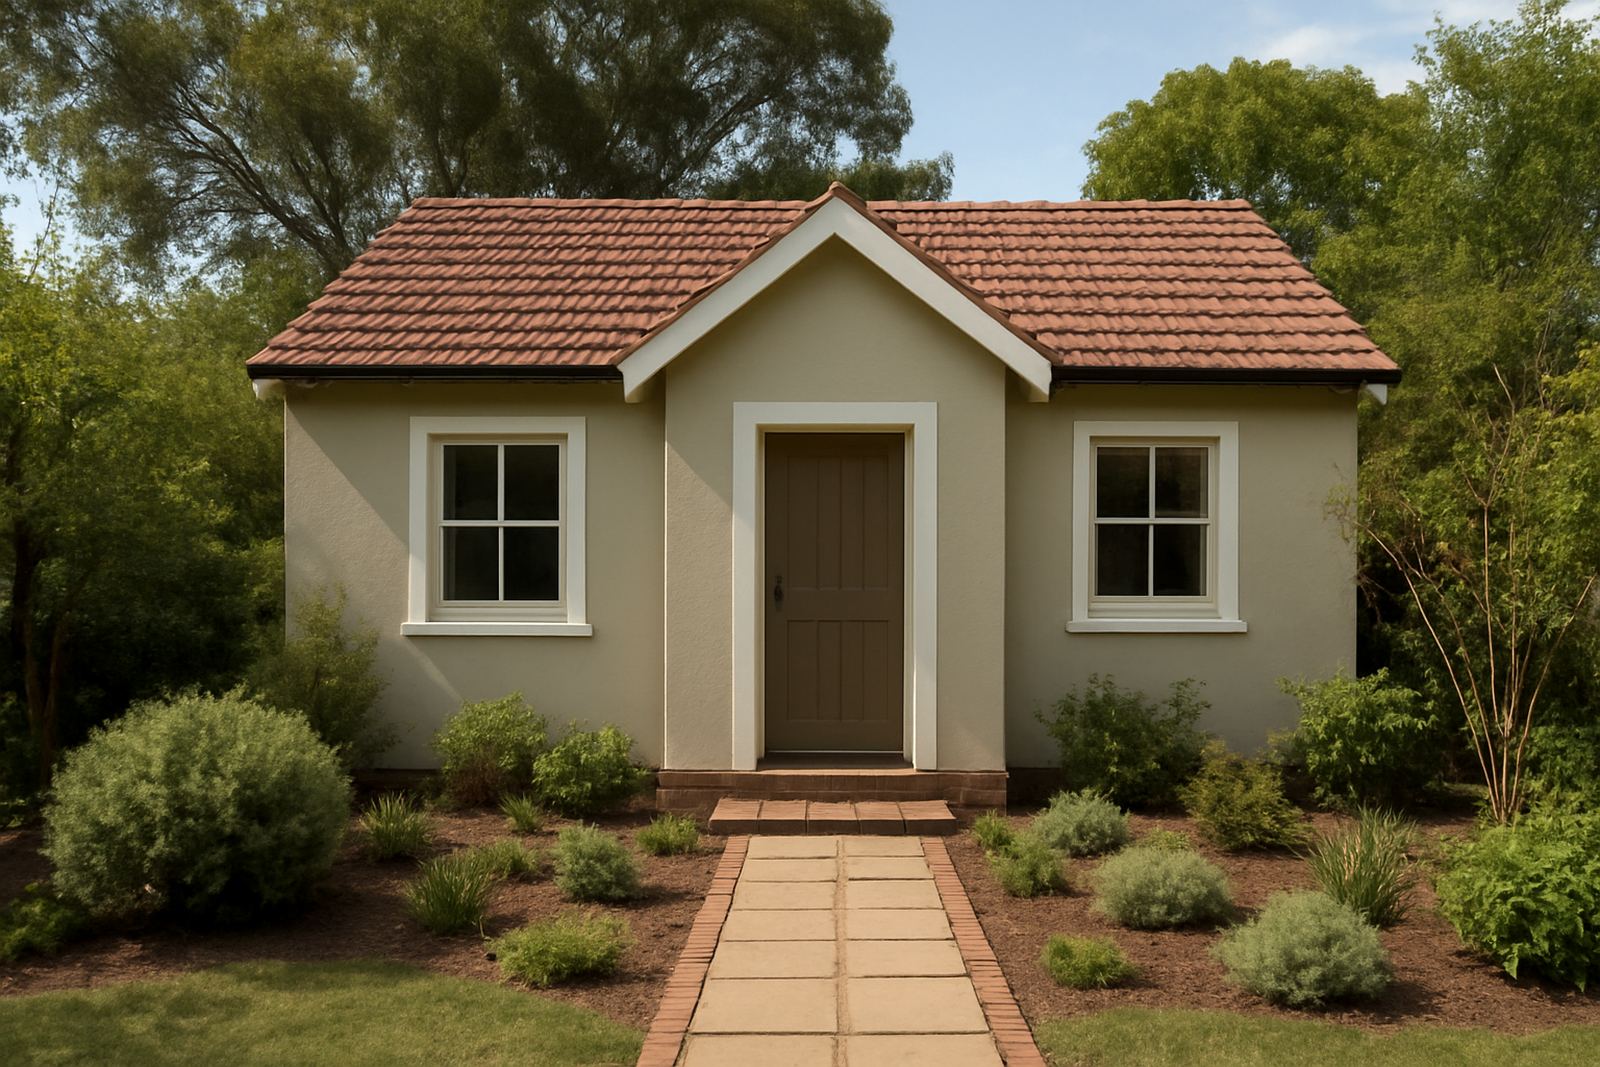
The client was a homeowner in Roodepoort working on a freestanding garden cottage used for day to day living and occasional guest stays. The brief was simple on paper: freshen tired interior walls, keep the rooms calm and light, and make the compact layout feel a bit more generous without adding too much maintenance. The cottage had older plaster, mixed repairs from previous touch ups and a few rooms that picked up humidity after winter. In a small home like that, every shade matters because one dark wall can make the whole place feel tighter than it is.
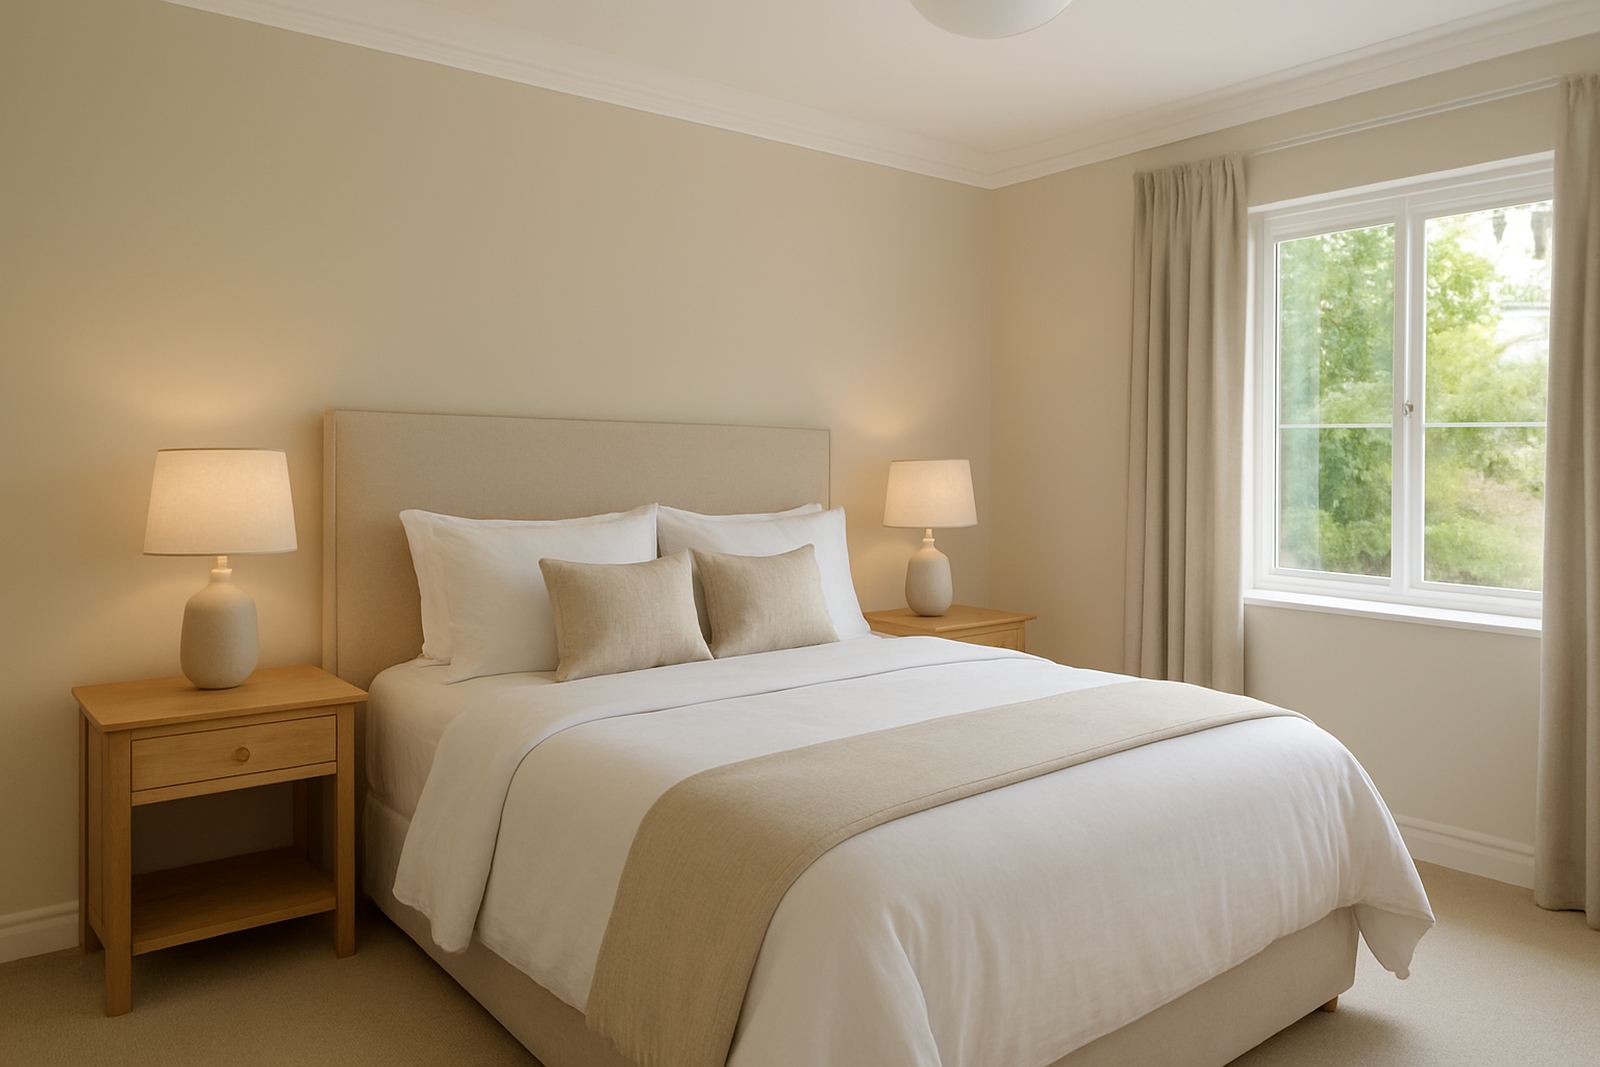
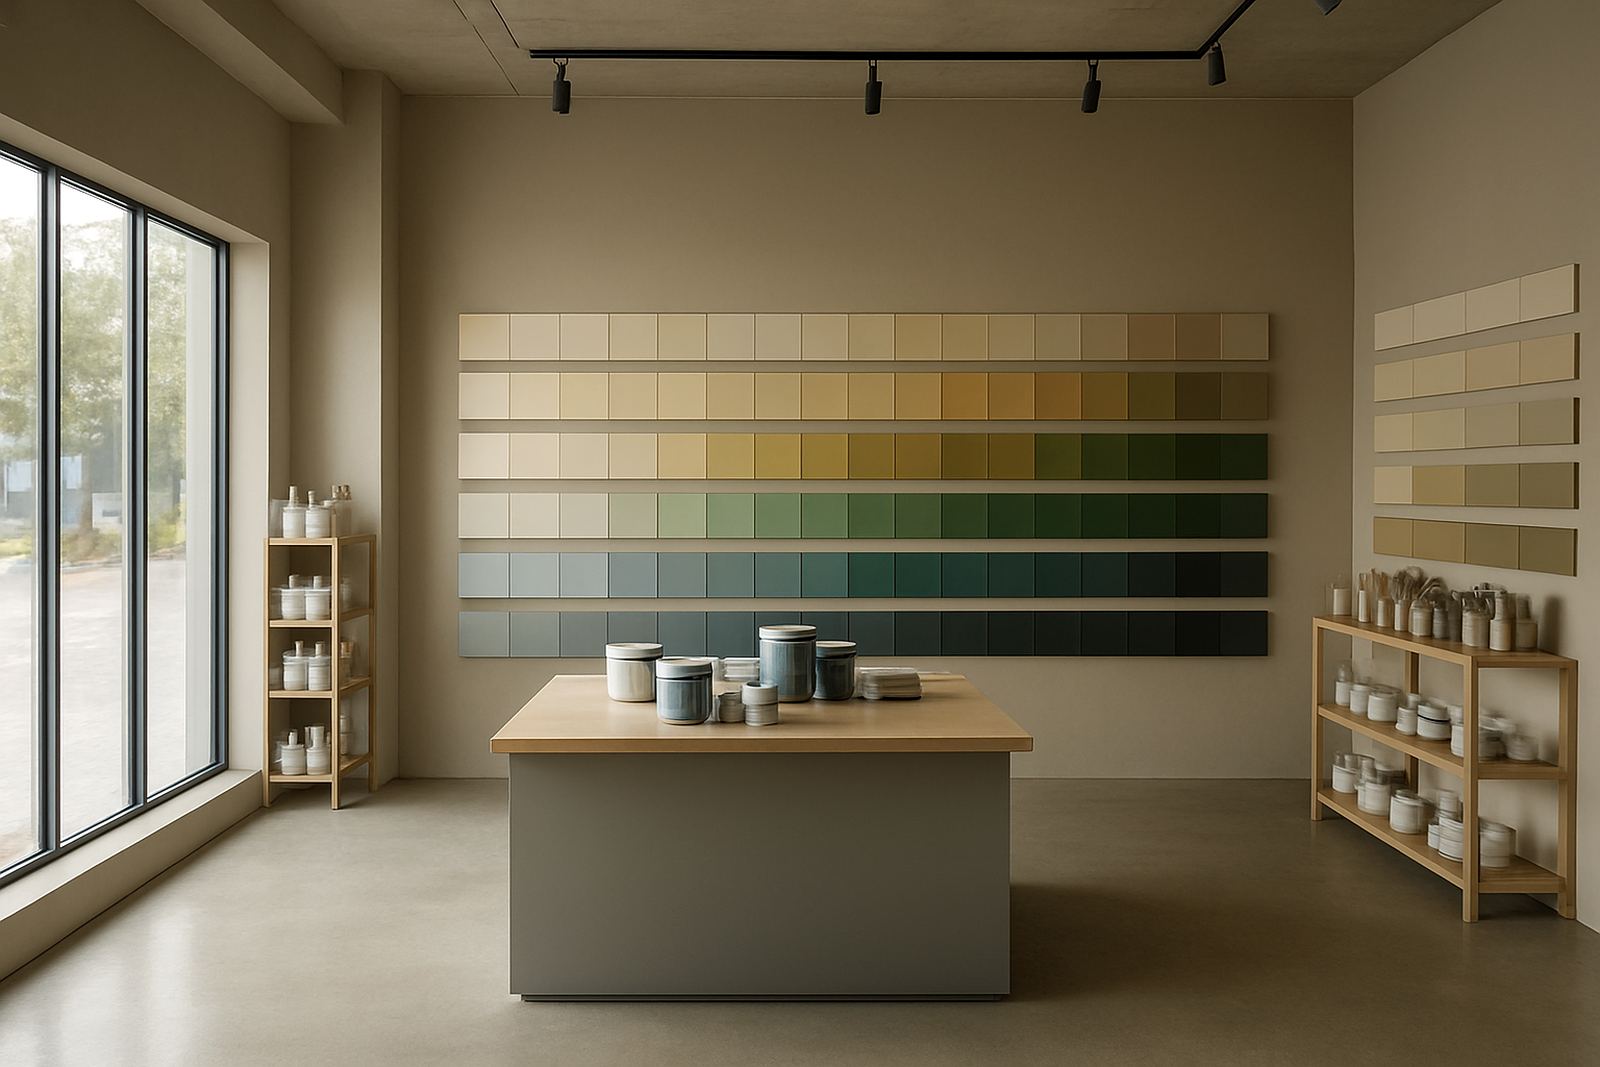
We started with a colour consultation over the client’s photos and room notes, then narrowed the palette to light warm neutrals with a soft off-white for ceilings and trim. The goal was not bright white everywhere, but a finish that reflected natural light from the windows and still felt comfortable in the evenings. We also advised on low-odour interior paint because the cottage had only limited time between rooms being cleared and put back into use.
What made the repaint tricky
The biggest constraint was space. There was not much room for moving furniture or stacking material, and the cottage had one main access point, so dust control mattered. The walls had a few previous patches around skirtings and switch points, plus slight hairline cracks where the plaster had settled. We also had to keep the schedule tight because the client wanted the work completed before family arrived for the weekend.
Roodepoort can swing from dry heat to cooler, damp mornings, so we chose products that would cope well with normal inland conditions and still cure properly between coats. In homes like this, poor prep shows through quickly, especially when light colours are used. That means sanding, filling and cleaning are not optional, they are the part that makes the colour look right in the end.
- Small rooms with limited drying space
- Mixed old and repaired plaster surfaces
- Light shades that would show flaws if prep was rushed
- A short turnaround of 2 weeks from colour sign off to final touch ups
The products and mixing approach we used
We supplied matched interior wall paint, ceiling paint, undercoat where needed and sample pots for final approval before full quantities were mixed. The sample pots were useful because the client could see the shades in morning light and again at night under LED fittings. One room can look creamy in daylight and flat in the evening, so checking the colour in both conditions helped avoid second guessing later.
For the walls, we recommended a washable matt finish to keep glare down and make the rooms feel softer. In the passage and near the kitchen area, we suggested a tougher finish that can be wiped more often. We also provided surface prep advice for the patched sections, including spot priming on repaired areas and sealing any powdery spots before topcoats went on. That bit is often skipped and then people wonder why the paint looks uneven after a month or two.
- Interior wall paint in a light warm neutral
- Soft off-white ceiling coating for better light spread
- Spot primer for repaired plaster and patch marks
- Sample pot mixing for final shade checks
- Washable finish in high touch areas
How the work was planned over 2 weeks
Week one focused on consultation, shade selection, sample application and surface preparation. Once the client approved the colours, we confirmed the quantities needed for the compact floor plan and helped with bulk planning so there was no shortage mid-job. Because the cottage was small, over ordering would have been wasteful, so the quantities were kept tight and practical. We also talked through tools and decorator supplies so the painting contractor had rollers, trays, masking tape and fillers on hand before starting.
Week two covered the repaint itself, with drying time between coats and a careful final walk through at the end. Light shades can expose missed corners, so the finishing work included edge checks around window reveals, skirtings and door frames. The client wanted the place back in use quickly, and the schedule held because the prep was done properly at the start. There were a few small touch ups at the end, but nothing major once the coats settled.
What worked well was keeping the process steady rather than trying to rush each stage. That saved time in the end and left a cleaner finish on the walls and ceilings.
The finished feel in the cottage
The final result was a brighter home that felt more open straight away. The lighter palette pulled in natural light from the garden side and softened the transition between rooms, which helped the compact layout feel less cramped. The client also liked that the walls still had warmth, so the rooms did not end up looking cold or clinical. In a small cottage, that balance makes a big difference.
The repaint also hid a lot of the tiredness that had built up over the years. Patch marks became far less noticeable, the ceilings looked cleaner and the whole interior read as one calm space instead of a series of separate corners. The client told us the room felt slightly larger, which is exactly what light shades are meant to do when they are chosen and applied properly.
- Brighter interior with better light reflection
- Rooms felt more spacious without changing the layout
- Patch repairs were less visible after priming and topcoat
- More practical finish for regular cleaning and upkeep
What we would use again on a similar cottage repaint
If we were doing the same type of cottage again, we would keep the same order of work: first the sample pots, then prep, then matched quantities and only after that the full repaint. That approach is safer than guessing a colour from a small swatch and hoping it behaves the same on a whole wall. We would also continue to recommend a light warm neutral rather than a stark white, especially in homes with mixed daylight and LED lighting.
For compact homes in Roodepoort and similar areas, we would again suggest a washable matt in living spaces, careful spot priming on repairs and enough product planning for at least one proper touch up tin. It keeps the job neat and helps avoid panic near the end when a corner needs a quick fix. Small jobs can be fiddly, but when the planning is right, the finish speaks for itself.
Key facts
| Project | Roodepoort Garden Cottage |
|---|---|
| Property type | Compact freestanding cottage |
| Location | Roodepoort, Gauteng |
| Scope | Interior repaint with colour matching and prep advice |
| Timeline | 2 weeks |
| Finish | Light warm neutral walls with soft off-white ceilings |
| Service support | Sample pot mixing, bulk quantity planning, repaint troubleshooting |